

Bleeding moped ebike hydraulic brakes removes air bubbles and replaces old fluid to restore firm, responsive stopping power. Use a brand-specific bleed kit, mineral oil (or DOT fluid), and a bike stand. Disconnect the battery, remove the wheel and pads, install a bleed block, then push-pull fluid from caliper to lever until no bubbles appear. Reinstall pads, clean with alcohol, and test. TST EBike's heavy-duty brakes follow this same two-syringe method.
Check: Step-by-step: Moped ebike hydraulic brake bleed guide
Why Do Moped Ebike Brakes Need Bleeding More Often?
Moped ebikes weigh 75–100 lbs with riders, generating 2–3× the kinetic energy of standard bikes. This extra mass heats brake fluid during descents, causing dissolved gases to expand into bubbles. Temperature swings in storage also let bubbles form. The result: spongy levers and longer stopping distances.
Moped ebike hydraulic brakes need bleeding when they feel spongy, the lever pulls to the bar, or after opening the system. Heavy weight and frequent braking heat fluid, creating air bubbles. Bleeding replaces old fluid and removes bubbles, restoring crisp leverage. Check lever feel monthly..
From a factory-floor perspective, moped ebikes use 4-piston calipers with larger pads to handle 750W–1500W motor speeds up to 28 mph. But the trade-off is higher thermal load: fluid temperatures can hit 80°C on steep hills, exceeding the boiling point of degraded mineral oil. Air bubbles compress under pressure, creating the "spongy" feel.
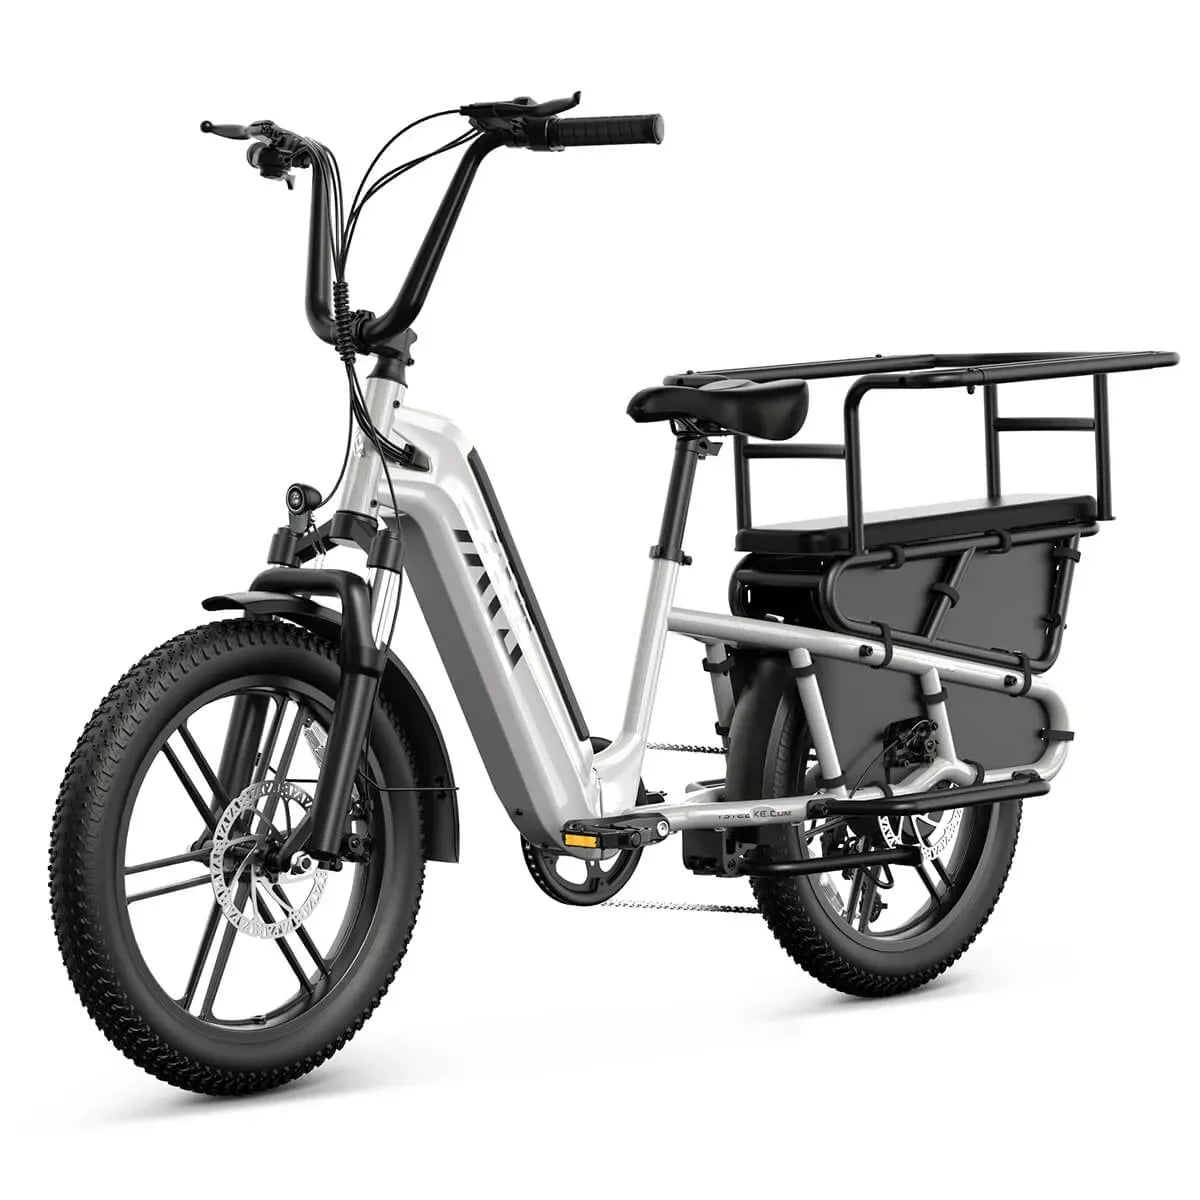
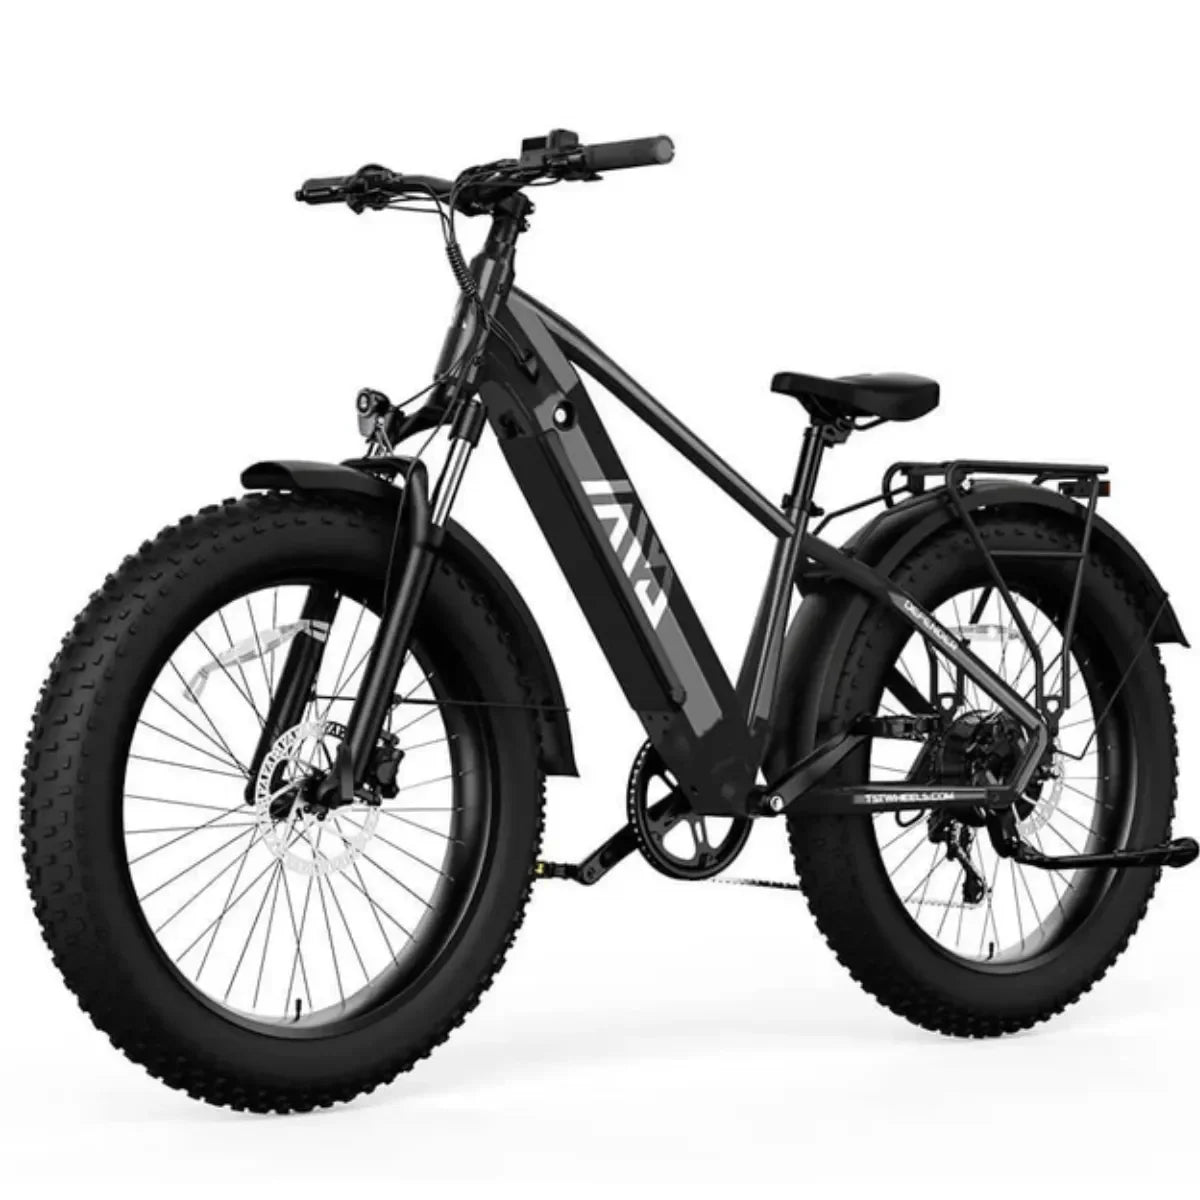
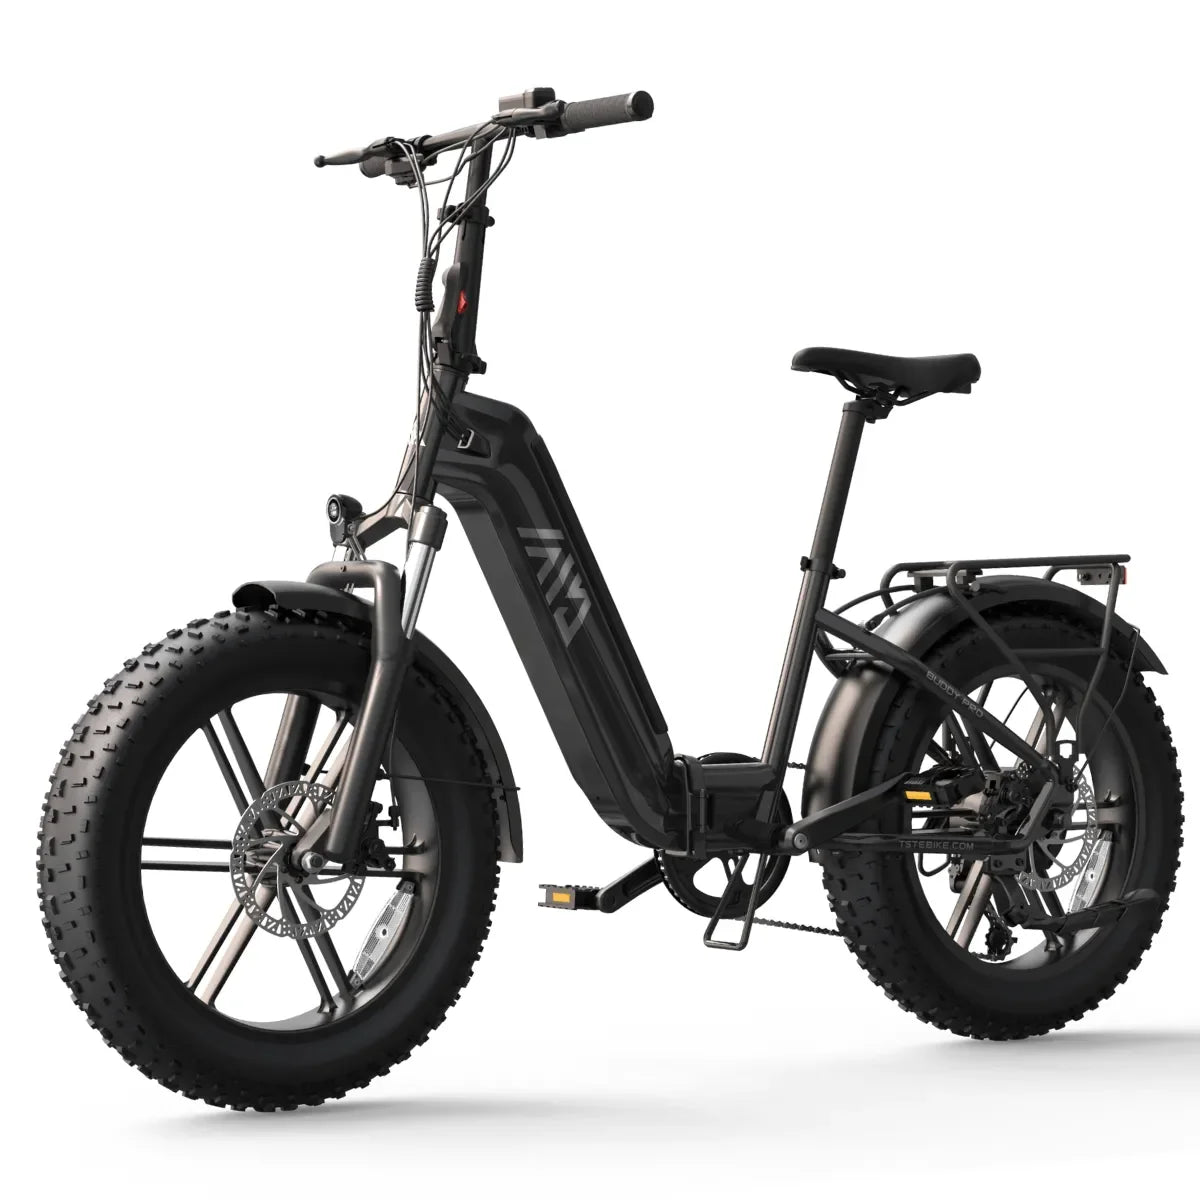
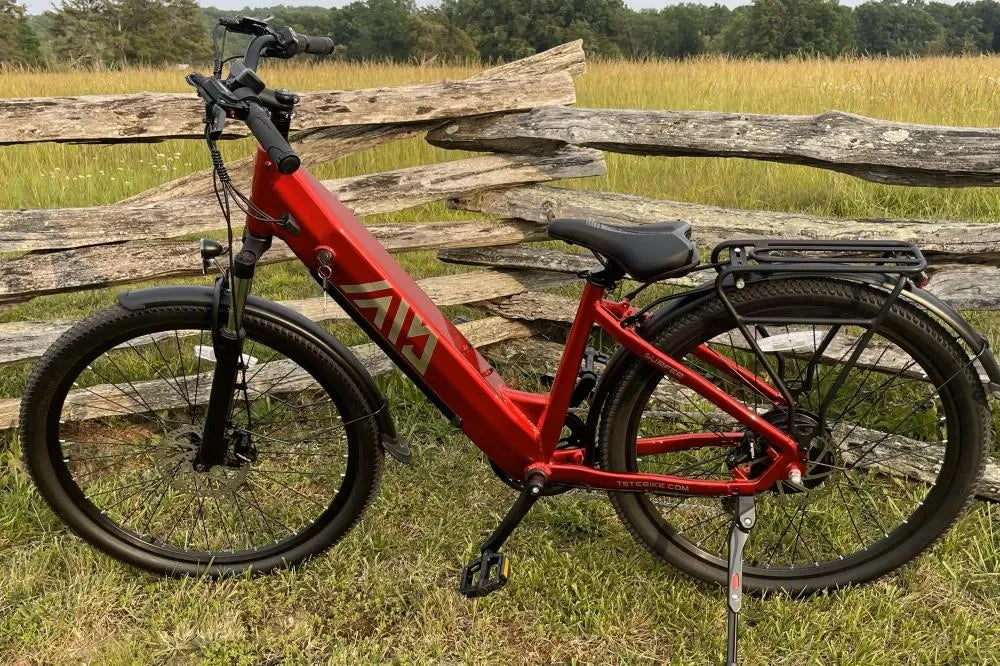
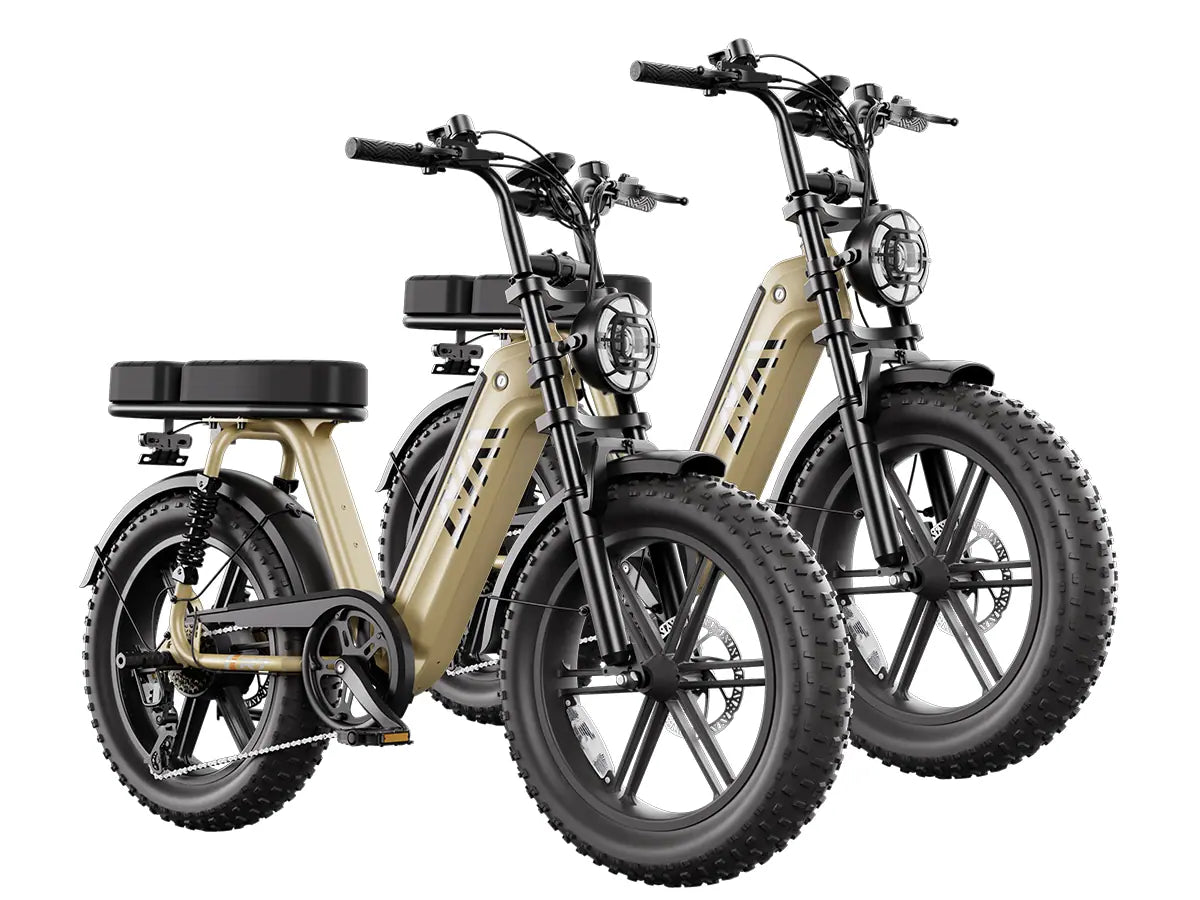
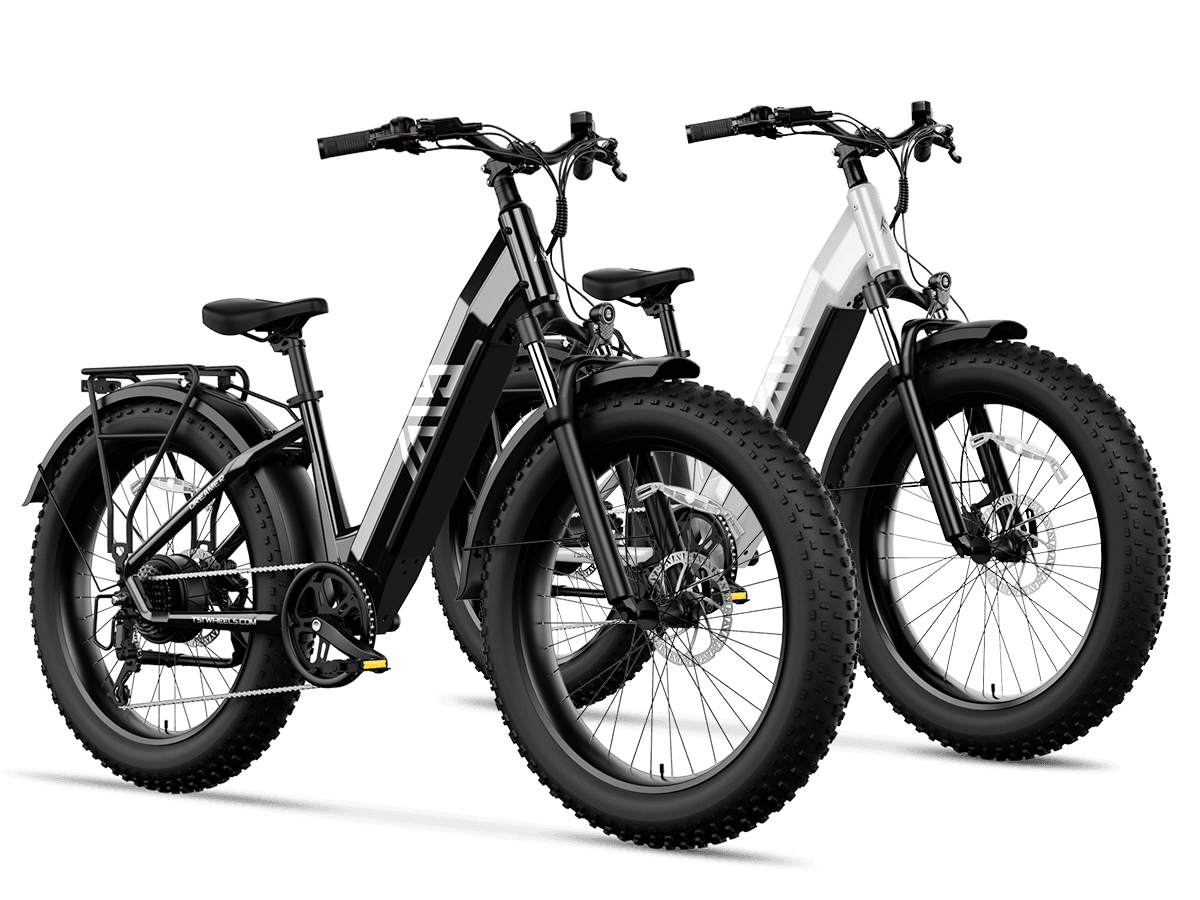
TST EBike equips its 26–27 inch models with Tektro or Shimano 4-piston brakes precisely for heavy-load stopping. However, the same mass that makes these bikes stable also accelerates fluid breakdown. I've seen riders go 3,000 miles without bleeding, then suddenly experience lever fade after a single mountain descent.
Heavier bikes generate more heat, accelerating fluid degradation and bubble formation.
How Do You Know It's Time to Bleed Your Moped Ebike Brakes?
Four clear signs indicate bleeding is needed: the lever feels spongy or squishy, the lever pulls all the way to the handlebar, braking power drops noticeably, or you've opened the hydraulic system for repairs. Compare left vs. right lever feel—if one is softer, it needs attention.
You need to bleed moped ebike brakes when they feel spongy, lever pulls to the bar, stopping power drops, or after opening the system. Heavy use heats fluid, creating air bubbles. Bleeding removes bubbles and replaces old fluid. Check lever feel monthly..
In my experience wrenching on heavy ebikes, the "spongy" test is subjective but reliable. Squeeze the lever slowly: if it travels past 50% of its arc before resistance builds, air is present. The lever-to-bar symptom is more severe—usually 70%+ travel means 2–3 ml of air in the line.
Another telling sign is inconsistent modulation: the brakes grab abruptly then soften. This happens when bubbles compress then collapse under pressure. Temperature matters too: brakes that work cold but fade after 5 minutes of riding indicate boiled fluid.
TST EBike owners report bleeding needed every 12–18 months with daily commuting. Off-road riders on the 26-inch models need it sooner—sometimes every 6 months—due to aggressive downhill braking on sand or snow.
What Tools and Fluid Are Required for Moped Ebike Brake Bleeding?
You need a brand-specific bleed kit (Tektro, Shimano, SRAM, or Magura), correct hydraulic fluid (mineral oil for Tektro/Shimano, DOT 4/5.1 for SRAM), T15 Torx keys, piston press, bleed block, lint-free cloths, isopropyl alcohol, gloves, and a bike stand. Never mix fluids.
For moped ebike hydraulic brake bleeding, use a brand-specific bleed kit, correct fluid (mineral oil or DOT), Torx keys, piston press, bleed block, cloths, alcohol, and a bike stand. TST EBike uses Tektro brakes requiring mineral oil. Never mix DOT and mineral oil—they're incompatible..
The fluid choice is non-negotiable: Tektro and Shimano use ASIA-grade mineral oil (ISO 32 viscosity), while SRAM uses DOT 4 or 5.1. Mixing them creates sludge that destroys seals. Mineral oil absorbs less moisture (~0.1% vs. 4% for DOT), making it better for long-term storage.
The bleed block is critical—it matches caliper piston spacing. Using the wrong block pushes pistons unevenly, damaging seals. Tektro kits include blocks for 2-piston and 4-piston calipers. For moped ebikes, always use the 4-piston block.
A work stand isn't optional for moped ebikes. At 80+ lbs, lifting the bike to rotate the caliper vertical is unsafe. The stand also lets you flick the hose to dislodge stubborn bubbles—a key step generic guides skip.
Using the wrong fluid or block causes seal failure and leaks.
Can You Bleed Moped Ebike Hydraulic Brakes at Home Successfully?
Yes, with a work stand, correct bleed kit, and 45–60 minutes. Disconnect the battery first to prevent motor engagement. Remove the wheel, pads, and install the bleed block. Position the caliper vertical, lever flat. Push-pull fluid between syringes until bubbles disappear. Clean with alcohol, reinstall pads, and bed in the brakes.
Yes, you can bleed moped ebike hydraulic brakes at home with a stand, bleed kit, mineral oil, and 45–60 minutes. Disconnect battery, remove wheel/pads, install bleed block, align caliper vertical, push-pull fluid until no bubbles. Clean with alcohol, reinstall pads, test. TST EBike uses Tektro brakes with standard mineral oil bleed..
The two-syringe method works for 95% of moped ebike brakes. Start with the caliper syringe 3/4 full, lever syringe 1/3 full. Gently push caliper fluid upward while pulling lever syringe—air rises naturally. Flick the hose every 10 strokes to dislodge bubbles trapped in bends.
Moped ebikes add one twist: the rear brake hose is often longer and routed through the frame. Air gets trapped at high points. Rotate the bike so the hose forms a "U" with the caliper at the bottom—this lets bubbles travel upward without pooling.
After bleeding, bed in the brakes: accelerate to 15–20 mph, brake firmly to 5 mph (don't stop), repeat 15–20 times. This glazes the pads uniformly. Skipping bed-in causes uneven Hotspotting and premature wear.
From my shop experience, DIY bleeding on moped ebikes succeeds when you: (1) use fresh fluid from a sealed bottle, (2) tap syringes to remove trapped air before connecting, and (3) never force fluid—high pressure creates cavitation.
Is Mineral Oil or DOT Fluid Right for Your Moped Ebike Brakes?
Check your brake brand: Tektro and Shimano use mineral oil; SRAM and some Magura use DOT 4 or 5.1. Look for "Mineral Oil" or "DOT" stamped on the lever reservoir. Never mix—DOT swells mineral oil seals, causing leaks. TST EBike's Tektro brakes require mineral oil only.
Use mineral oil for Tektro/Shimano moped ebike brakes; DOT 4/5.1 for SRAM/Magura. Check the lever reservoir label. Never mix—DOT destroys mineral oil seals. TST EBike uses Tektro brakes requiring mineral oil. Using wrong fluid causes leaks and failure..
The chemistry difference matters: mineral oil is hydrocarbon-based (non-polar), while DOT is glycol-ether-based (polar). They're immiscible—like oil and water. If DOT enters a mineral oil system, it attacks NBR (nitrile) seals, turning them soft and gummy within hours.
Mineral oil's advantage: it absorbs only 0.1% moisture from air vs. 4% for DOT. This means mineral oil maintains its 230°C dry boiling point longer. DOT's boiling point drops from 230°C (new) to 140°C after 6 months of exposure.
However, DOT handles extreme heat better initially. Racing e-MTB riders sometimes prefer DOT for multi-hour descents. For campus commuting and light trail use, mineral oil's stability wins.
To identify your fluid: open the lever reservoir. Mineral oil is clear, slightly viscous, oily to touch. DOT is amber, thinner, feels like water. If unsure, assume mineral oil for Tektro/Shimano and test with a drop on a white cloth—DOT stains more aggressively.
TST EBike Expert Views
"On the factory floor, we see a specific failure pattern with moped ebike brakes: riders treat them like standard bicycles, bleeding once every two years. But the 80–100 lb total system weight (bike + rider + cargo) generates 2–3× the kinetic energy of a 55 lb commuter bike. During a single 10% grade descent at 20 mph, caliper fluid can reach 85°C—well above the wet boiling point of degraded mineral oil. Air bubbles form, compress under load, and the lever goes spongy. Our recommendation: bleed annually for daily commuters, every 6 months for off-road 26-inch models. Use only Tektro-approved mineral oil; we've seen DOT fluid destroy Tektro seals within 48 hours. The bleed block must match the 4-piston caliper spacing—using a 2-piston block damages piston seals. Finally, never skip bed-in after bleeding. Freshly bled brakes need 15–20 firm stops to glaze pads evenly. Skipping this creates hotspots and premature pad wear."
— TST EBike Brake Systems Engineering Team
How Do You Perform the Two-Syringe Bleed Step-by-Step?
Mount bike in stand, disconnect battery, remove wheel and pads. Push pistons back, insert bleed block. Fill caliper syringe 3/4 with fresh fluid, lever syringe 1/3. Attach caliper syringe, open port 1/4 turn. Attach lever syringe, create vacuum. Push caliper, pull lever until fluid is bubble-free. Repeat lever-to-caliper to degas master cylinder. Reinstall ports, pads, wheel, clean with alcohol, test.
Perform the two-syringe bleed: mount bike in stand, disconnect battery, remove wheel/pads, insert bleed block. Attach full syringe to caliper, empty to lever. Push-pull fluid until no bubbles. Close ports, reinstall pads/wheel, clean with alcohol, test brake feel. Takes 45–60 minutes..
Step-by-step with moped-specific nuances:
-
Secure the bike: Mount in stand, disconnect battery (critical to prevent accidental throttle engagement near moving parts).
-
Remove wheel and pads: Label pads for reinstallation orientation. Store away from work area to avoid fluid contamination.
-
Reset pistons: Use plastic tire lever or piston press. Press evenly—staggered pistons bind.
-
Install bleed block: Use 4-piston version for moped calipers. Slide fully until pistons contact block.
-
Position vertical: Rotate bike so caliper is lowest point. For rear brake, rotate frame 30–45° clockwise.
-
Prepare syringes: Fill caliper syringe 3/4 full, lever syringe 1/3. Tap both, push plunger to expel air bubbles.
-
Connect caliper: Open bleed port 1/4 turn with T15 Torx. Attach full syringe.
-
Connect lever: Rotate lever flat (port facing up). Open port, attach empty syringe, create slight vacuum.
-
Push-pull cycle: Push caliper slowly, pull lever. Watch for bubbles. Flick hose every 10 strokes.
-
Reverse flow: Push lever syringe, pull caliper. Degas master cylinder.
-
Close system: Close caliper port first, then lever. Wipe excess fluid with alcohol.
-
Reinstall: Remove block, insert pads, reinstall wheel.
-
Bed-in: 15–20 stops from 20 mph to 5 mph.
Total fluid used: 10–15 ml. Discolored fluid means contaminants—replace and repeat.
When Should You Replace Brake Pads Instead of Bleeding?
Replace pads when thickness is under 1.5 mm, metal backing contacts rotor, braking squeals persist after cleaning, or one pad is worn 1 mm more than the other. Bleeding won't fix worn pads—check thickness with a ruler or micrometer before bleeding. TST EBike pads last 2,000–3,000 miles with daily commuting.
Replace moped ebike brake pads when under 1.5 mm thick, metal contacts rotor, or squealing persists after cleaning. Bleeding won't fix worn pads. Check thickness before bleeding. TST EBike pads last 2,000–3,000 miles. Measure with ruler; replace if under 1.5 mm..
Here's the nuance most guides miss: pad wear and air bubbles often coexist. Heavy moped ebike use wears pads 2× faster than standard bikes. A 3 mm new pad drops to 1.5 mm in 1,500 miles under daily commuting. Once under 1.5 mm, the piston extends further, increasing hose volume and trapping more air.
Before bleeding, measure pad thickness. If either pad is under 1.5 mm, replace both first. Then bleed. Partial pad replacement causes uneven piston extension, leading to fluid trapped on one side.
Another indicator: if the lever feels fine cold but spongy after 5 minutes of riding, it's likely boiled fluid (bleed). If it's always soft regardless of temperature, it's worn pads.
Rotate pads during replacement: the outer pad usually wears slower. Install the more worn pad on the outer side to balance piston extension.
How to Maximize Ebike Battery Longevity Tips for Maximum Miles?
Conclusion: Key Takeaways for Moped Ebike Owners
Moped ebike hydraulic brakes need bleeding every 12–18 months due to heavy weight and heat. Signs include spongy levers, lever-to-bar pull, and power loss. Use a brand-specific bleed kit, correct fluid (mineral oil for TST EBike's Tektro brakes), and a work stand. The two-syringe method removes air: push-pull fluid until bubble-free, then bed-in with 15–20 stops. Replace pads under 1.5 mm thickness. Never mix DOT and mineral oil. Annual bleeding prevents costly caliper damage and maintains safe stopping power for your heavy moped ebike.
FAQs
How often should I bleed my moped ebike hydraulic brakes?
Every 12–18 months for daily commuters, every 6 months for off-road use. Heavy weight heats fluid faster. TST EBike owners report annual bleeding for smooth campus paths.
What fluid does TST EBike use for hydraulic brakes?
TST EBike uses Tektro brakes requiring mineral oil (ISO 32). Never use DOT fluid—it destroys Tektro seals within 48 hours.
Can I bleed brakes without a bike stand?
Technically yes, but it's unsafe for 80+ lb moped ebikes. You need to rotate the bike vertical for air bubbles to rise. A stand is essential.
How much does professional brake bleeding cost?
About $25 per brake at REI or local shops. DIY costs $40–60 for a bleed kit and fluid, paying for itself after 2–3 bleeds.
Why do my brakes feel spongy after bleeding?
Air remains in the system, fluid wasn't fresh, or pads are worn under 1.5 mm. Re-bleed, check pad thickness, and ensure no leaks at ports.
Do I need to remove brake pads before bleeding?
Yes. Hydraulic fluid contaminates pads instantly, ruining them. Remove and store away from work area before starting.
Leave a comment
This site is protected by hCaptcha and the hCaptcha Privacy Policy and Terms of Service apply.