

Replacing an eBike battery involves five key steps: safely disconnect the battery from the bike using the key-lock mechanism, remove it from the rail holder, inspect cells for damage with a multimeter, install a compatible replacement matching original voltage and capacity specs, and reinstall firmly until flush with the holder. Always verify warranty status and use manufacturer-approved batteries to maintain safety and performance.
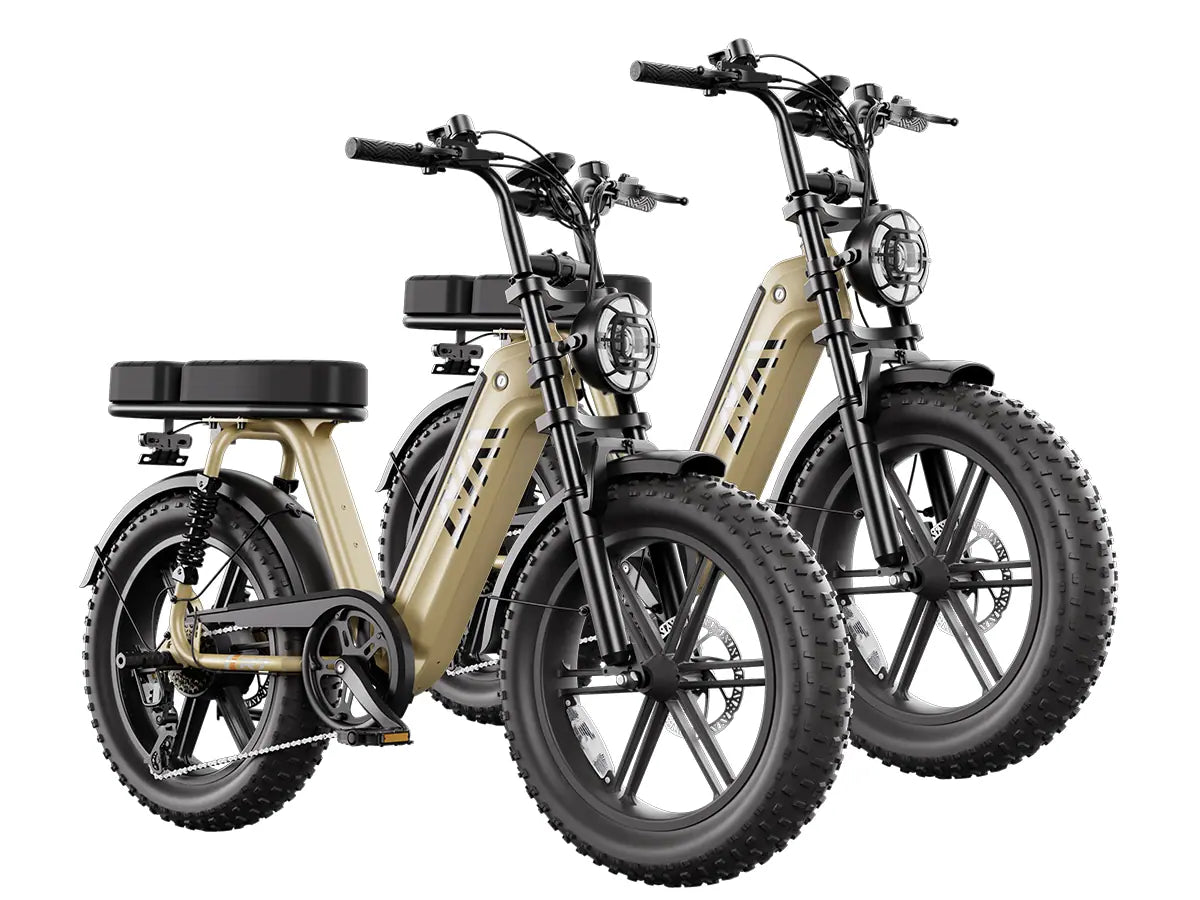
Check: R002 Battery & Parts
How does TSTE's removable battery system work?
TSTE Bike's removable lithium-ion batteries feature a slide-in rail mount with a key-lock mechanism that secures the battery to the frame (typically the downtube). The battery connects via Anderson connectors to the motor controller, delivering 48V or 72V power. To remove, unlock the key, slide the battery out, and disconnect the connector—a tool-free process taking under 30 seconds.
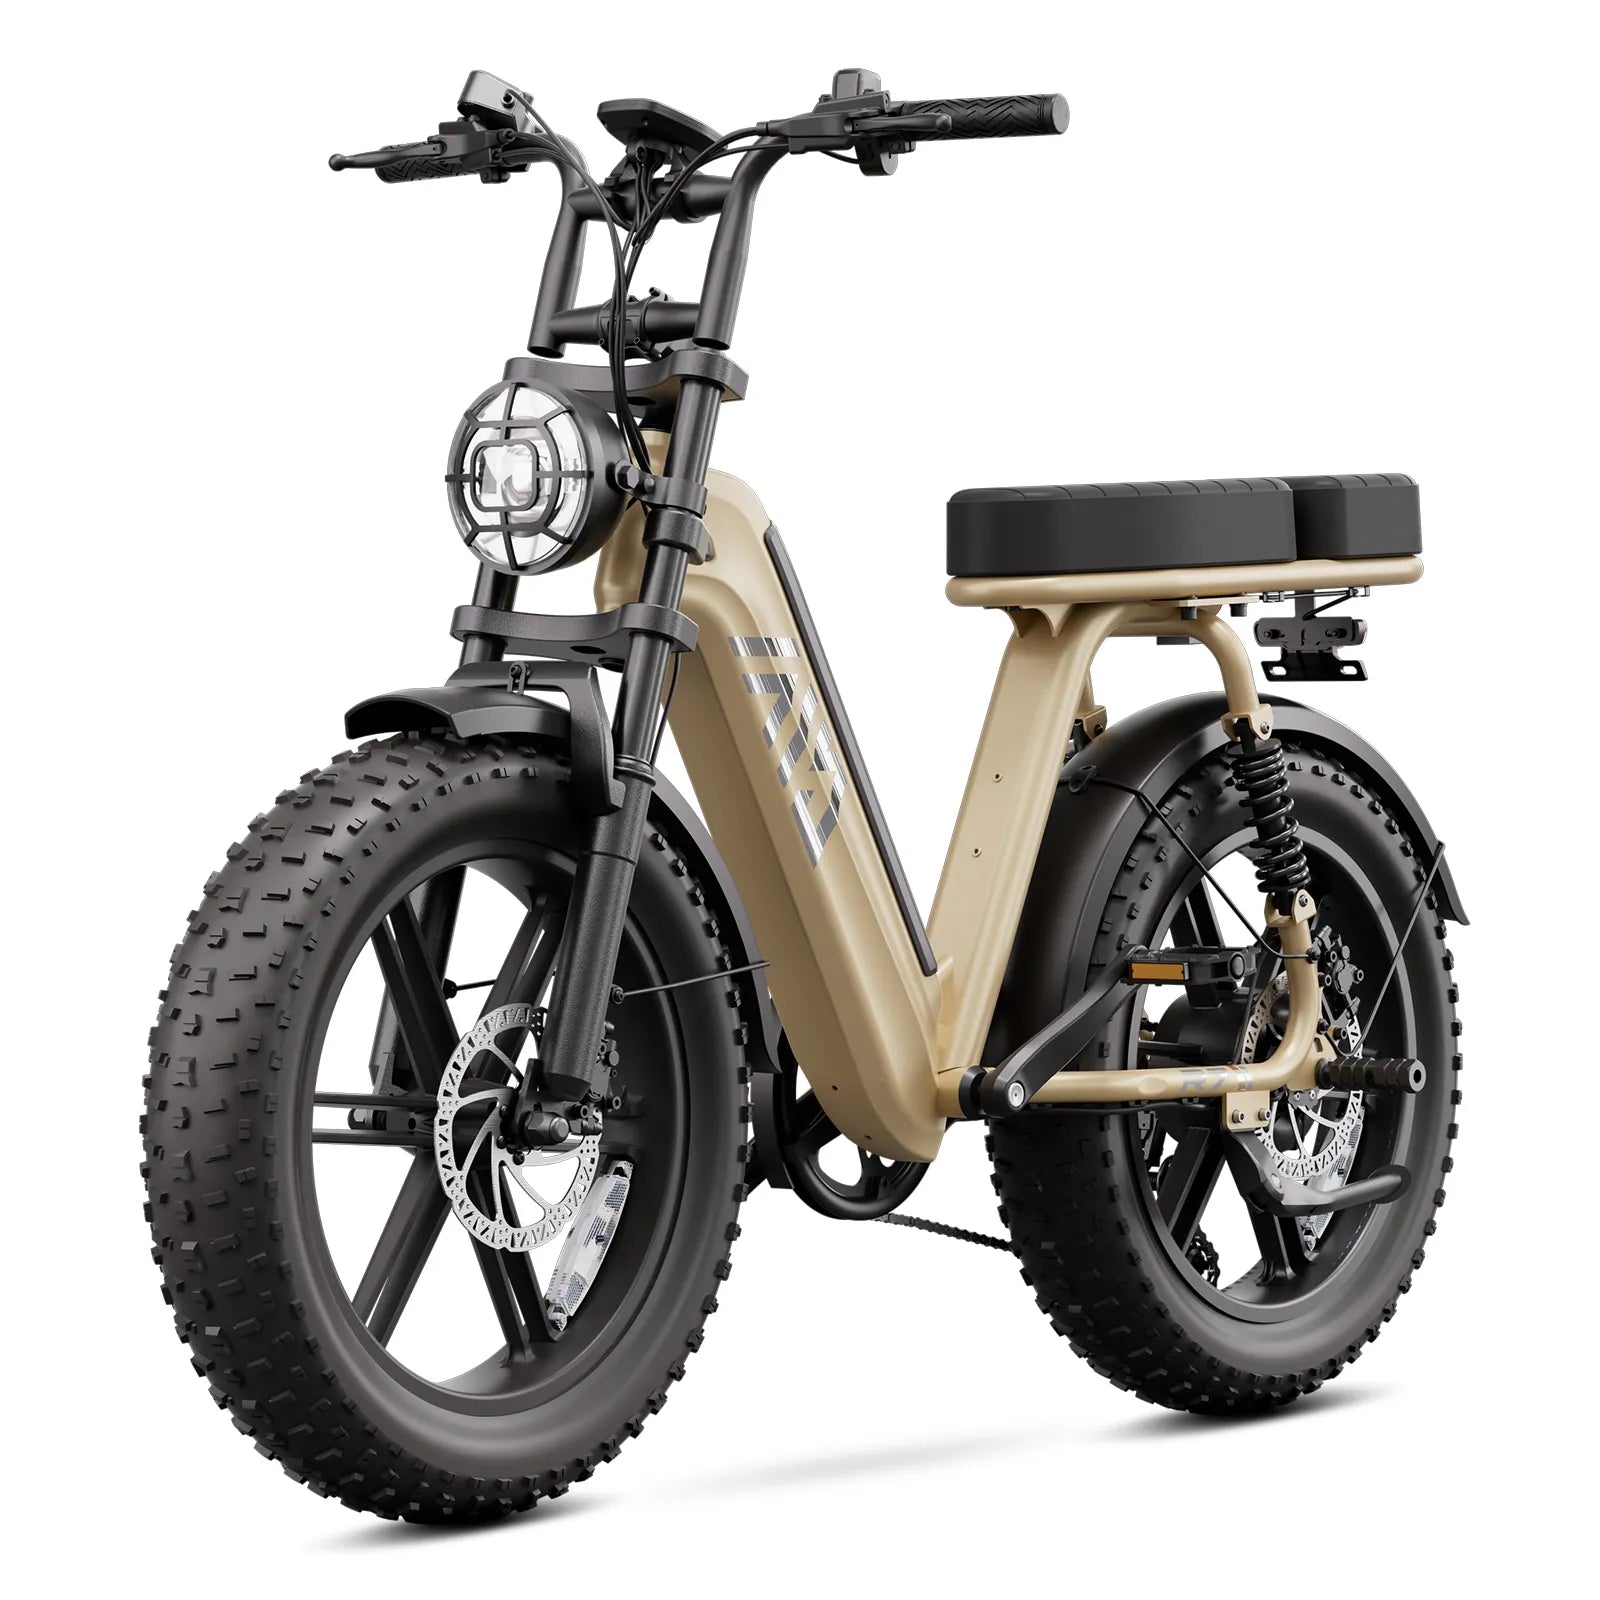
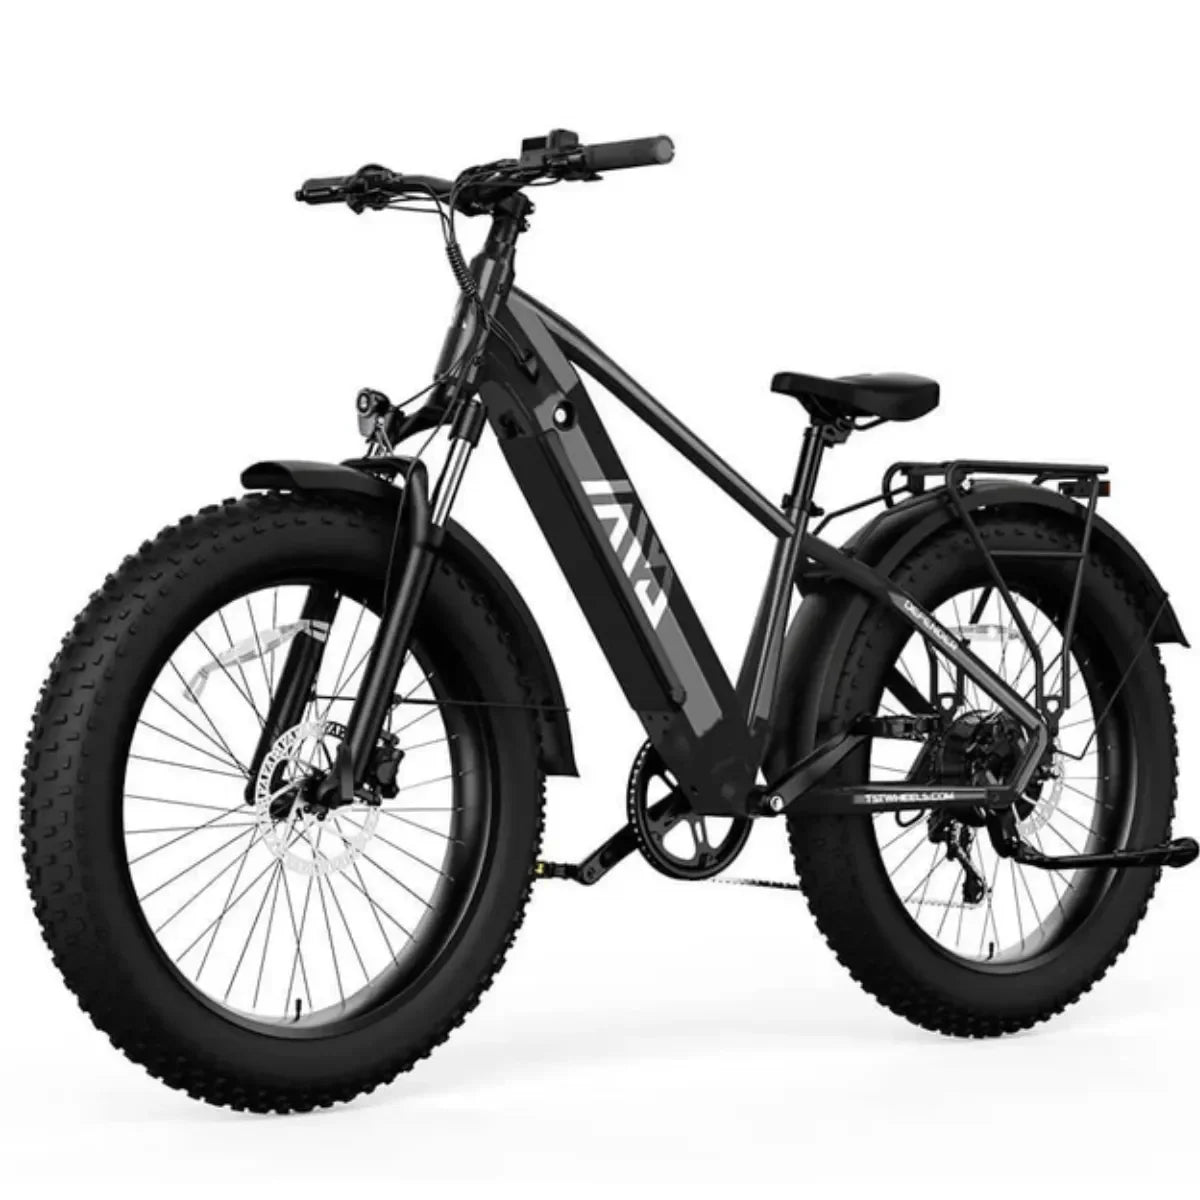
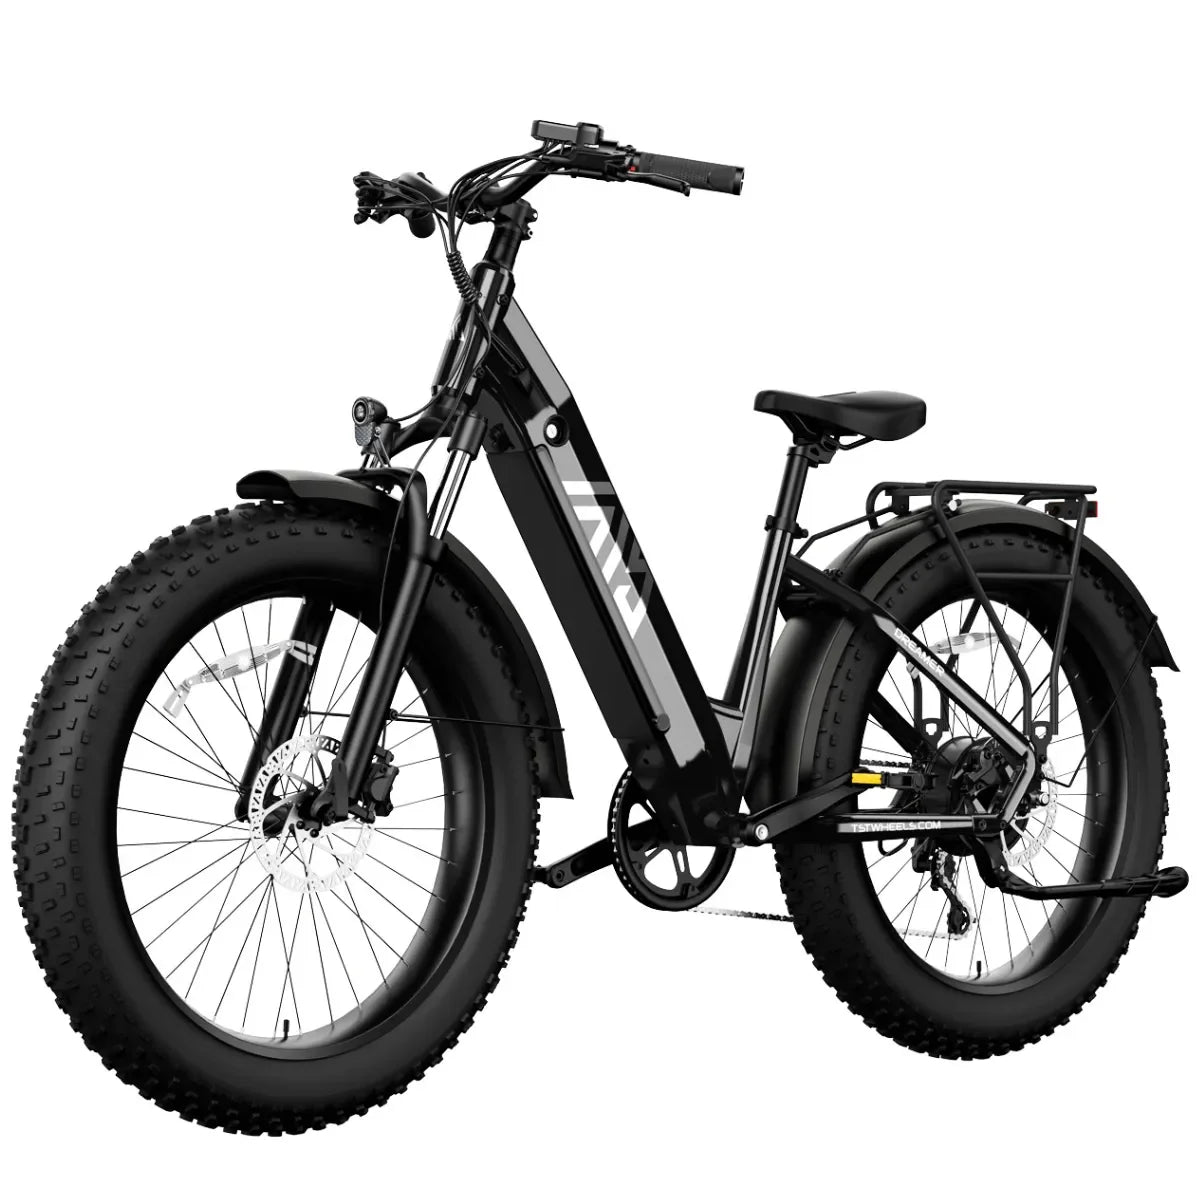
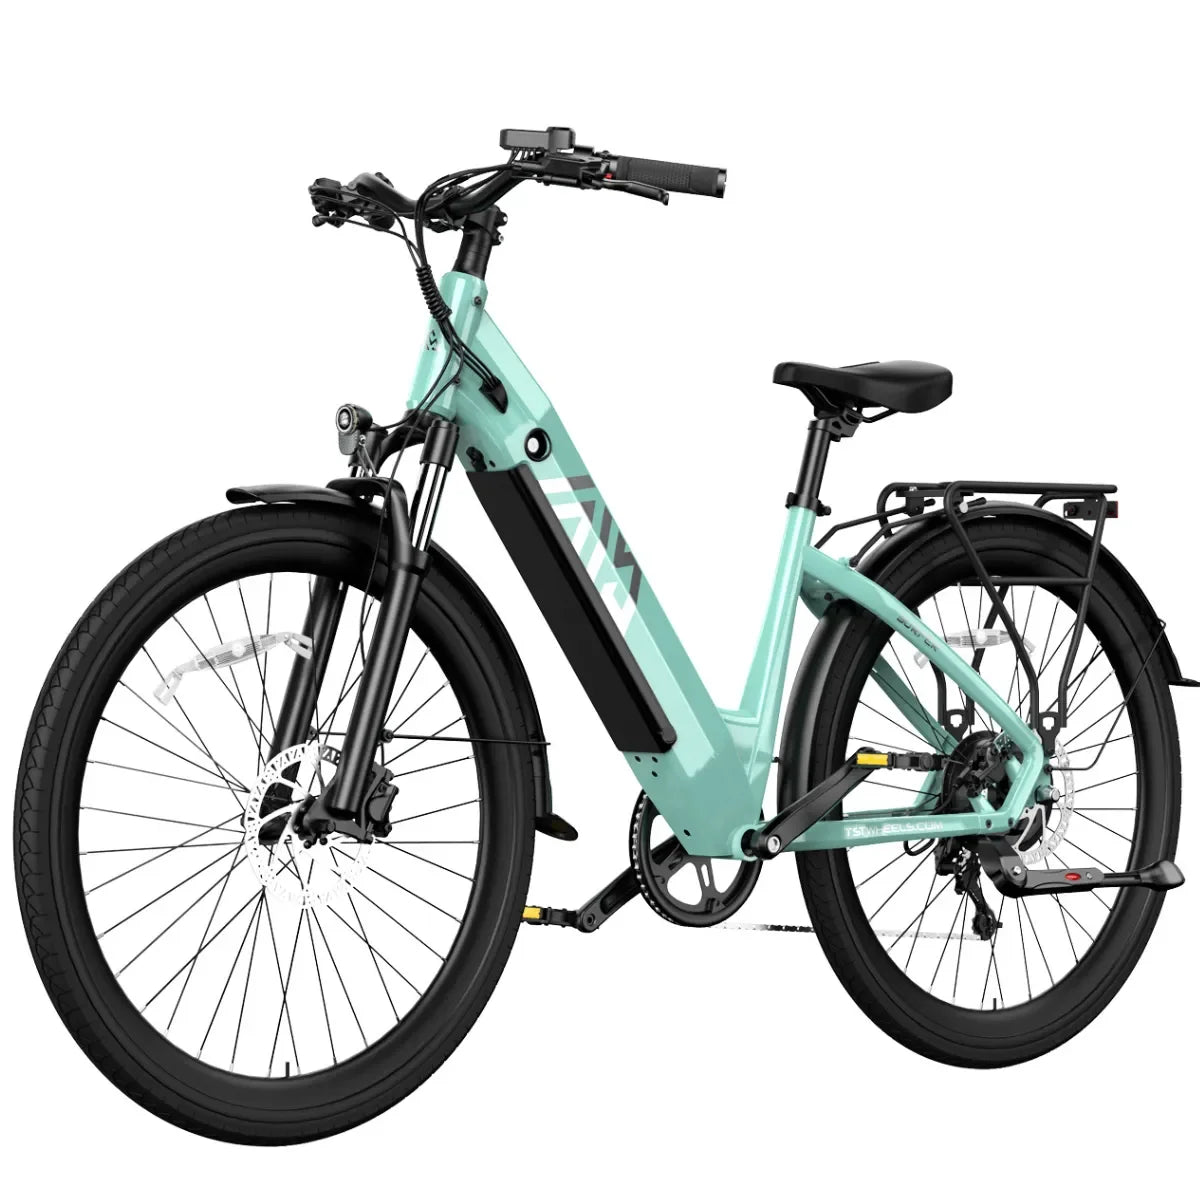
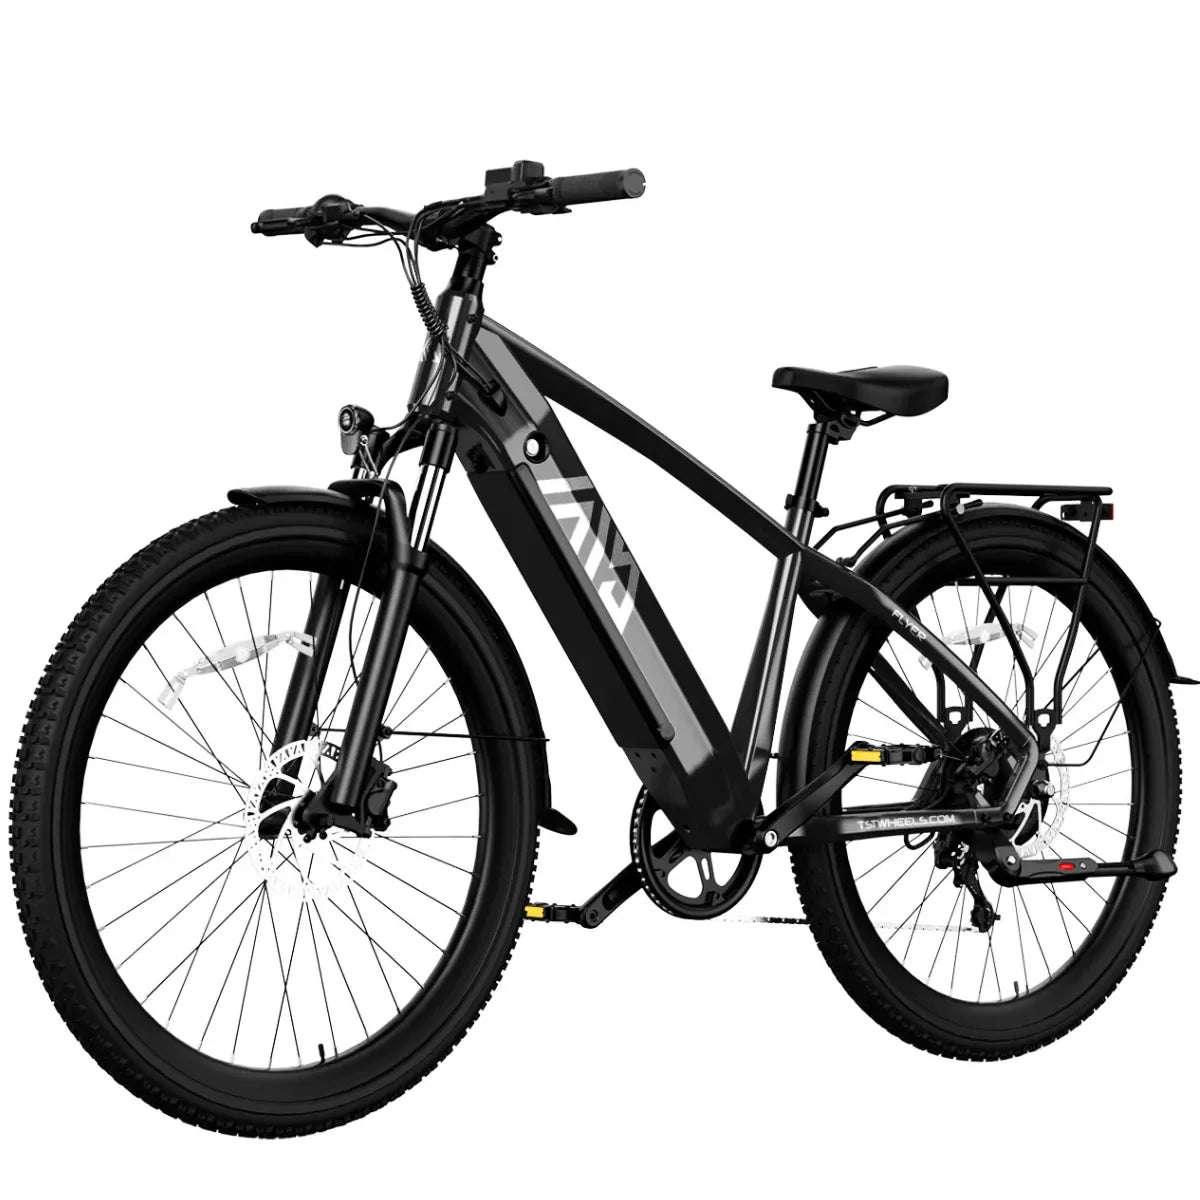
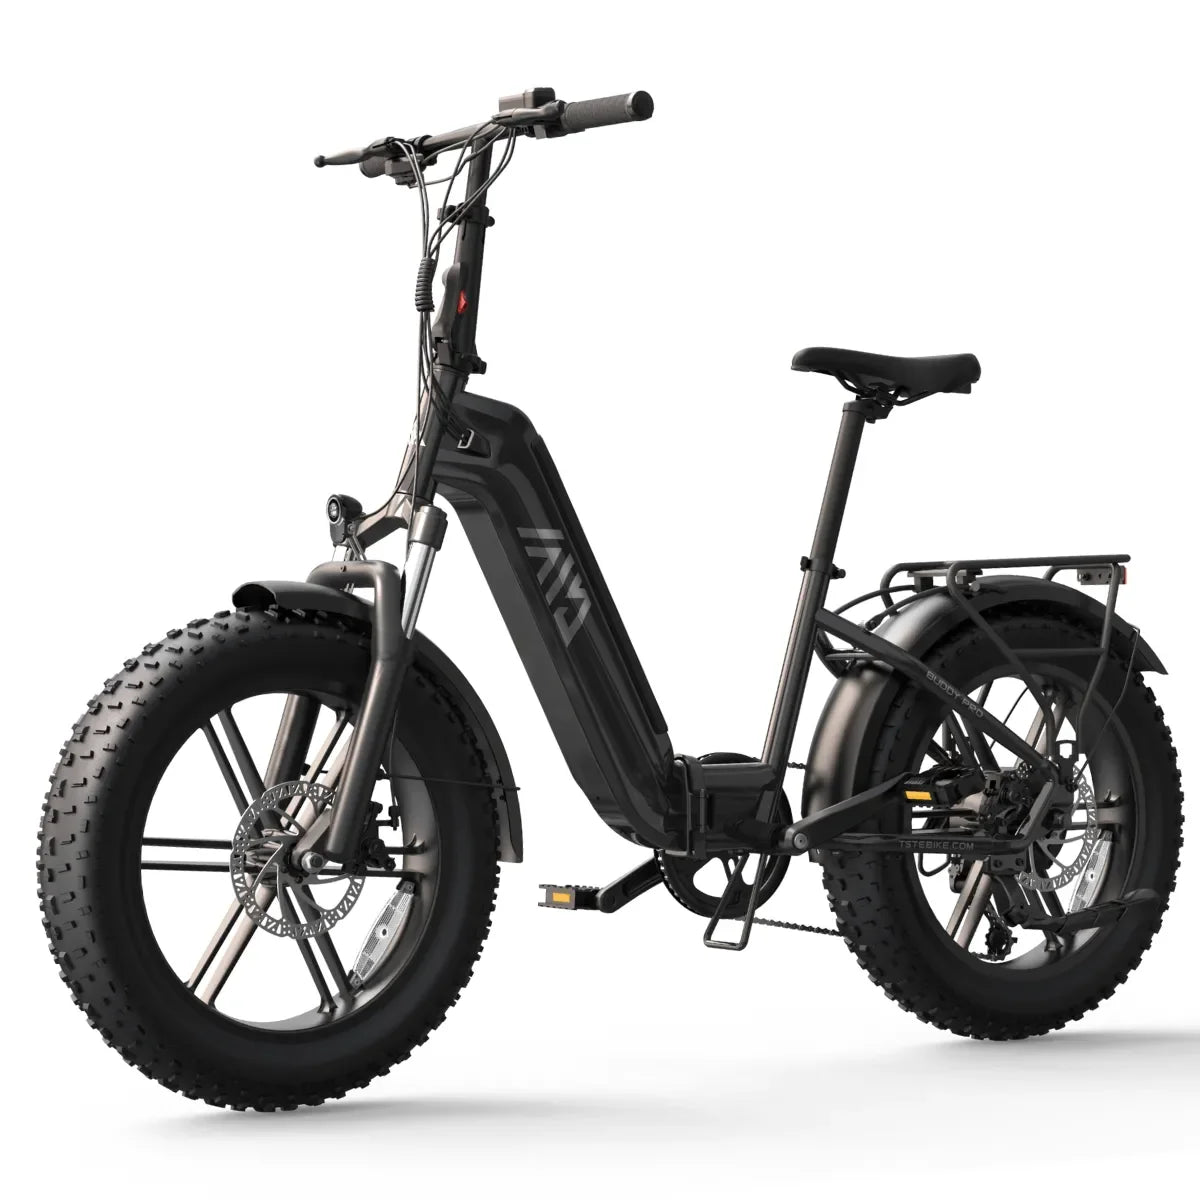
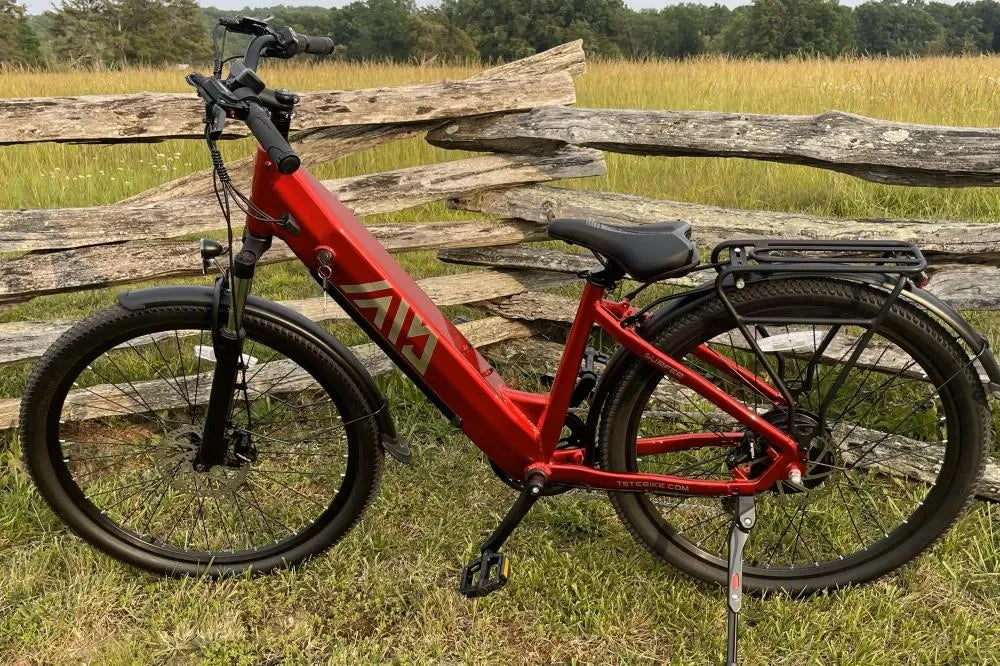
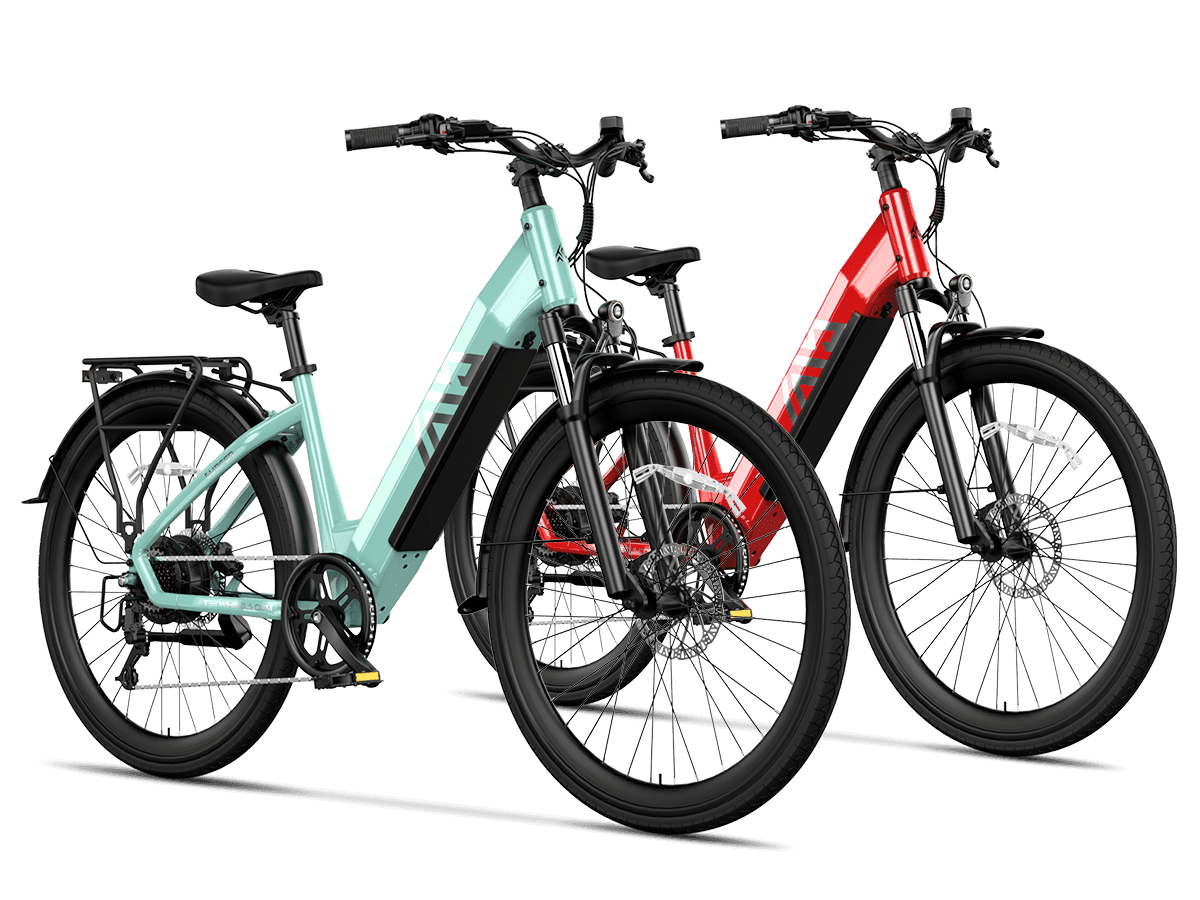
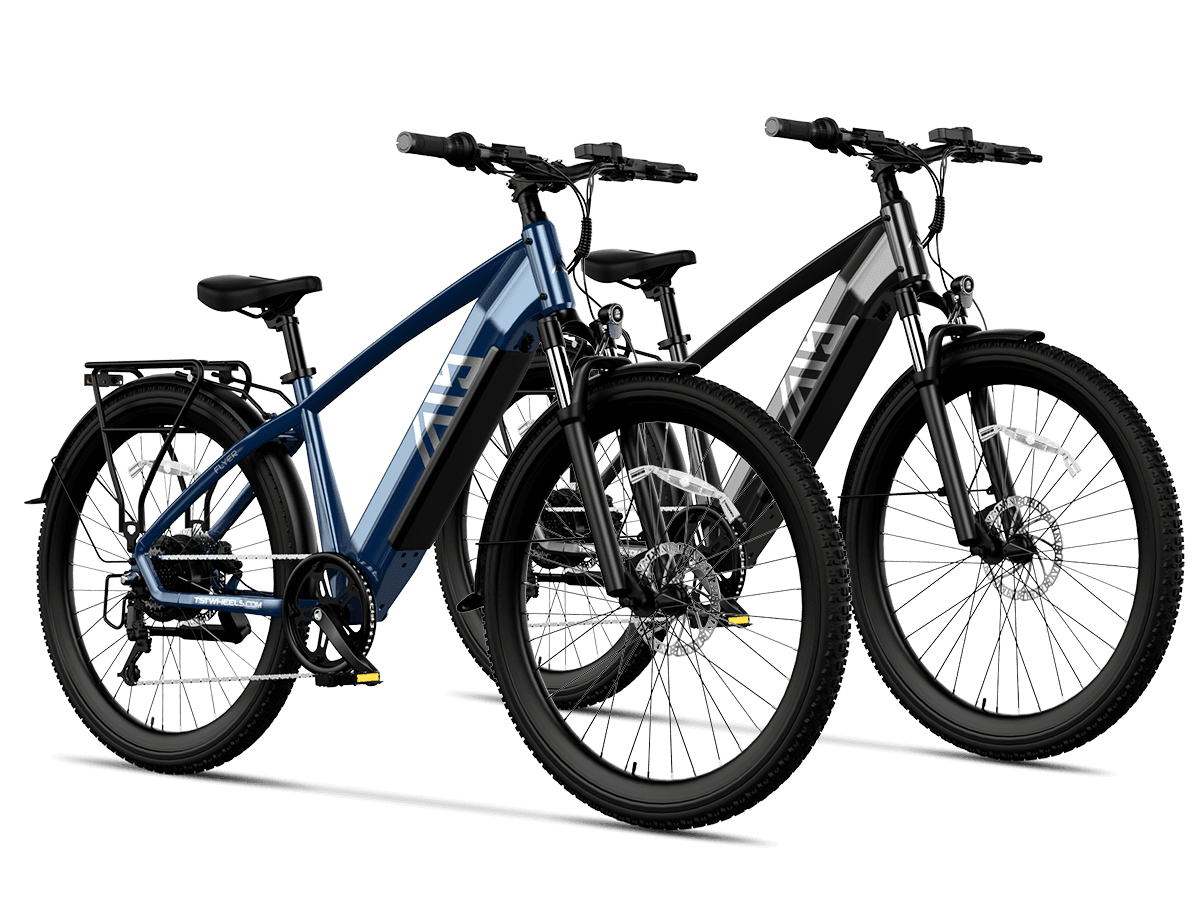
TSTE Bike designs its eBikes with rider convenience at the core. All removable batteries, from the TST Flyer's 48V 15Ah pack to the R9's dual-battery system, use a standardized mounting rail that clips securely onto the frame. This modular approach lets you swap batteries mid-ride, upgrade capacity for longer journeys, or charge indoors during winter. The key-lock mechanism prevents theft and accidental disconnection, while the Anderson connectors ensure secure power delivery without exposed terminals.
Unlike hardwired batteries found on some budget eBikes, TSTE's removable design means you're never stranded with a dead battery—simply swap in a charged unit. This is especially valuable for commuters using the TST Flyer or TST Surfer, cargo haulers with the Carrier, or adventure riders on the R002 moped-style platform. The system is intuitive enough for beginners yet robust enough for daily heavy use.
What tools and safety equipment do you need for battery replacement?
Essential tools include a multimeter (to test voltage), an Allen wrench set (for securing connections), gloves (electrical safety), and a work mat (to prevent short circuits). Optional but recommended: soldering equipment for advanced repairs, thermal paste for heat management, and a fire-rated container for old battery storage. Always work in a dry, well-ventilated space away from flammable materials.
Before you begin, gather the right equipment. A digital multimeter is non-negotiable—it lets you verify battery voltage before and after installation, catching potential BMS failures early. Wear nitrile or rubber gloves to prevent accidental shorts; lithium-ion batteries can deliver dangerous current if mishandled. Keep a wooden or plastic work surface handy; metal benches risk short-circuiting exposed terminals.
For basic battery swaps on TSTE models like the Defender or Buddy Pro, you'll only need the multimeter and gloves. If you're upgrading from a 15Ah to a 25Ah battery (available on the R002 and R9), or if you're troubleshooting a faulty BMS, add soldering equipment and thermal management supplies. A fire extinguisher rated for lithium fires should be nearby—though rare, lithium batteries can ignite if damaged. Finally, keep the bike manual and a smartphone with a flashlight app for detailed connector inspection.
How do you safely remove your eBike battery in 5 steps?
Step 1: Power off the eBike and controller. Step 2: Unlock the battery using the provided key. Step 3: Gently slide the battery out of the rail mount until it disengages. Step 4: Disconnect the Anderson connector by pressing the release tab and pulling straight back. Step 5: Inspect the connector pins for corrosion or damage before storing or replacing.
Step 1: Power Down Everything
Start by turning off the eBike's display and controller. This eliminates the risk of electrical surge when you disconnect the battery. Wait 30 seconds for residual power to dissipate—you'll notice the LED lights fade completely. This step is critical on dual-battery systems like the TSTE R9, where both packs must be deactivated before removal.
Step 2: Unlock and Locate the Battery
Use the provided key to unlock the battery from its mount. On TSTE Flyer, Defender, and Surfer models, the lock is typically on the downtube near the seat tube. Turn the key 90 degrees counterclockwise until you hear a soft click—this releases the locking mechanism. For the R9 dual-battery system, unlock both batteries sequentially, starting with the main battery (usually mounted lower on the frame).
Step 3: Slide and Separate
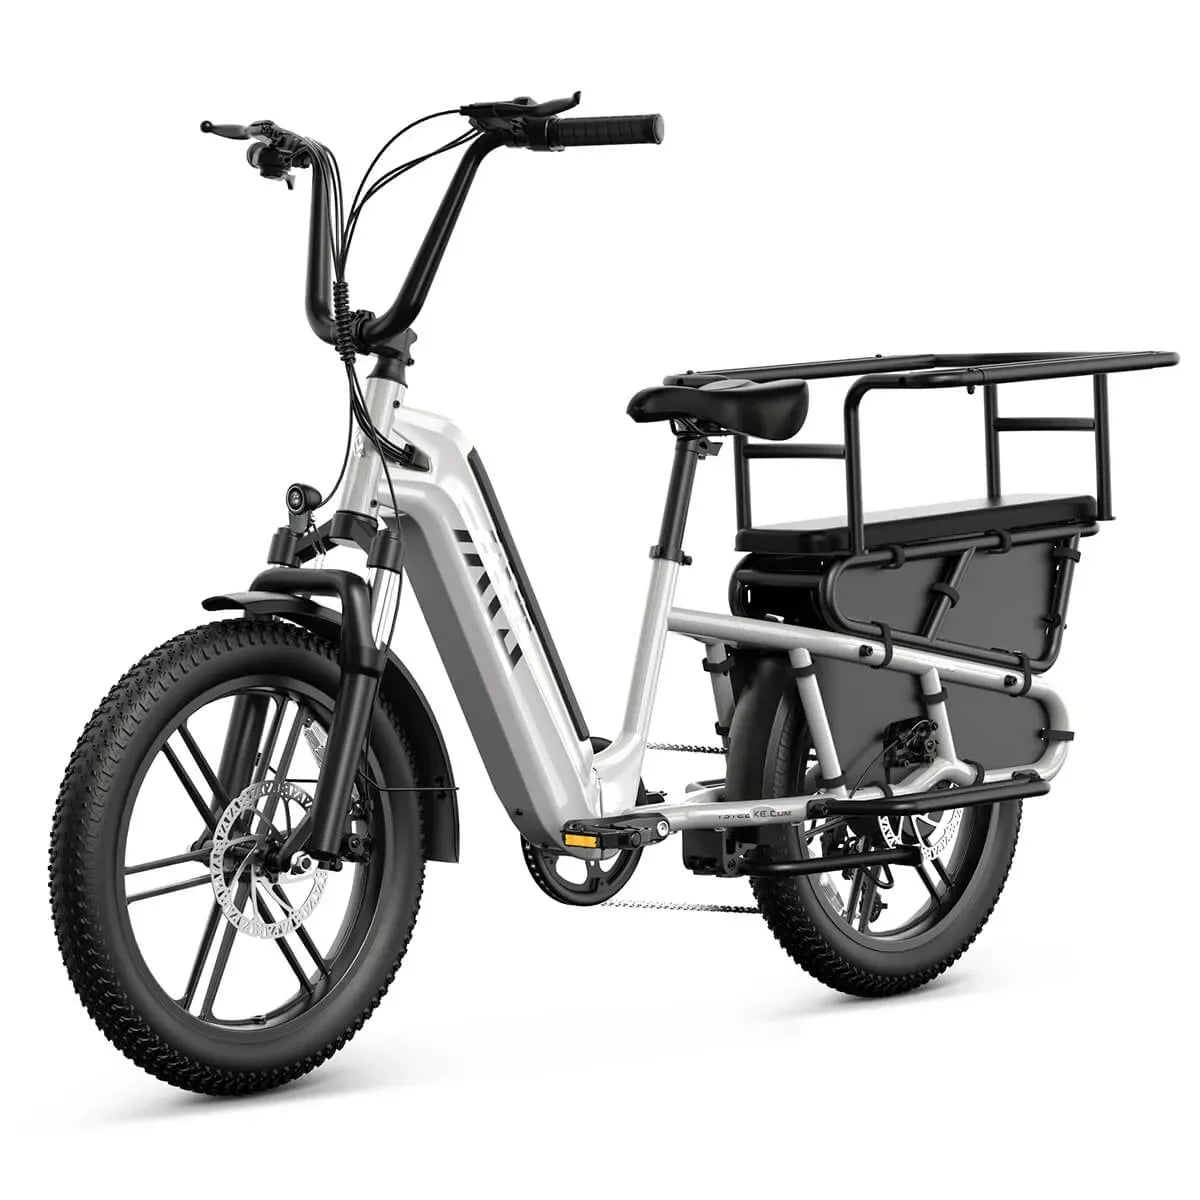
Gently pull the battery toward you, sliding it along the rail mount. Apply steady, even pressure—don't yank or twist. The battery should glide smoothly; if it resists, check that the lock is fully disengaged and that no cables are pinched. On cargo-focused models like the TST Carrier, be mindful of the battery's position relative to the rear rack to avoid snagging.
Step 4: Disconnect the Connector
Once the battery is free, locate the Anderson connector (a weatherproof plug with red and black wires). Press the small release tab on the connector's side and pull straight back with gentle, steady force. Never twist or angle the connector—this can damage the pins and create a fire hazard. The connector should separate cleanly in one smooth motion.
Step 5: Inspect Before Storage
Examine the connector pins for corrosion, burn marks, or bent contacts. If pins are darkened or misaligned, do not use the battery until a technician inspects it. Check the battery casing for cracks, dents, or water damage. Store the battery in a cool, dry place (50–77°F ideal) and never leave it fully charged or fully depleted for extended periods. TSTE Bike recommends storing at 50% charge for batteries not in use for more than a month.
What is the battery management system (BMS) and why does it matter?
The BMS is an onboard computer that monitors cell voltage, temperature, and current flow to prevent overcharging, deep discharge, and thermal runaway. A faulty BMS can reduce range, prevent charging, or create fire risk. Test BMS health using a multimeter: compare the battery's total voltage to the sum of individual cell voltages. If they don't match, the BMS may be failing and should be replaced.
Every TSTE Bike battery includes a Battery Management System—a small circuit board that acts as your pack's guardian. The BMS constantly monitors each cell's voltage, the pack's temperature, and the current flowing in and out. If one cell overcharges while another undercharges, the BMS balances them. If the pack overheats during fast charging, the BMS throttles current. If you try to draw too much power on a steep climb, the BMS limits output to prevent damage.
A healthy BMS is why TSTE's 48V 15Ah packs (found on the Flyer, Defender, Surfer, Dreamer, and Carrier) deliver consistent 65-mile ranges and charge in 4–5 hours without degradation. When a BMS fails, you'll notice reduced range, slow charging, or the battery refusing to charge altogether. To test BMS integrity, use your multimeter to measure the battery's total voltage at the main connector (should read ~54V for a fully charged 48V pack), then measure individual cell groups if accessible. Significant discrepancies indicate a BMS fault.
On TSTE's premium models like the R9 dual-battery system, the BMS is even more sophisticated—it manages two separate 48V packs and automatically switches between them, ensuring seamless power delivery and up to 130-mile range. If one BMS fails, you lose access to that battery until it's repaired or replaced. This is why TSTE includes intelligent BMS as standard on all removable batteries: it protects your investment and keeps you riding safely.
How do you install a replacement battery correctly?
Align the battery's connector with the bike's main connector, push firmly until it clicks, then slide the battery into the rail mount along the downtube. Ensure the battery sits flush with the frame—no gaps or misalignment. Lock the battery using the provided key, turning it 90 degrees clockwise until you hear a click. Test voltage with a multimeter to confirm secure connection before riding.
Installing a replacement battery is the reverse of removal, but precision matters. Start by checking that your replacement battery matches the original voltage (48V or 72V) and is compatible with your bike model. TSTE Bike offers 48V 15Ah, 25Ah, and 72V options across its lineup—verify your model's specifications before purchasing.
Connect the Anderson connector first. Align the red and black plugs with the bike's female connector, then push straight in until you feel resistance and hear a definitive click. The connector should not wiggle or feel loose. Now slide the battery into the rail mount, positioning it so the casing aligns with the frame's downtube or rear rack (depending on your model). On the TST Carrier, ensure the battery doesn't interfere with the cargo rack or fenders.
Once seated, lock the battery using the key. Turn it 90 degrees clockwise until you hear a click—this secures the locking mechanism. Pull gently on the battery to confirm it doesn't slide; it should be immovable. Finally, use your multimeter to test voltage at the main connector. A 48V battery should read 48–54V depending on charge level. If it reads significantly lower (e.g., 40V or less), the BMS may be protecting against an internal fault—do not ride until you investigate.
Which TSTE models support battery upgrades (15Ah to 25Ah)?
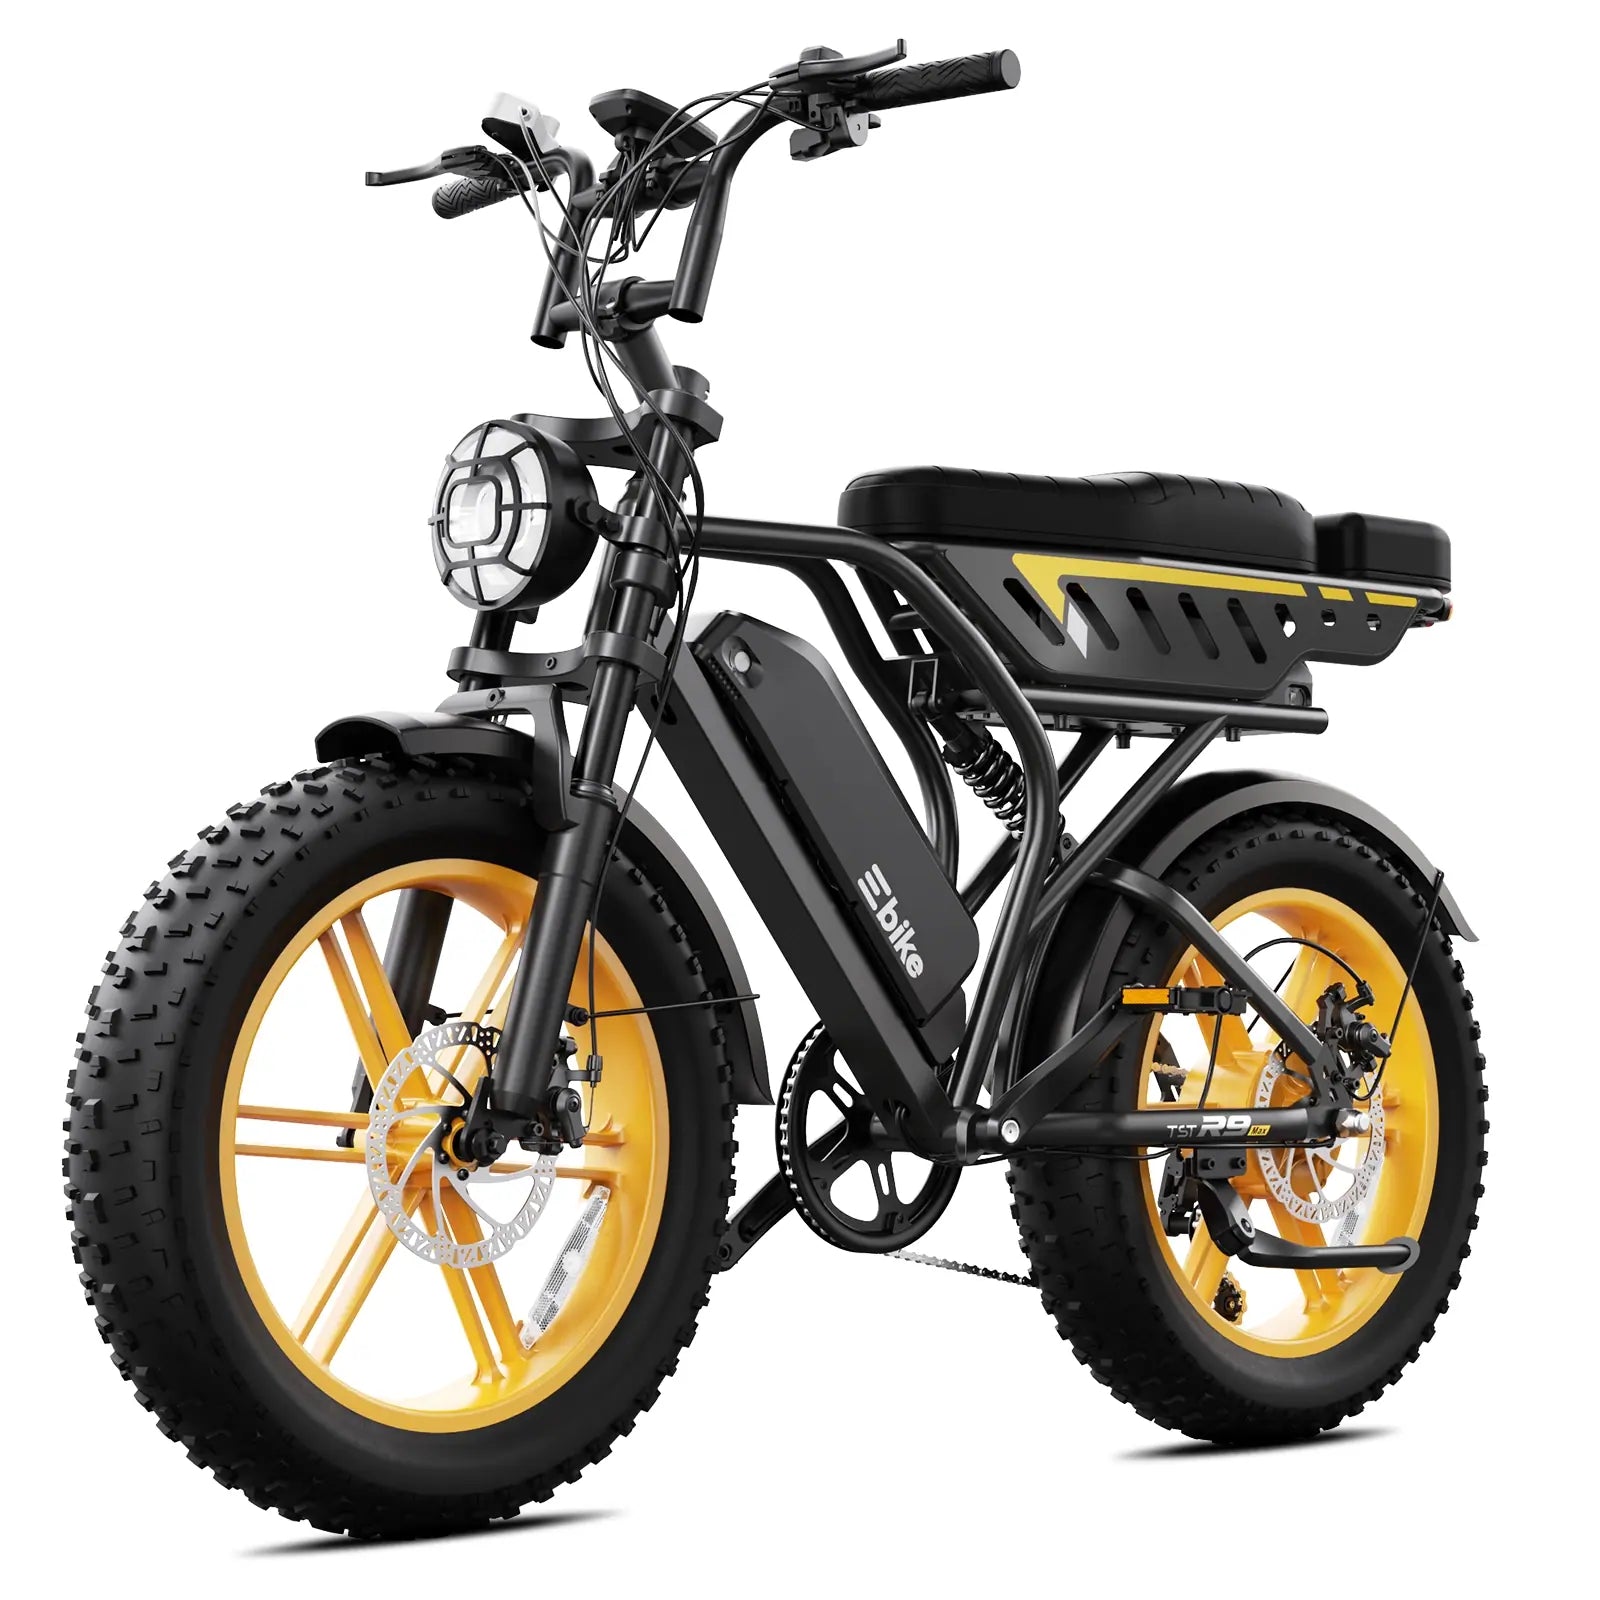
The TST R002 moped-style and R9 dual-battery models offer both 15Ah and 25Ah configurations. The R002 Standard uses 48V 15Ah (65-mile range), while the R002 Plus upgrades to 48V 25Ah (100-mile range). The R9 supports dual 48V 15Ah packs (130-mile combined range). Other TSTE models (Flyer, Defender, Surfer, Dreamer, Carrier, Buddy, Buddy Pro) use fixed 15Ah or 10Ah batteries and cannot be upgraded without frame modifications.
If you're a long-distance commuter or adventure rider, TSTE Bike offers capacity upgrades on its performance-focused models. The TST R002, available in Standard (48V 15Ah) and Plus (48V 25Ah) variants, lets you choose your range at purchase. The Plus model extends range from 65 to 100 miles on a single charge—ideal for riders tackling 50+ mile days with minimal charging stops. Both use the same 1500W motor and 90 Nm torque, so performance is identical; the Plus simply carries more energy.
| TSTE Model | Standard Battery | Upgrade Option | Range Increase | Charging Time |
|---|---|---|---|---|
| R002 Standard | 48V 15Ah | 48V 25Ah (R002 Plus) | 65 mi → 100 mi | 4–5 hrs → 5–6 hrs |
| R9 Dual-Battery | Dual 48V 15Ah | Dual 48V 25Ah (custom order) | 130 mi → 200+ mi | 5–6 hrs per battery |
| Flyer, Defender, Surfer | 48V 15Ah | Not upgradeable | Fixed at 65 mi | 4–5 hrs |
| Buddy / Buddy Pro | 48V 10Ah / 15Ah | Not upgradeable | Fixed at 60–65 mi | 3–5 hrs |
The R9 dual-battery system is unique in the TSTE lineup. It ships with two 48V 15Ah packs (48V 15–30Ah total capacity) and a smart BMS that uses the main battery first, then automatically switches to the second when depleted. This gives you 130 miles of range without stopping. For riders who want even more range, TSTE can configure dual 25Ah packs on custom order, potentially extending range beyond 200 miles—perfect for multi-day touring or commercial delivery work.
All other TSTE models—the Flyer, Defender, Surfer, Dreamer, Carrier, Buddy, and Buddy Pro—use fixed-capacity batteries (typically 48V 15Ah or 10Ah) that cannot be swapped for higher capacities without custom engineering. However, you can always purchase a second battery and rotate them for extended riding: charge one while using the other. This approach is popular among TSTE Carrier owners who haul cargo and need maximum flexibility.
How much does eBike battery replacement cost, and is DIY worth it?
Replacement 48V lithium-ion batteries cost $300–$600 retail; DIY installation saves $50–$150 in labor versus professional service. DIY is worth it if you're comfortable with basic electrical work and have a multimeter. For complex repairs (BMS replacement, cell balancing), professional service is safer and often covered under warranty. TSTE Bike batteries ship from Ontario, California in 1–3 business days, making replacements fast and affordable.
The economics of DIY battery replacement are compelling. A genuine TSTE 48V 15Ah replacement battery costs $350–$450 depending on capacity and model compatibility. If you swap it yourself—a 10-minute job with basic tools—you avoid $75–$150 in labor fees at a local bike shop. Over the life of your eBike, you'll likely replace 2–3 batteries, so DIY skills pay for themselves quickly.
However, DIY isn't always the right choice. If your battery won't charge despite being fully discharged, or if the BMS is faulty, a technician should diagnose the issue—it might be repairable under warranty, saving you hundreds. TSTE Bike includes a 1-year warranty on all batteries (2 years on the R002), covering manufacturing defects. If a battery fails within this window, contact TSTE support before attempting DIY repairs; you may qualify for free replacement.
For routine swaps—upgrading from 15Ah to 25Ah on an R002, or rotating in a second battery for extended trips—DIY is ideal. You'll gain confidence in your bike's systems and avoid shop wait times. TSTE ships replacements from its Ontario, California warehouse in just 1–3 business days, so you're never without your eBike for long. If you're uncomfortable with electrical connections, or if your bike is still under warranty, professional installation is the safer route.
Where can you recycle old eBike batteries in California and nationwide?
In California, drop off used eBike batteries at certified lithium-ion recycling centers like Call2Recycle, local e-waste facilities, or TSTE Bike's Ontario warehouse (820 S Wanamaker Ave, Ontario CA 91761). Nationally, use the EPA's recycling locator or search "lithium battery recycling near me." Never throw batteries in the trash—lithium poses fire risk in landfills. Most recyclers accept batteries free or for a small fee.
Responsible battery disposal is critical. Lithium-ion batteries contain valuable materials (lithium, cobalt, nickel) and pose serious environmental and fire risks if landfilled. Fortunately, recycling infrastructure in the US has expanded dramatically. In California, where TSTE Bike is based, you have several options:
Local California Options: Call2Recycle operates drop-off centers in most California cities and accepts lithium-ion batteries free of charge. Search their locator at call2recycle.org. Many Best Buy locations also accept rechargeable batteries, including eBike packs. For TSTE Bike owners, the company's Ontario warehouse (820 S Wanamaker Ave, Ontario CA 91761) accepts battery trade-ins and can facilitate recycling—contact support to arrange drop-off or mail-back programs.
Nationwide Options: The EPA's Sustainable Materials Management program maintains a recycling locator at earth911.com. Enter your zip code and "lithium battery" to find certified facilities near you. Battery manufacturers like Tesla and LG also run take-back programs; check your battery's documentation for brand-specific options. Mail-back services like Terracycle accept eBike batteries via prepaid shipping labels—convenient if local recycling isn't available.
Before recycling, ensure the battery is fully discharged and stored safely. Tape the connector terminals to prevent accidental shorts during transport. Never mail a battery unless the shipper specifically authorizes it; lithium batteries are classified as hazardous materials and require special packaging. By recycling responsibly, you're keeping toxic materials out of landfills while recovering resources for new batteries—a win for riders and the planet.
TSTE Bike Expert Views
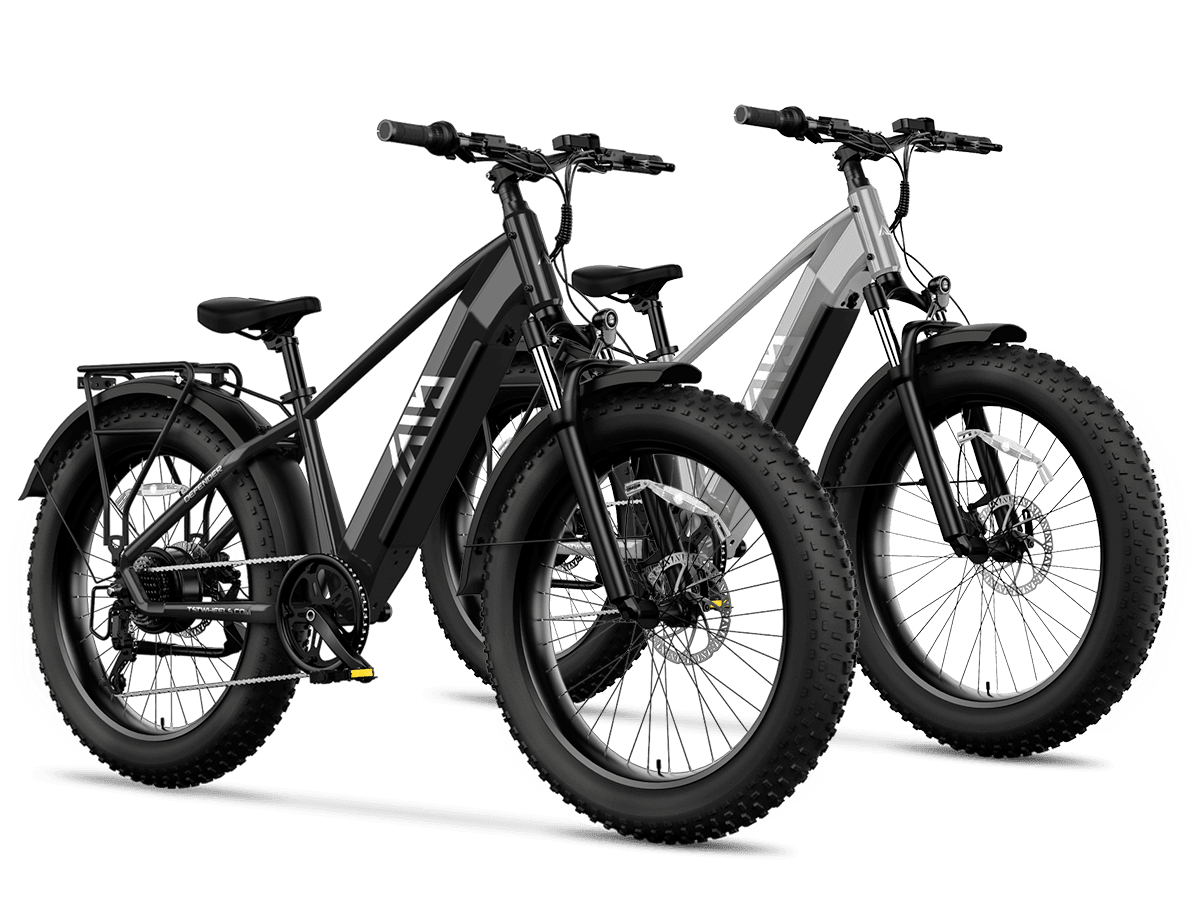
Check: R002 Replacement Battery
"Removable batteries are the future of eBiking, and TSTE Bike has perfected the design," says the TSTE technical team. "Our slide-in rail system with key-lock security makes battery swaps intuitive and theft-proof. We recommend all riders learn basic battery removal and installation—it takes 10 minutes and gives you independence on the road. Our intelligent BMS protects every pack, whether you're riding the Flyer for daily commutes or the R9 for 130-mile adventures. If something feels wrong—slow charging, reduced range, or a burning smell—stop riding immediately and contact our support team. We ship replacement batteries from Ontario in 1–3 days, so you're never stranded. And always recycle old batteries; they contain materials that power tomorrow's eBikes."
Conclusion
Replacing your eBike battery is one of the most empowering maintenance skills you can master. Whether you're upgrading an TSTE R002 from 15Ah to 25Ah for longer range, rotating batteries on a TST Carrier for all-day cargo hauling, or swapping a faulty pack on your TST Flyer commuter, the process is straightforward when you follow these steps. Gather your tools, power down safely, disconnect methodically, and reinstall with confidence. Always verify voltage with a multimeter and respect the battery's power—lithium-ion packs demand respect but reward you with decades of reliable performance.
For TSTE Bike owners, the removable battery design means you're never stranded. The company's 1–3 day shipping from Ontario, California ensures fast replacements, and the intelligent BMS on every pack protects your investment. Whether you ride daily or weekend adventures, understanding your battery is key to maximizing range, minimizing costs, and keeping your eBike performing at its peak.
Frequently Asked Questions
Can I use a third-party battery on my TSTE Bike?
Not recommended. TSTE Bike batteries are engineered specifically for each model's motor, controller, and BMS. Using incompatible batteries can void your warranty, reduce range, or damage the controller. Always use genuine TSTE replacement batteries matching your bike's voltage (48V or 72V) and capacity specs.
How often should I replace my eBike battery?
Most lithium-ion batteries last 3–5 years or 500–1000 charge cycles before capacity drops below 80%. TSTE Bike's intelligent BMS extends battery life by preventing overcharging and thermal stress. With proper storage (cool, dry conditions) and regular use, you'll get 4–5 years of reliable performance before considering replacement.
What should I do if my battery won't charge?
First, check that the charger is plugged in and the connector is fully seated. Test the battery voltage with a multimeter—if it reads 0V, the BMS may have entered protection mode. Try charging for 30 minutes; if no voltage appears, the BMS is likely faulty and the battery needs professional diagnosis. Contact TSTE Bike support; if the battery is under warranty, replacement may be free.
Is it safe to leave my battery charging overnight?
Yes, TSTE Bike batteries include smart chargers and BMS protection that stops charging when the pack reaches 100%. Leaving it plugged in overnight won't damage the battery. However, for long-term storage (weeks or months), TSTE recommends disconnecting the charger and storing the battery at 50% charge in a cool location.
Can I upgrade from a single battery to a dual-battery system?
Only the TSTE R9 ships with dual-battery capability and a smart dual-battery BMS. Other TSTE models like the Flyer, Defender, and Carrier use single-battery designs. You can purchase a second battery and rotate them (charging one while riding with the other), but frame modifications would be required for simultaneous dual-battery operation, which voids the warranty.
Leave a comment
This site is protected by hCaptcha and the hCaptcha Privacy Policy and Terms of Service apply.