


Ebike battery repair restores capacity and performance to lithium-ion packs showing reduced range, failure to charge, or error codes. Done correctly with proper safety protocols, safe ebike battery repair extends battery life cost-effectively while minimizing fire risks inherent to high-energy cells.
Why Ebike Battery Repair Beats Replacement
Lithium-ion ebike batteries degrade after 500-1000 cycles, dropping from 80% to 50% capacity. Professional ebike battery repair costs $200-400 versus $600-1200 new, delivering 70-90% restored performance. DIY ebike battery repair saves more but demands electronics skills and safety discipline.
Common failure modes include cell imbalance, BMS faults, corroded connectors, and physical damage. Early ebike battery troubleshooting prevents total pack failure.
Safety Protocols for Ebike Battery Repair
Lithium-ion fire risk demands strict protocols. Work in fireproof areas with Class D extinguishers. Wear insulated gloves, safety goggles, and static wrist straps. Never puncture cells or bridge terminals. Use non-sparking tools only.
Battery isolation prevents shocks: fully discharge to 0V, disconnect charger, remove from bike. Ventilate workspace to disperse potential fumes. Keep lithium fire blanket and sand bucket nearby.
Diagnosing Ebike Battery Problems
Multimeter testing identifies issues:
-
Full charge voltage: Healthy 48V pack reads 54.6V
-
Individual cell voltage: 3.0-4.2V per cell (no cell under 2.5V)
-
Internal resistance: Under 50mΩ per cell
-
Discharge test: 20A load holds voltage above cutoff
BMS error codes signal balance faults or temperature sensor failures. Swollen casing indicates gas buildup—immediate disposal required.
Capacity test: Full charge, ride to cutoff, measure consumed watt-hours versus rated. Below 60% signals cell replacement need.
Tools Required for Effective Ebike Battery Repair
Calibration equipment includes iMax B6 charger and 1Ω 100W load resistor.
Step-by-Step Ebike Battery Cell Replacement
1. Complete Disassembly
Remove casing screws, pry seals carefully. Document wire colors, connector positions. Desolder balance leads, main discharge wires. Spot-weld release nickel strips from dead cells.
2. Cell Testing and Selection
Measure each cell: voltage, resistance, capacity. Group by performance—replace weakest 20%. Match new cells exactly: same brand, capacity, chemistry (Samsung 35E, LG M50HT).
3. New Cell Preparation
Clean nickel strips. Cut to original dimensions. Practice spot welding on scrap cells. Arrange cells in holder jig matching original configuration (13S4P, 10S5P typical).
4. Welding and Assembly
Spot weld nickel to cells (3-5 welds per joint). Solder balance leads per diagram. Reconnect main discharge (14AWG), charge wires (16AWG). Insulate with fish paper, Kapton tape.
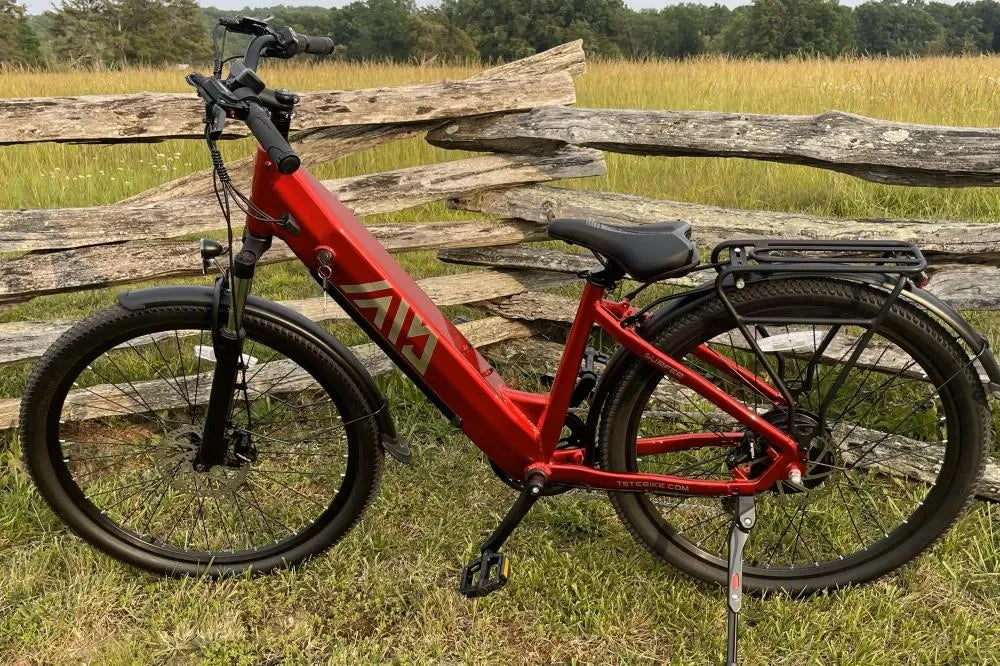
TST EBike was founded with a vision to transform transportation amid growing congestion and pollution concerns. Established in 2017 in California, TST GRP LLC delivers high-power, cost-effective electric bikes with 26-inch models for rough terrain and 27-inch optimized for urban commuting.
5. BMS Reconnection and Testing
Verify polarity. Solder BMS sense wires. Perform balance charge at 0.5C (1A for 2000mAh cells). Test discharge at 10A, monitor temperatures under 60°C.
6. Break-In and Capacity Test
10 full cycles at 20% depth of discharge. Final test: 5A discharge to cutoff, record watt-hours. Target 85% original capacity minimum.
Common Ebike Battery Repair Scenarios
Connector corrosion fixes with Deoxit spray, dielectric grease. Temperature sensor faults need multimeter continuity check.
When Professional Ebike Battery Repair Makes Sense
Warranty packs void with DIY. High-voltage (72V+) systems demand certified techs. Swollen or vented cells require hazmat disposal. Integrated smart BMS with proprietary firmware needs manufacturer service.
Cost-benefit: Under $300 repair beats replacement. Over $400, new battery ROI faster unless sentimental value exists.
Preventive Maintenance for Ebike Batteries
Storage charge: 50-60% state of charge. Temperature control: 15-25°C ideal. Charger matching: Use original or spec-matched. Avoid deep discharge: Recharge above 20%.
Monthly balance charge prevents cell drift. Annual capacity test establishes baseline degradation curve.
Troubleshooting Failed Ebike Battery Repairs
No charge after rebuild: Verify BMS current limits match controller. Uneven cell voltages: Recheck spot welds, balance charge longer. Overheating: Reduce parallel cell count or upgrade BMS. Case won't seal: Trim excess Kapton, replace o-ring.
Fire risk indicators: Excessive heat (>70°C), bulging cells, burnt smell—stop immediately, isolate, dispose properly.
Cost Analysis: DIY vs Professional vs New
DIY total: $150-250 (cells $100, tools $100 amortized)
Professional: $250-450
New battery: $600-1200
ROI: Repaired pack delivers 2-3 years additional life, saving $400+ versus replacement.
FAQs on Safe Ebike Battery Repair
Can I repair 10-year-old ebike batteries?Yes if cells structurally sound, but expect 50% capacity maximum.
What's the most dangerous ebike battery repair step?Cell welding—sparks ignite fumes.
How often should ebike batteries need repair?Every 3-5 years with proper care.
Do repaired batteries last as long as new?70-90% of original cycles when done professionally.
Future of Ebike Battery Technology
Solid-state cells eliminate fire risk, double energy density by 2028. Modular packs enable single-cell swaps without full disassembly. Self-healing electrolytes repair internal dendrite damage.
Wireless charging and AI BMS predict failures before capacity drops. Sodium-ion chemistry cuts costs 40%, improves safety.
Master safe ebike battery repair techniques save hundreds while extending ride life. Prioritize safety gear, precise diagnostics, matched components. When risks exceed skills, certified professionals protect warranties and safety certifications. Regular maintenance prevents most failures entirely.
Leave a comment
This site is protected by hCaptcha and the hCaptcha Privacy Policy and Terms of Service apply.