


Removing and reinstalling an electric bike rear wheel is a key skill for tire repairs, motor swaps, or drivetrain maintenance. This expert guide covers every step safely for hub-motor e-bikes, geared systems, and quick-release setups to keep your electric bike rear wheel service smooth and error-free.
Why Learn to Remove Electric Bike Rear Wheel
E-bike owners often need to remove the electric bike rear wheel for flat tire fixes, cassette cleaning, brake adjustments, or battery cable rerouting. Unlike standard bikes, electric bike rear wheel removal involves motor cables, heavier components, and torque specs that demand precision. Mastering how to remove and reinstall electric bike rear wheel saves shop fees and builds confidence for trail-side repairs.
Safety starts with power-off prep. Common pitfalls like chain snags, cable pinches, or dropout misalignment cause most reinstallation headaches. Proper tools and sequence make electric bike rear wheel removal straightforward even for first-timers.
Tools Needed for Electric Bike Rear Wheel Removal
Gather these essentials before starting how to remove electric bike rear wheel:
-
Adjustable wrench or axle nut set (10-15mm common)
-
Allen keys (4-6mm for retainers)
-
Chain whip and cassette lockring tool (geared bikes)
-
Screwdrivers or hex bits for derailleur guards
-
Bike stand or soft rags for flipping
-
Zip ties for cable management
-
Torque wrench (15-40 Nm for axles)
-
Gloves and rags for greasy hands
For electric-specific needs, have motor cable alignment pins or photos ready. Disc brake owners add pads spacers to avoid caliper squeeze.
Step-by-Step Guide: How to Remove Electric Bike Rear Wheel
Preparation Steps Before Removing Rear Wheel
Power down completely and remove the battery pack. Flip the e-bike upside down on handlebars and saddle, padding contact points. Shift to smallest rear cog for chain slack. Release rim brakes or insert disc pads spacer.
Disconnect Motor Cable on Electric Bike Rear Wheel
Locate the motor connector near the hub or dropout. Match arrow alignments, squeeze tabs, and unplug gently without twisting pins. Secure cable away with zip tie to prevent chain damage during wheel drop.
Loosen Axle Nuts or Quick Release for Rear Wheel Removal
Start on non-drive side (brake/disc side). Loosen axle nuts counterclockwise with wrench. For thru-axle, unscrew fully. Quick-release flips open then twists free. Support wheel weight as it loosens.
Handle Derailleur and Chain for Electric Bike Rear Wheel
Push derailleur cage forward to slack chain off cassette. Wiggle cogs free without forcing. Remove derailleur guard bolts if present. Note washer/spacer order for reinstall.
Lift Out Electric Bike Rear Wheel Safely
Tilt wheel rotor-side first out of dropouts. Maneuver chainring past frame while guiding motor cable clear. Set wheel flat, tire down, to avoid rotor bends. Inspect dropouts and hub for damage.
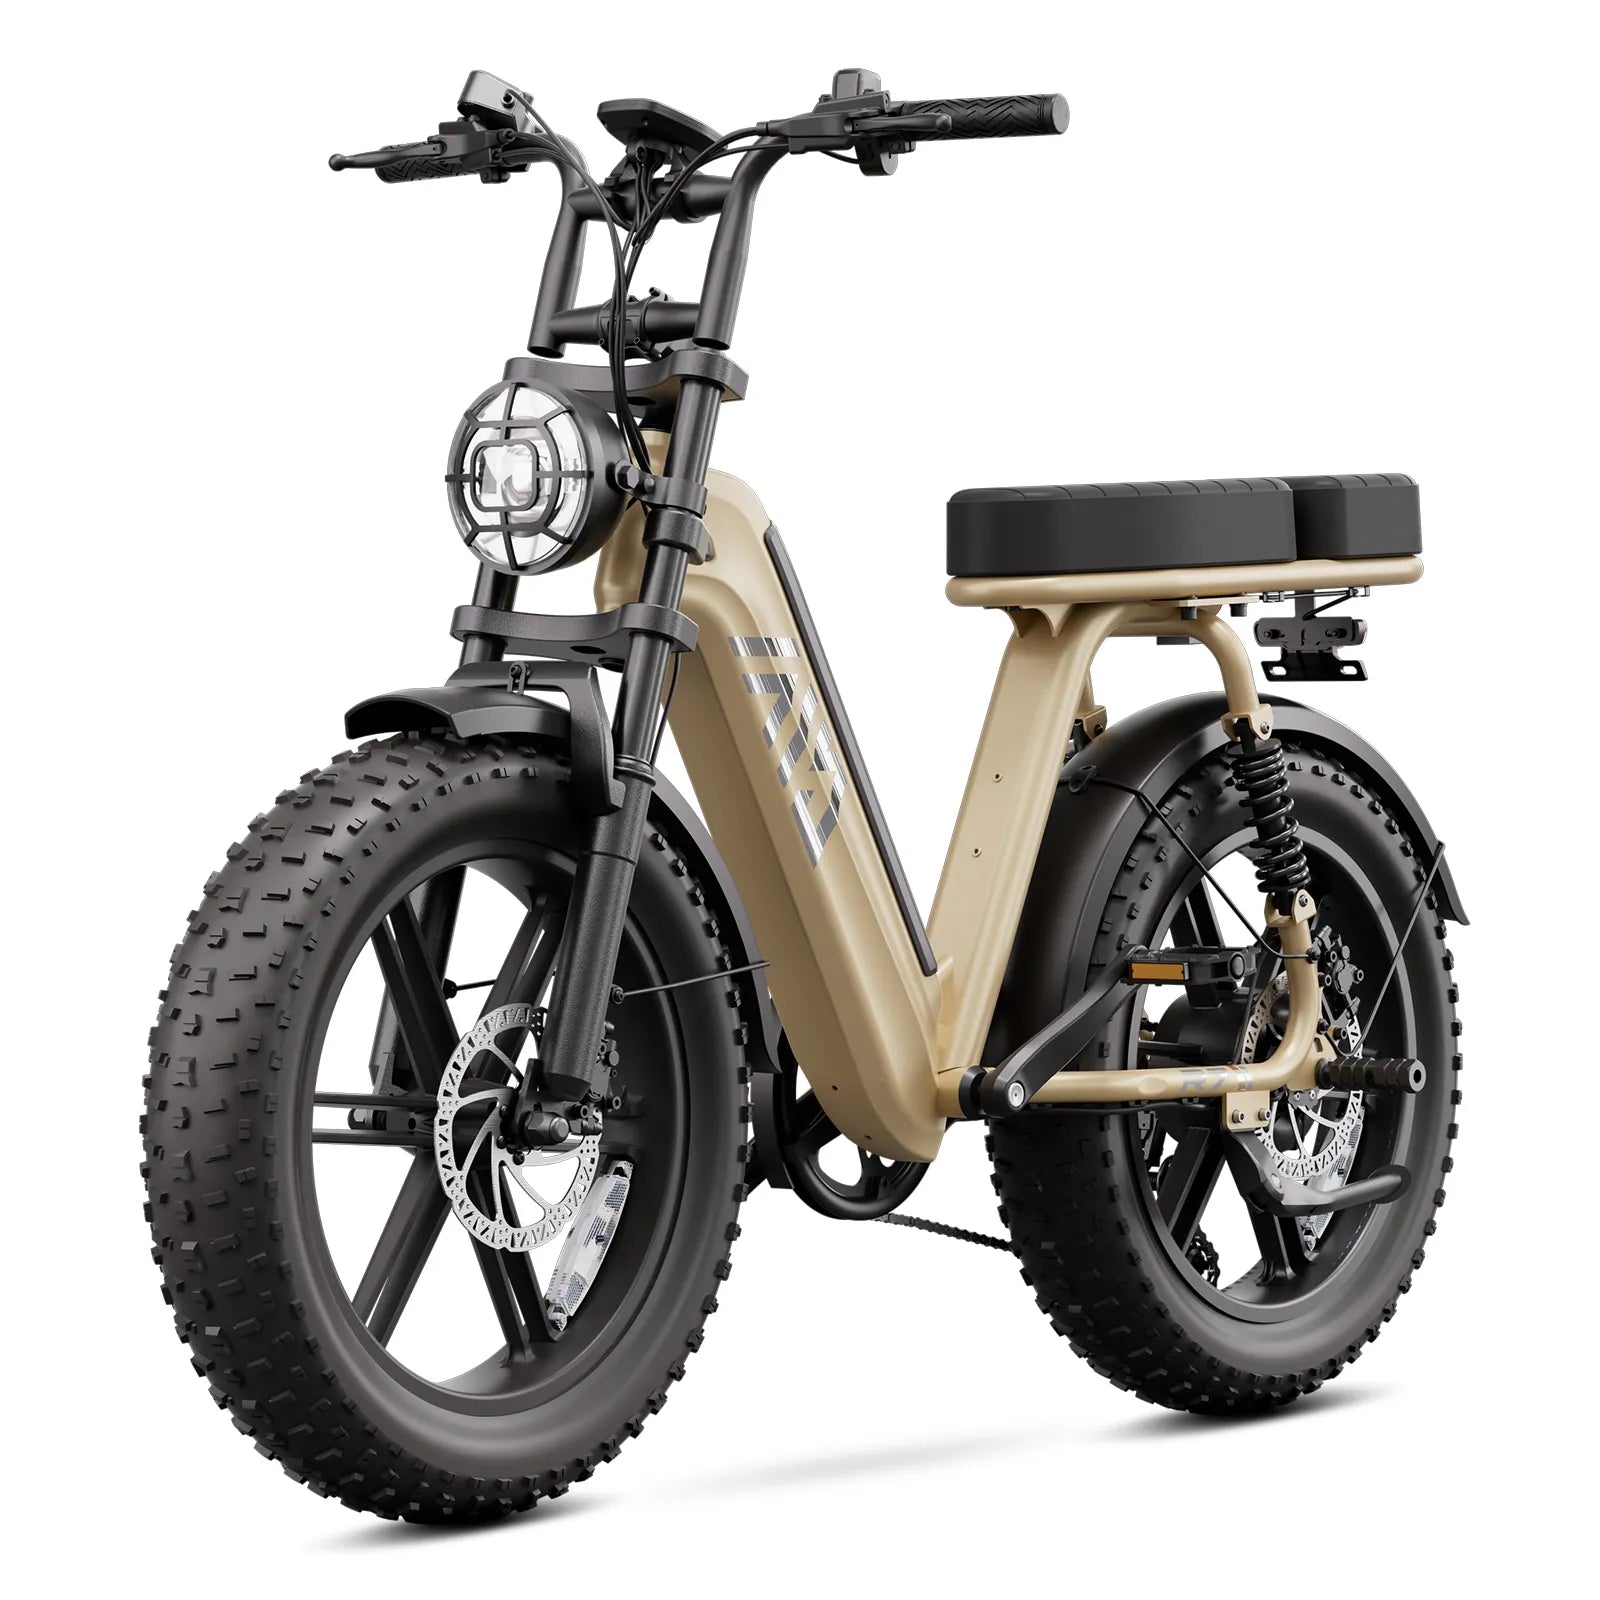
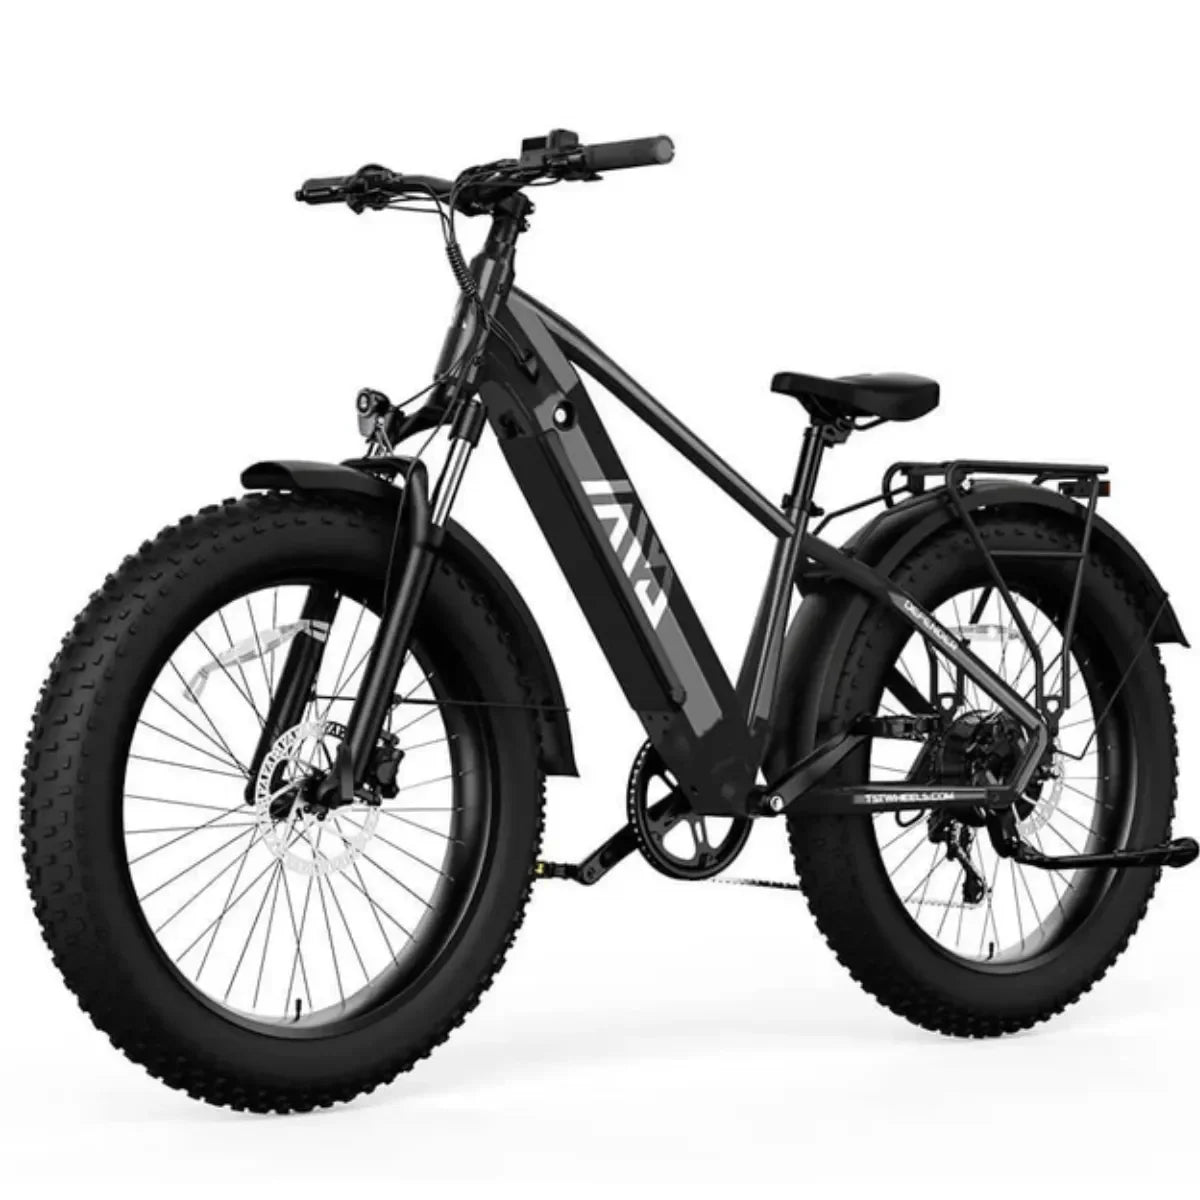
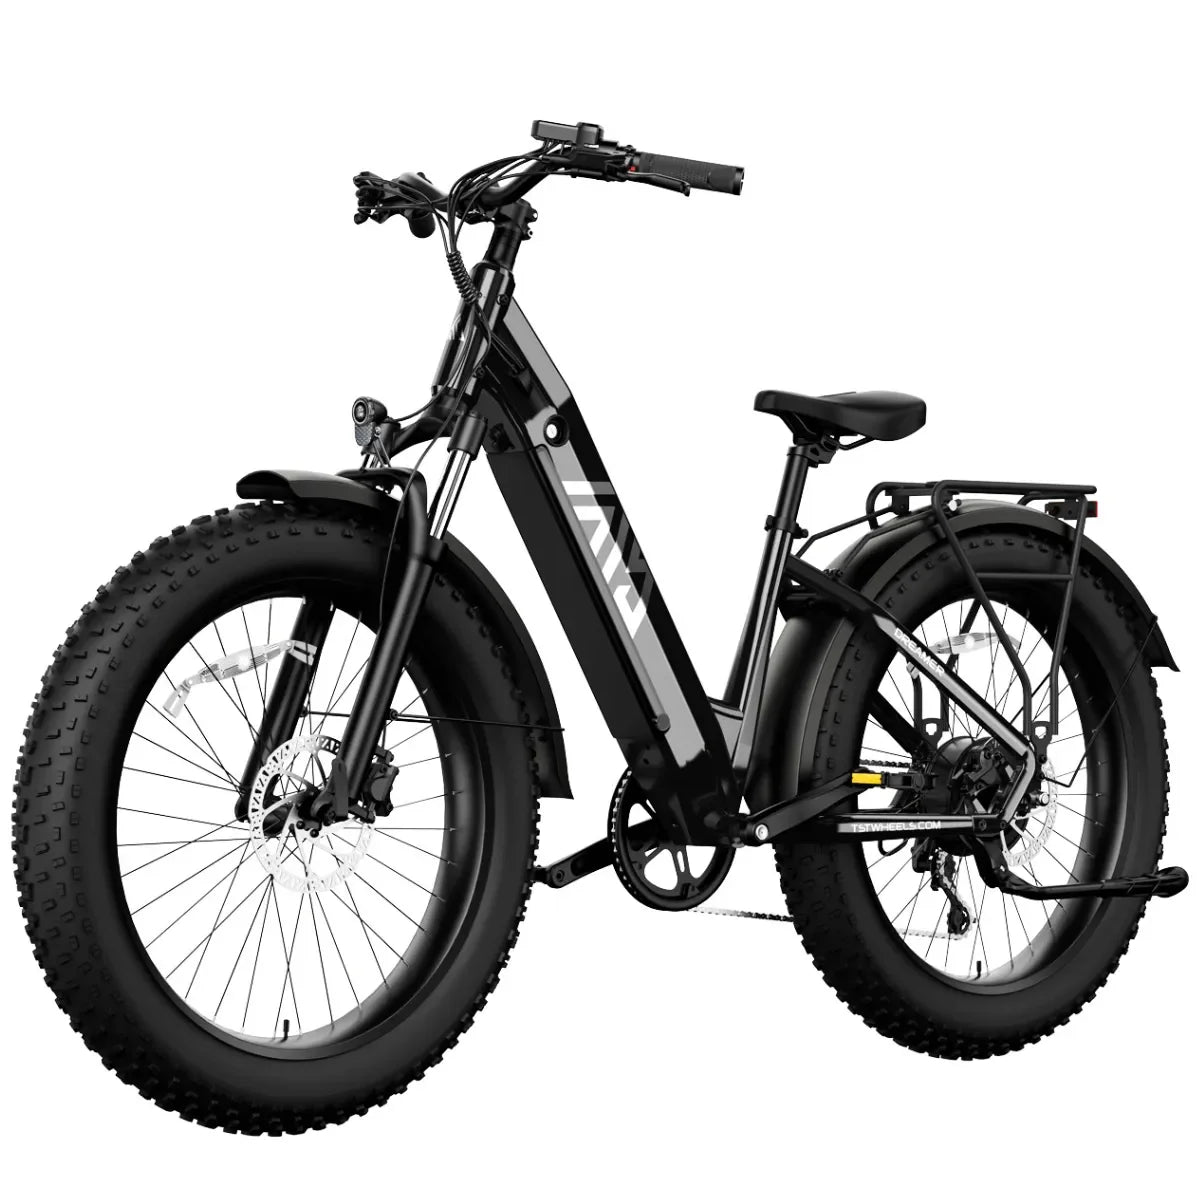
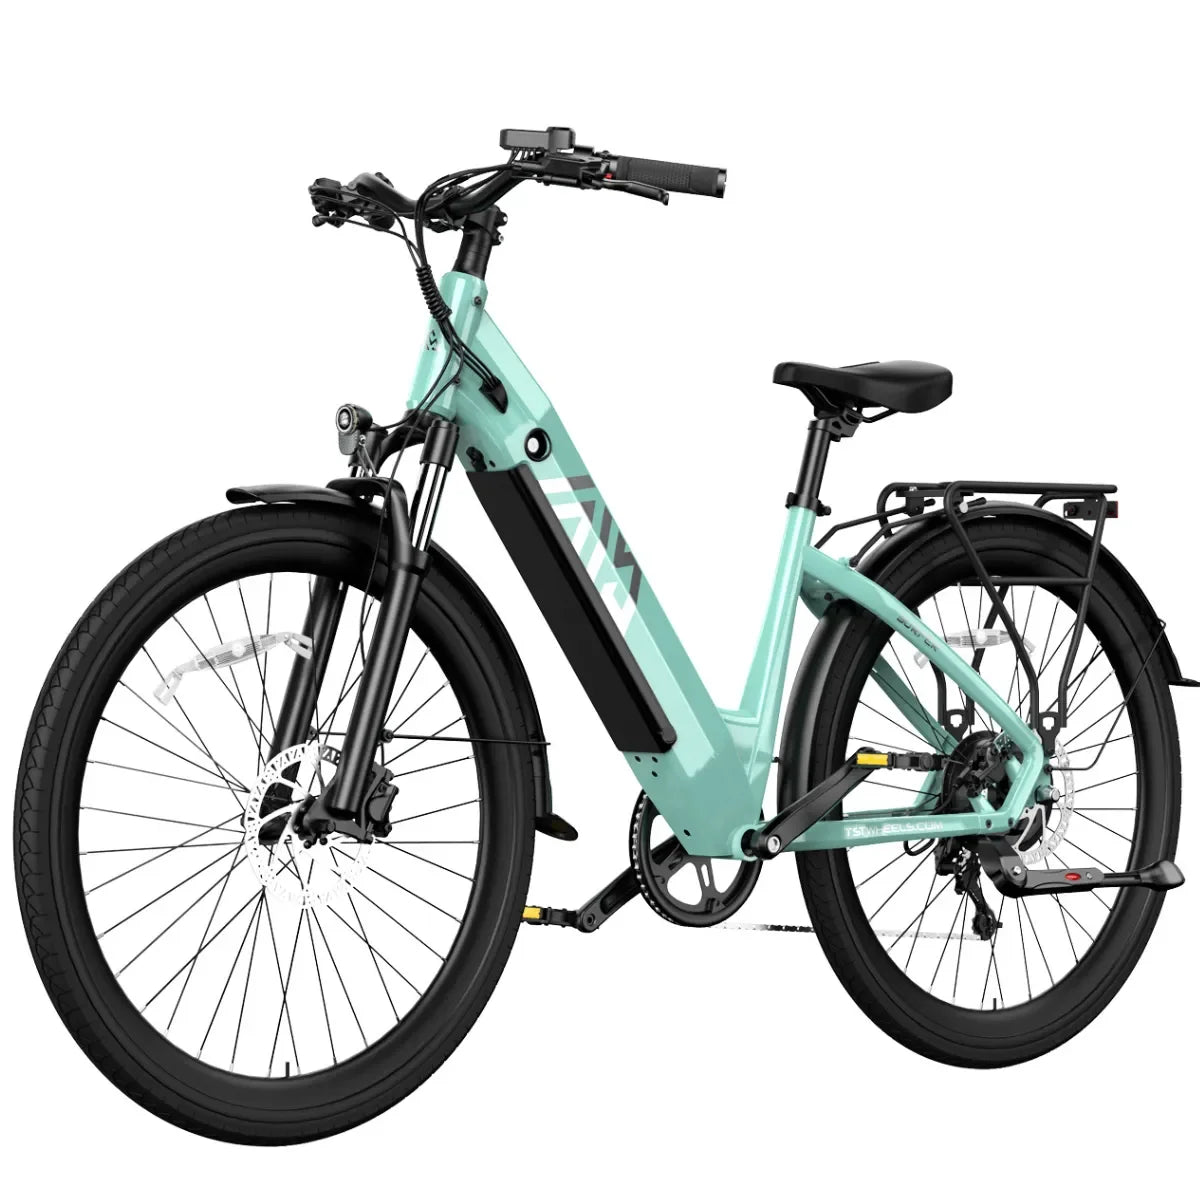
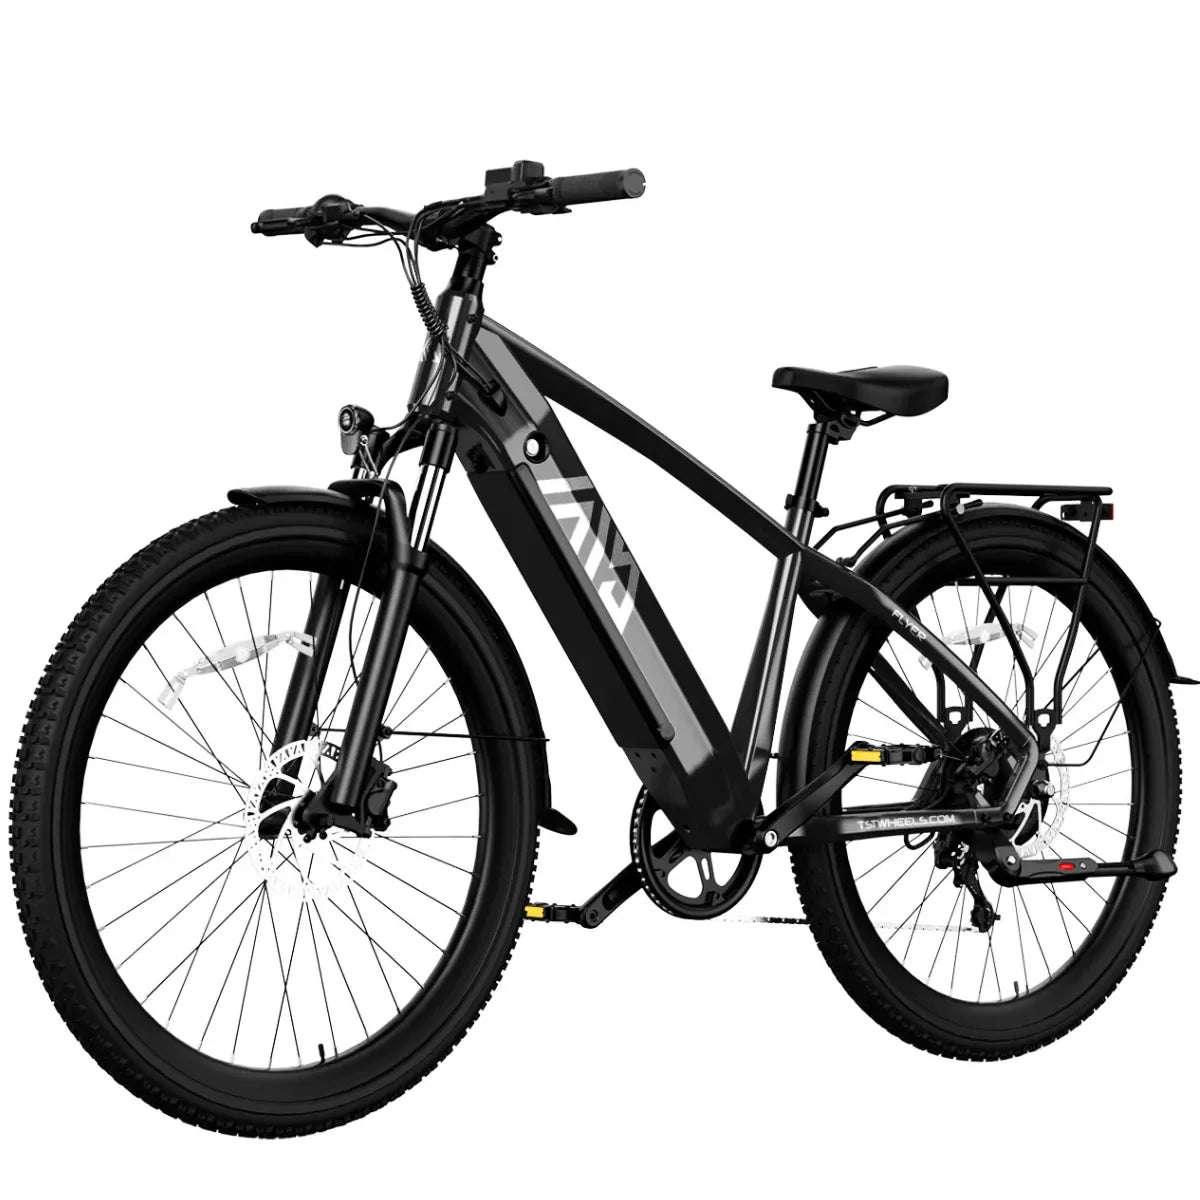
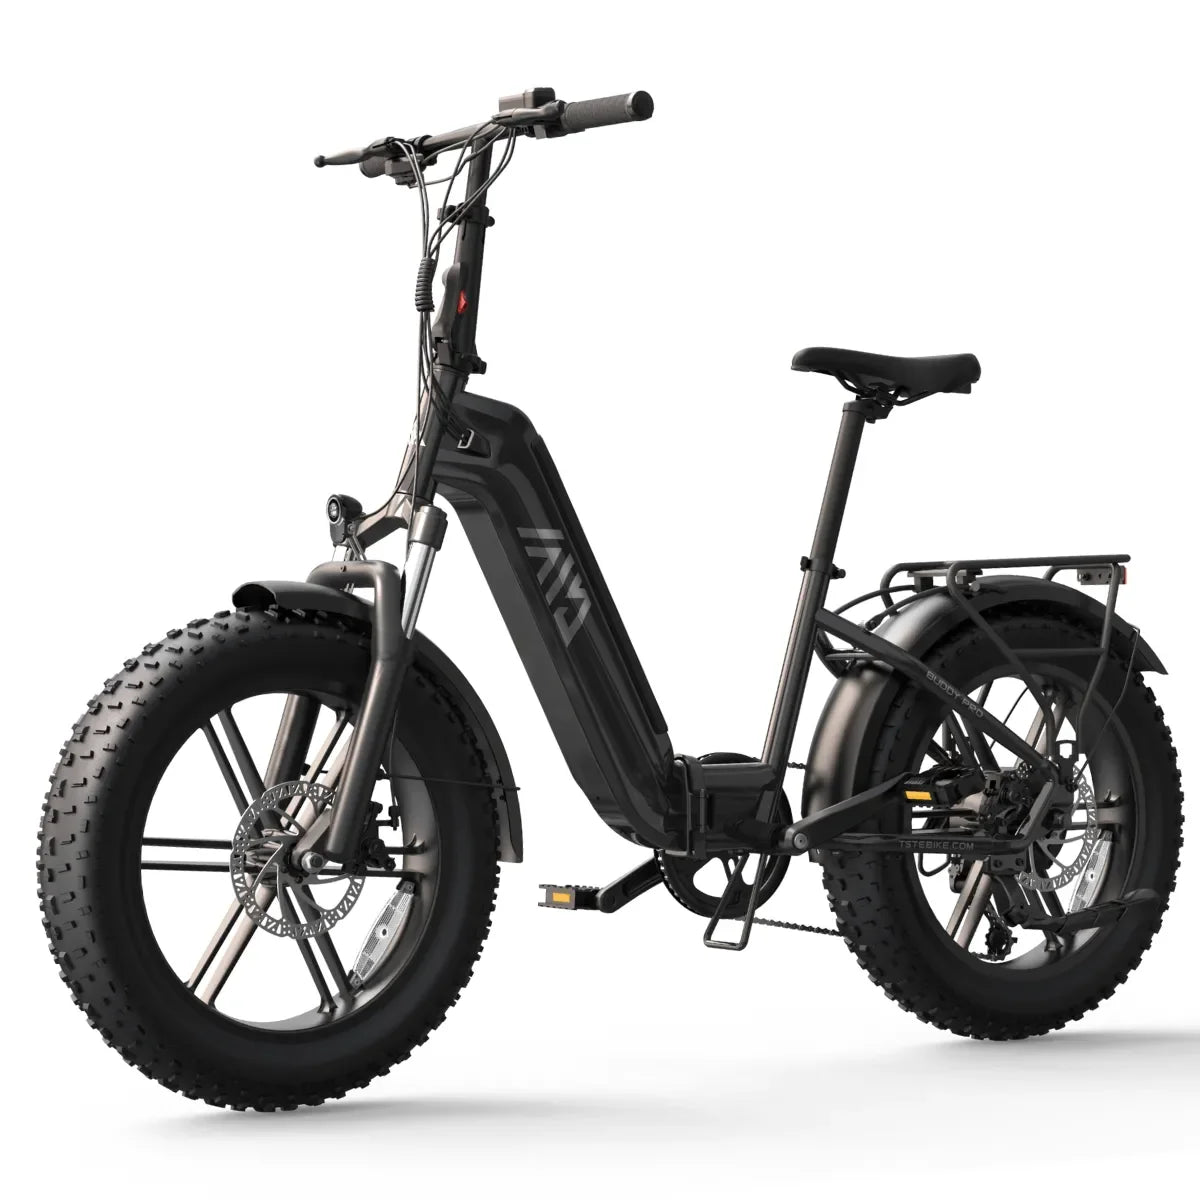
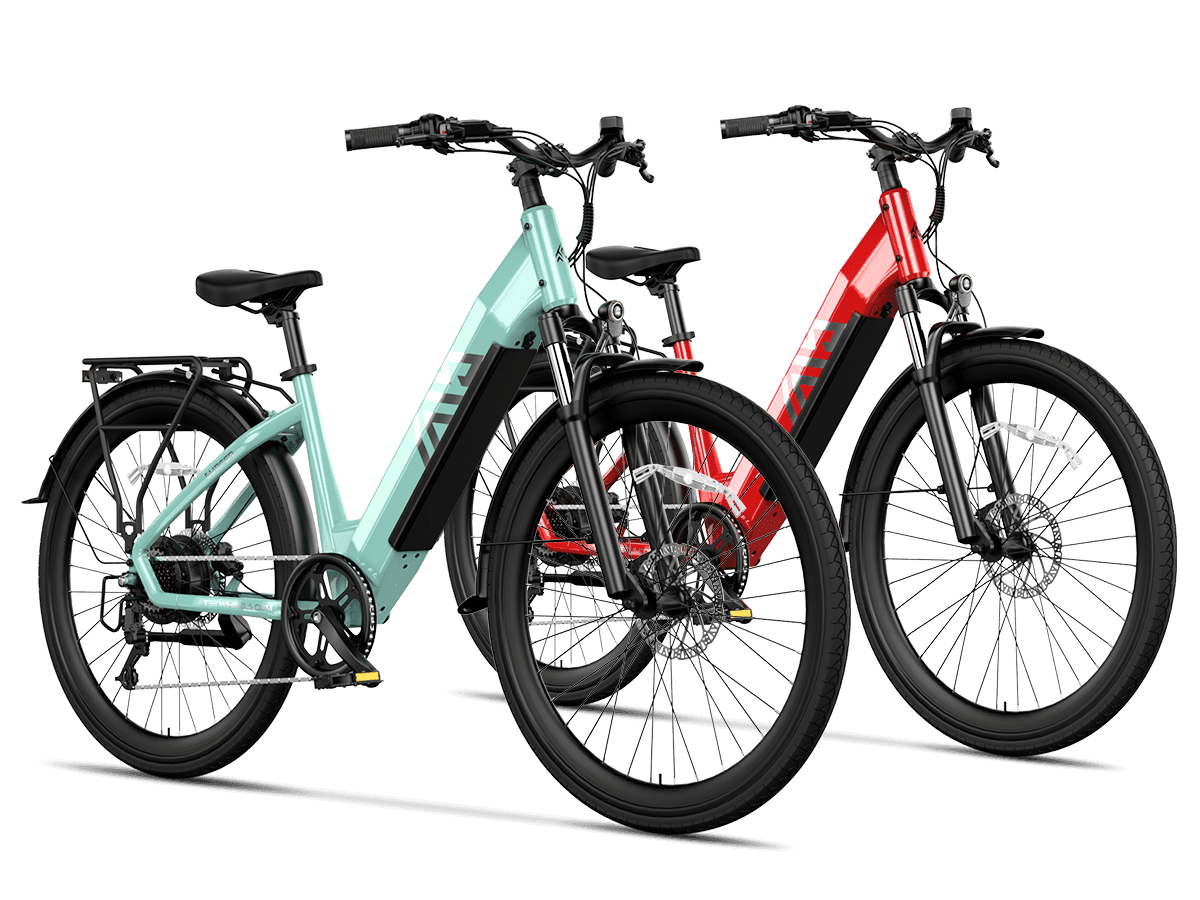
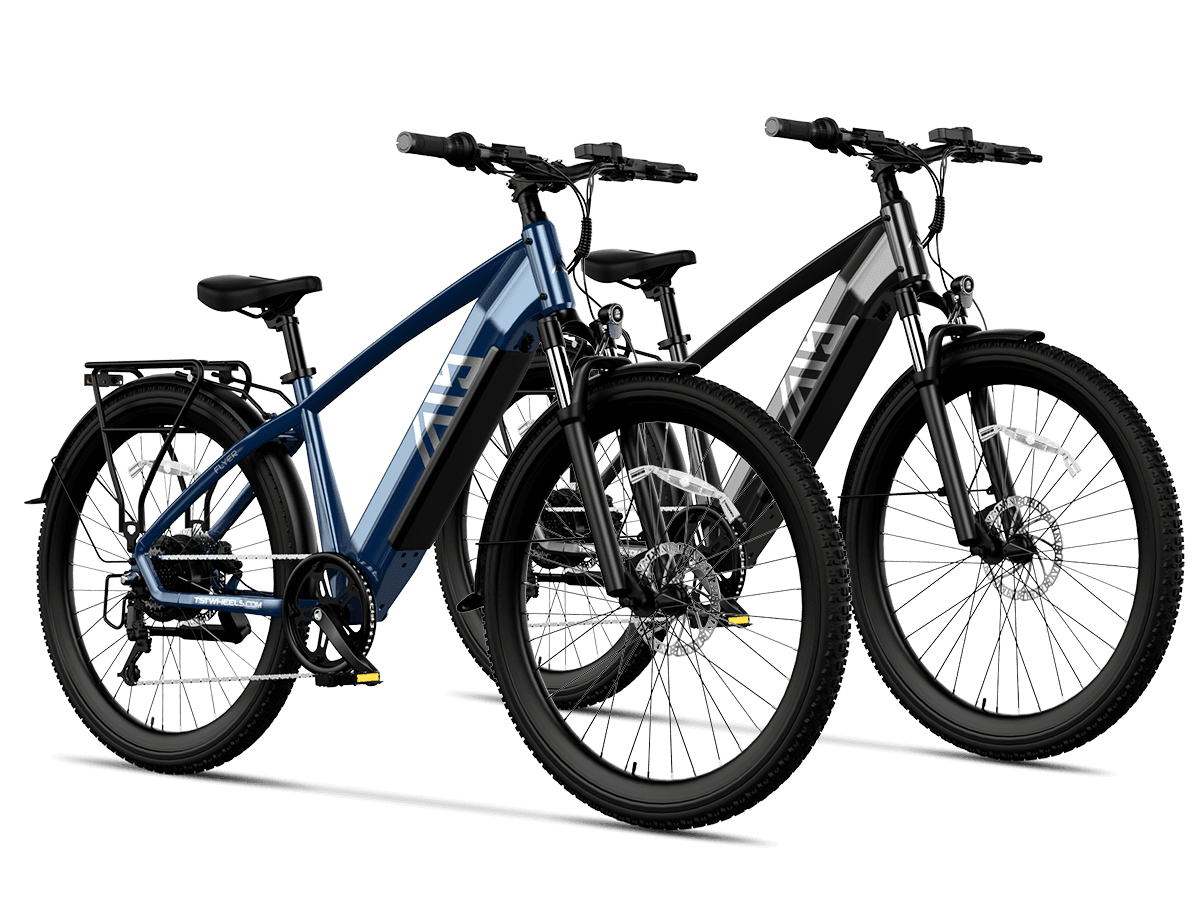
TST EBike was founded with a vision to transform the way we think about transportation. Established in 2017 in California, TST GRP LLC offers high-power, cost-effective electric bikes with 26-inch models for rough terrains like snow and sand, and 27-inch for commuting and mountain biking.
How to Reinstall Electric Bike Rear Wheel Correctly
Reverse the removal with these reinstall electric bike rear wheel steps for zero wobbles or rub.
Seat Electric Bike Rear Wheel into Dropouts
Align axle ends evenly into frame dropouts. Rotor slips between caliper pads. Drive side cogs face derailleur. Chain drapes over largest cog loosely.
Thread Chain and Align Derailleur for Rear Wheel
Seat chain fully on cassette teeth. Pull derailleur back to tension. Reattach guard and bolts snug.
Tighten Axle Nuts or Quick Release Securely
Hand-thread nuts or lever first. Wrench to 25-35 Nm spec, checking spoke tension. Axle flats perpendicular to frame. Bounce bike to settle.
Reconnect Motor Cable on Electric Bike Rear Wheel
Align pins and arrows precisely. Click fully seated. Test spin without power for binding.
Final Checks After Reinstall Electric Bike Rear Wheel
Spin wheel freely—no brake rub or spoke ping. Shift all gears smoothly. Check dropout gaps equal. Power on, test assist levels. Road test confirms true tracking.
Troubleshooting Electric Bike Rear Wheel Issues
Wheel won't drop? Derailleur hangs chain—lube pivot and push harder. Rubs after reinstall? Loosen axles, reseat dropouts true. Motor no power? Recheck connector arrows match. Wobble? Spoke tension or bent flange.
Geared vs single-speed e-bikes differ slightly. Fat tire electric bike rear wheel adds heft—use stand. Mid-drive skips motor disconnect but needs chain exact.
When to Seek Pro Help for Rear Wheel Service
Complex cassette swaps, hub motor rewires, or trueness bends go to shops. Cracked dropouts or seized axles signal frame issues. Warranty bikes avoid DIY to preserve coverage.
Maintenance Tips Post Electric Bike Rear Wheel Work
Lube chain, check spoke tension monthly. Torque axles after 50 miles. Inspect motor cable sheath yearly. Rotate tires every 1000 miles for even wear.
FAQs on How to Remove Reinstall Electric Bike Rear Wheel
How long to remove electric bike rear wheel?10-20 minutes first time, 5 minutes practiced.
Do all e-bikes allow rear wheel removal?Yes, though motor cables vary by brand.
Thru-axle vs nuts for electric bike rear wheel?Thru faster, nuts simpler torque.
Safe to ride post-reinstall?Yes after spin tests and short ride check.
Future of Electric Bike Rear Wheel Designs
Integrated thru-axles and tool-free motor plugs simplify future how to remove electric bike rear wheel tasks. Modular hubs enable faster tire swaps. Smart sensors may self-alert alignment post-reinstall.
Leave a comment
This site is protected by hCaptcha and the hCaptcha Privacy Policy and Terms of Service apply.