
An e-bike controller is the "brain" that regulates power from the 48V battery to the brushless hub motor, managing speed, torque (up to 90 Nm), PAS levels 1-5, and throttle on TSTE models like the Defender and R002. It ensures smooth acceleration, efficiency, and features like Boost Mode for 28-32 MPH speeds and 65-mile range.
Check: Browse Ebike Controllers
What Does an E-Bike Controller Do in High-Torque TSTE Models?
The e-bike controller acts as the central brain, precisely managing power delivery from the battery to the motor, interpreting signals from throttle, PAS sensors, and brakes to control speed, torque, and efficiency in high-torque TSTE models like the TST® Defender with its 1300W motor and 90 Nm torque.
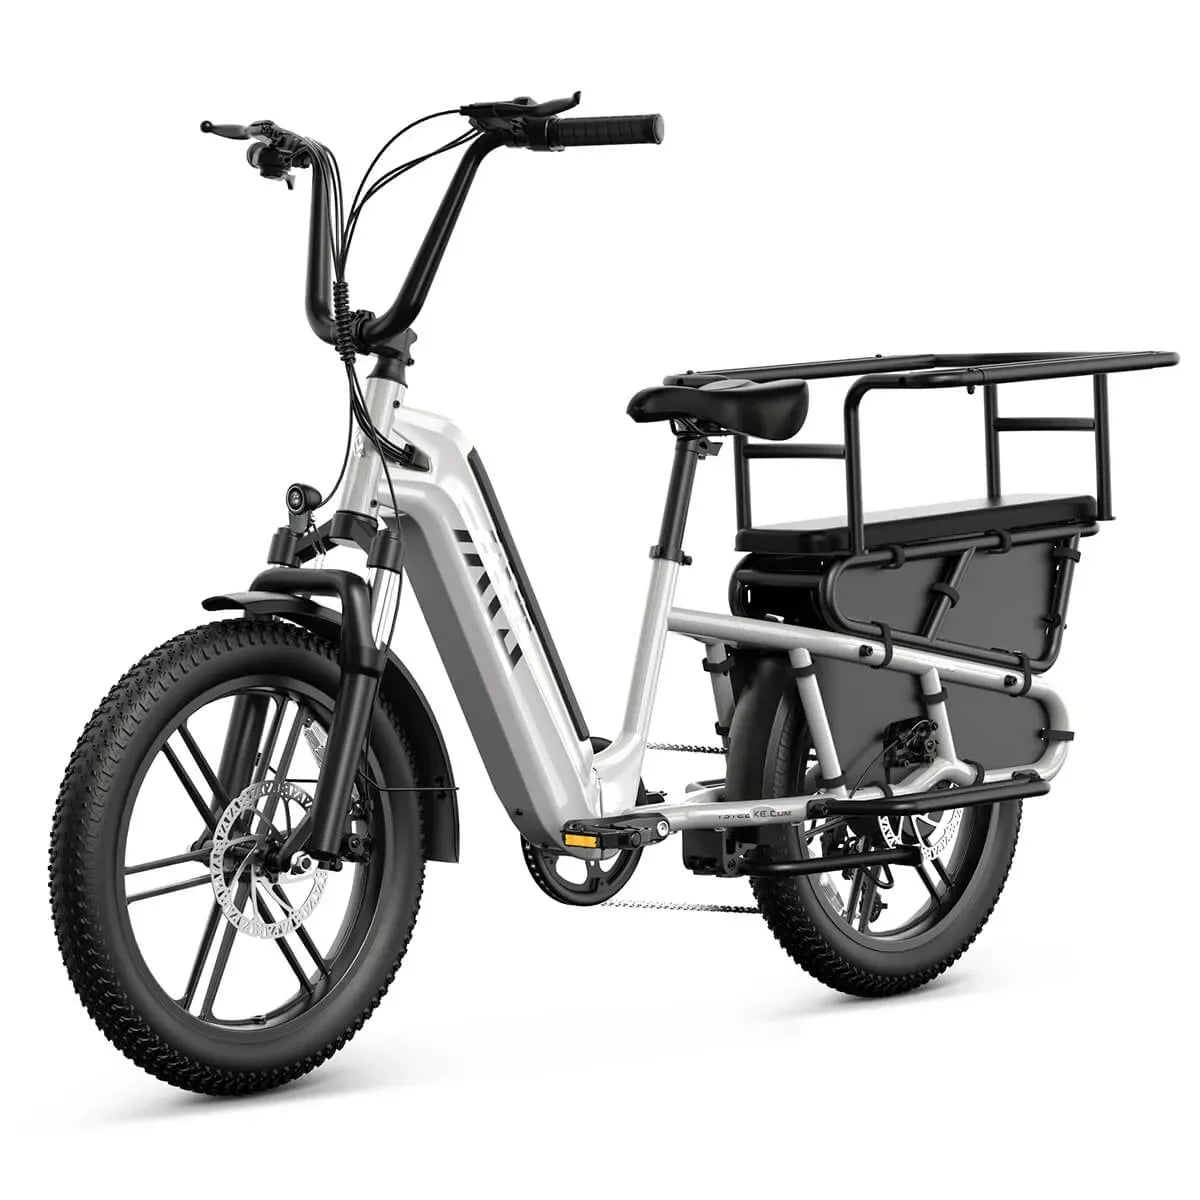
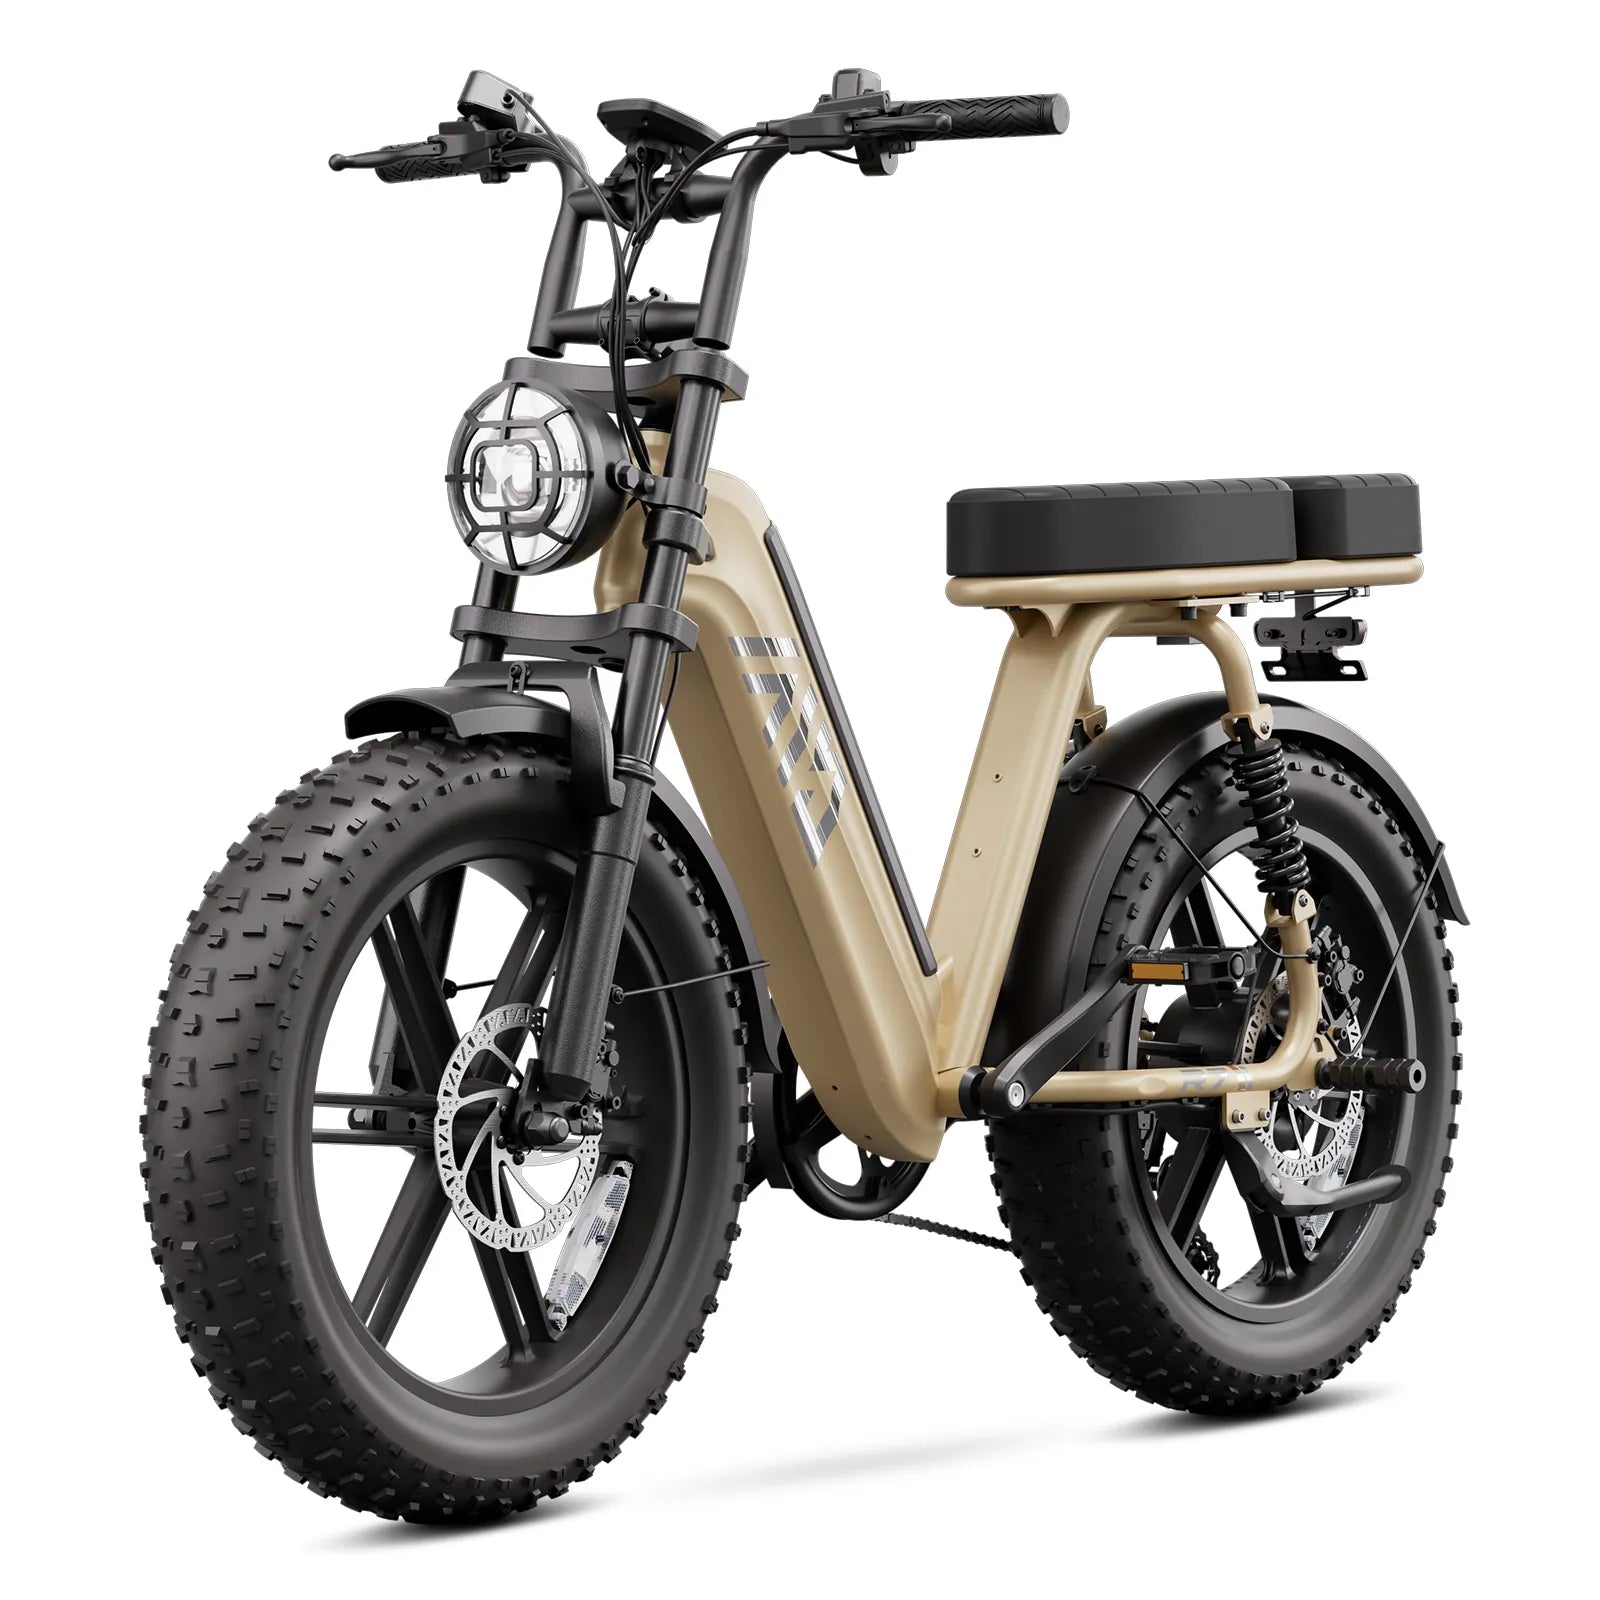
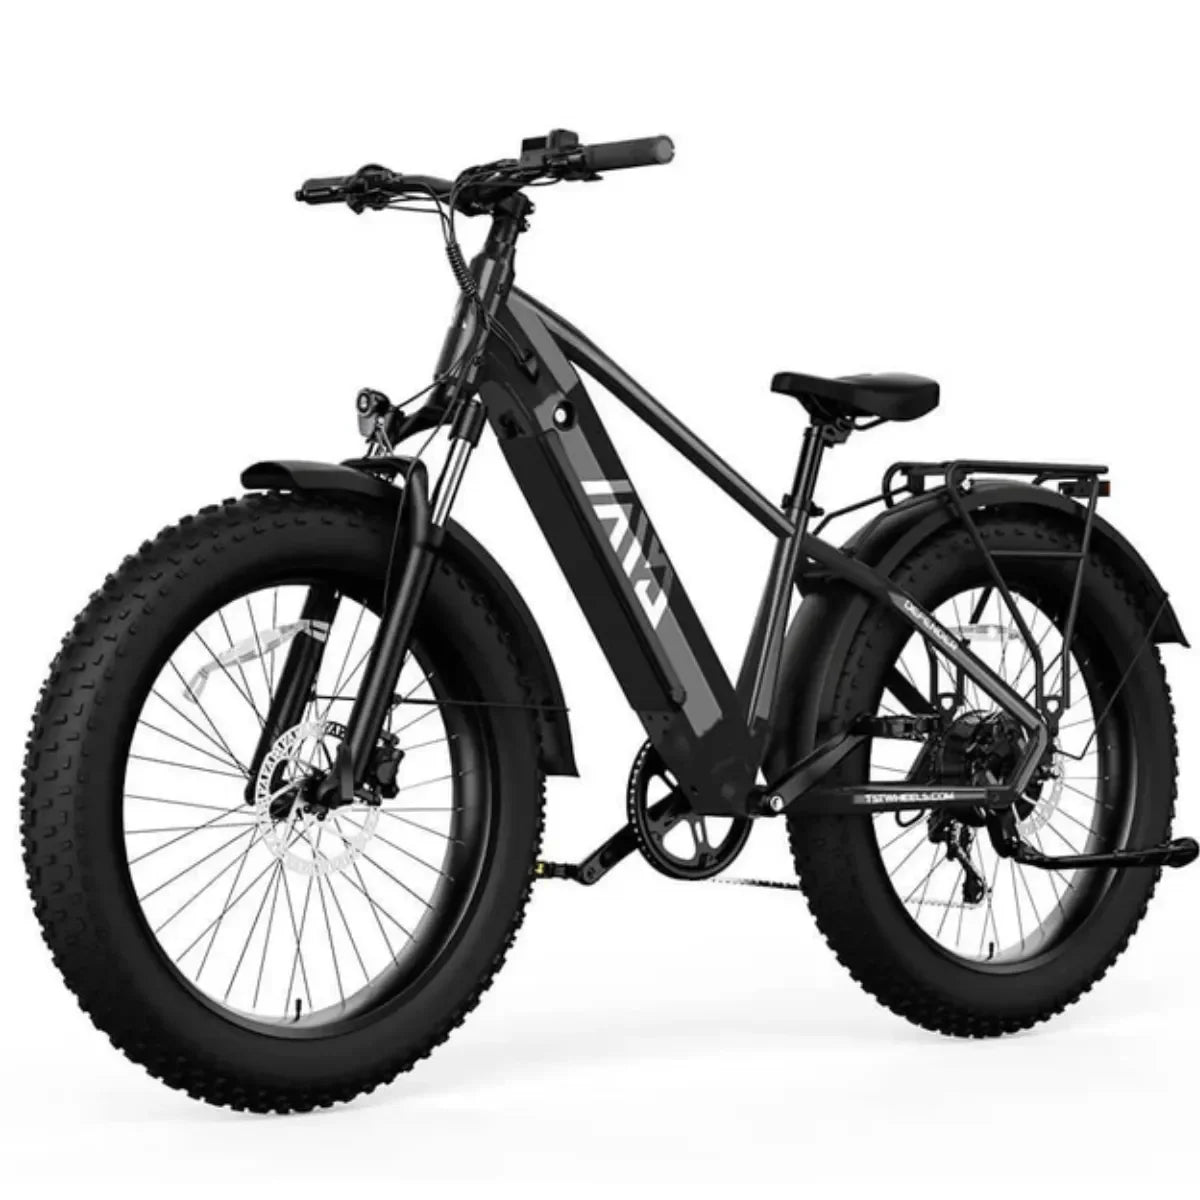
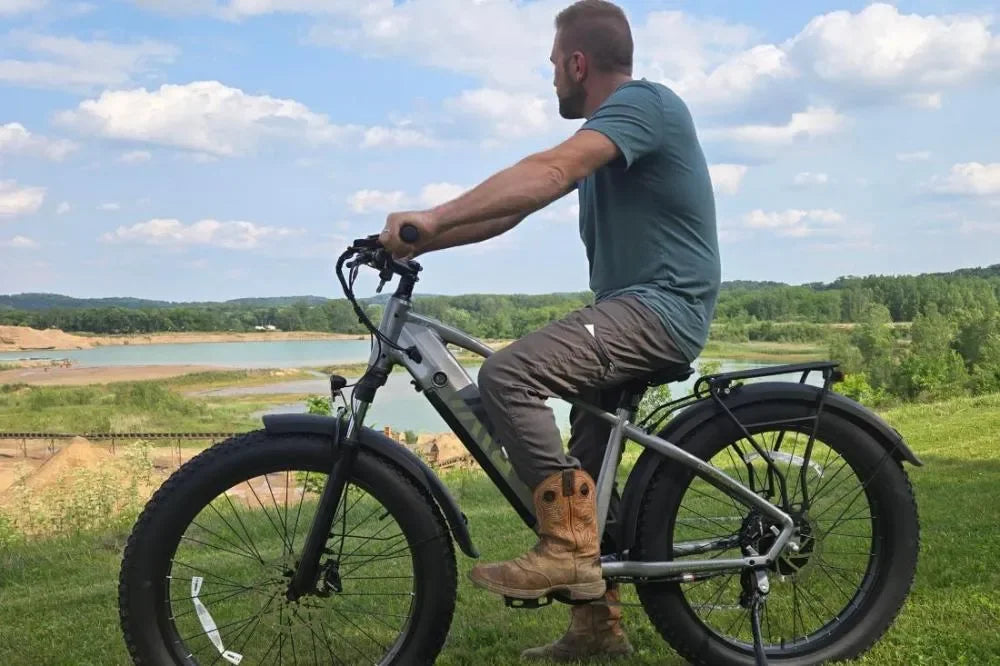
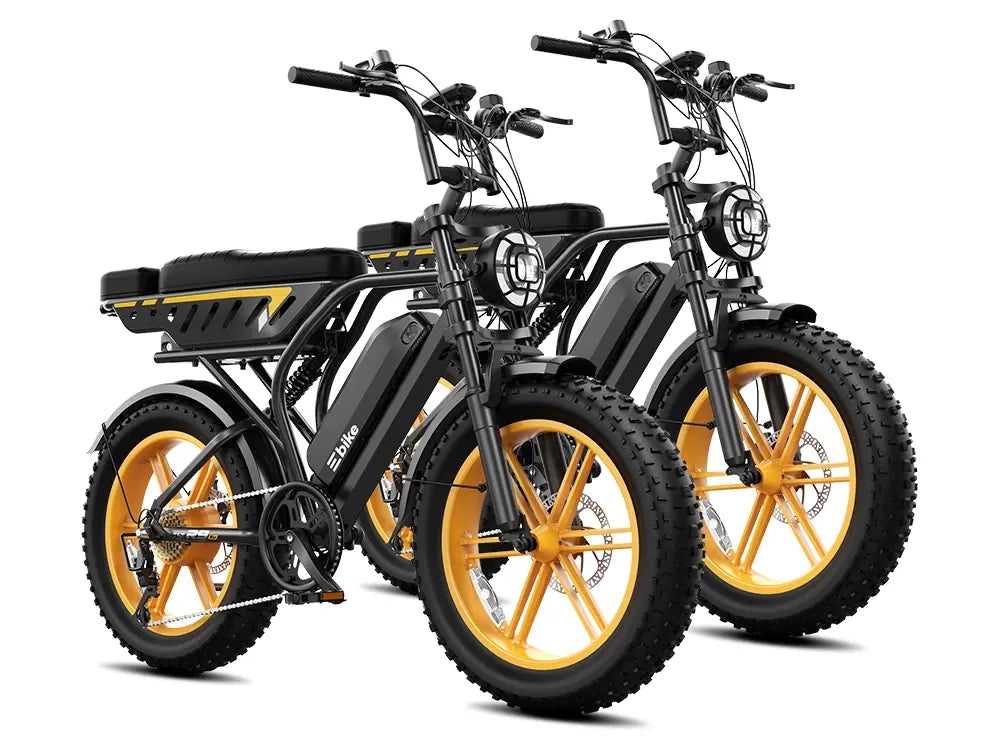
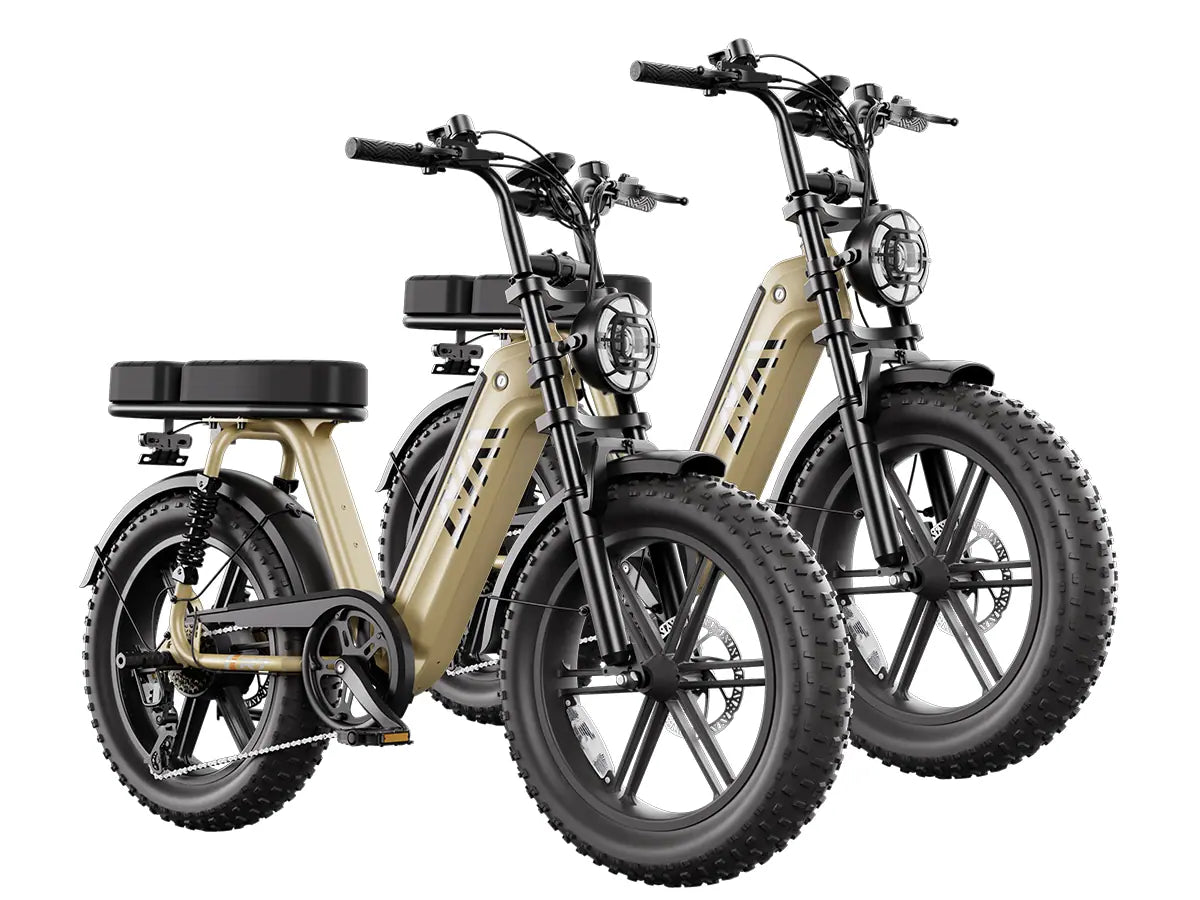
In high-performance TSTE bikes such as the TST® R002 1500W full suspension moped-style e-bike or the TST® Defender 26" fat tire model, the controller is the unsung hero powering your adventures. It regulates current and voltage from the 48V 15Ah removable lithium-ion battery, ensuring the brushless rear hub motor delivers peak performance without overload. For instance, it handles PAS levels 1-5 and Boost Mode on the Defender, smoothly ramping up to 28 MPH top speed while maintaining up to 65 miles of range on pedal assist.
This "brain" also monitors system health, preventing overheating during steep climbs or cargo hauls—perfect for US riders tackling California hills or urban commutes. It integrates with LCD displays on models like the R002, showing speed, battery status, and PAS levels. Without it, your powerful 90 Nm torque would be wasted, leading to jerky rides or premature shutdowns. TSTE Bike designs these controllers for seamless compatibility with their Shimano 7-speed drivetrains and hydraulic disc brakes, making every twist of the half-twist throttle on the Defender feel responsive and natural.
Which Types of E-Bike Controllers Are Best for Fat Tire Bikes?
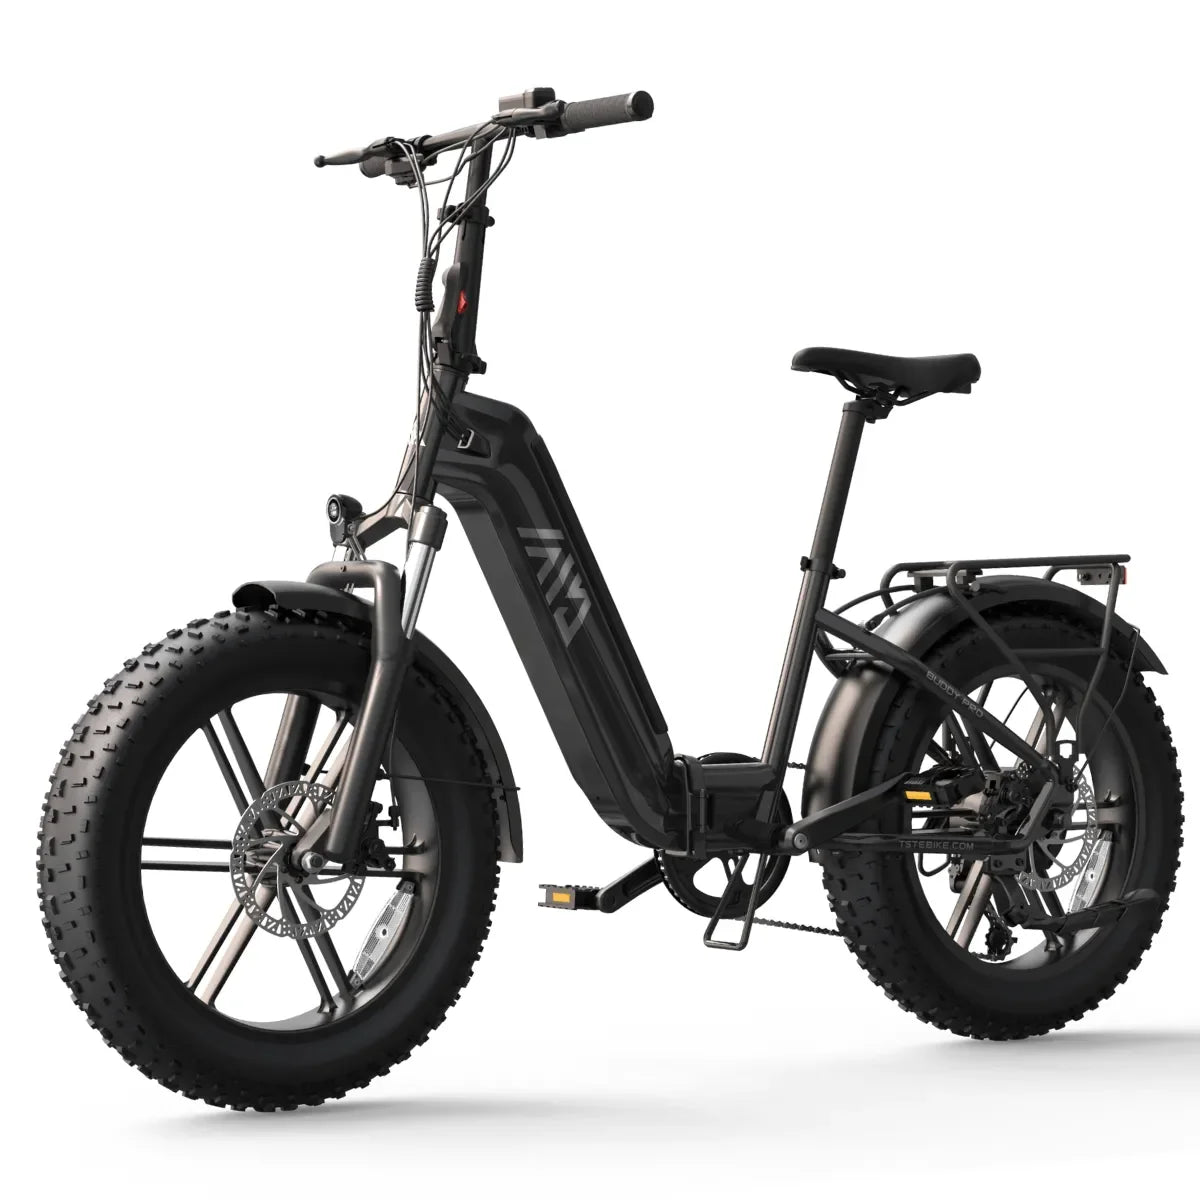
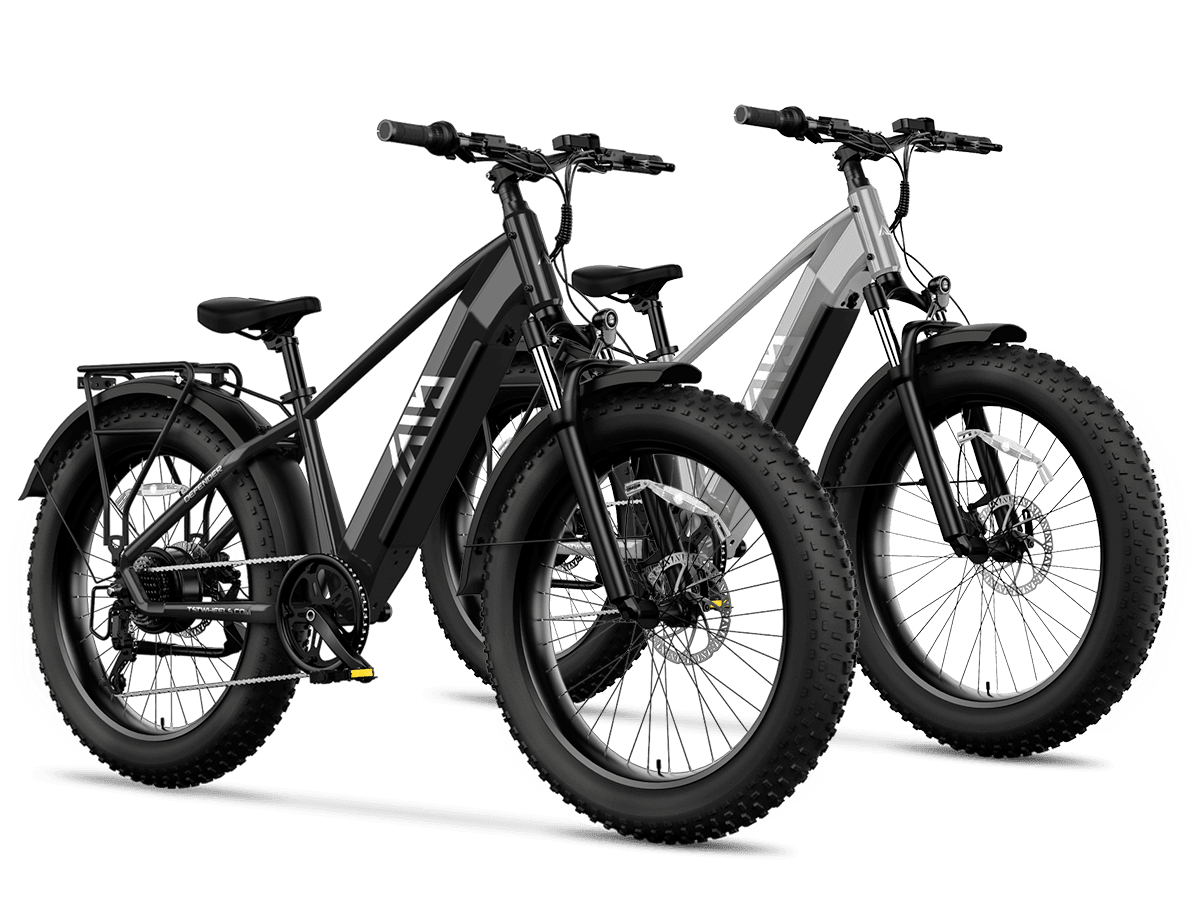
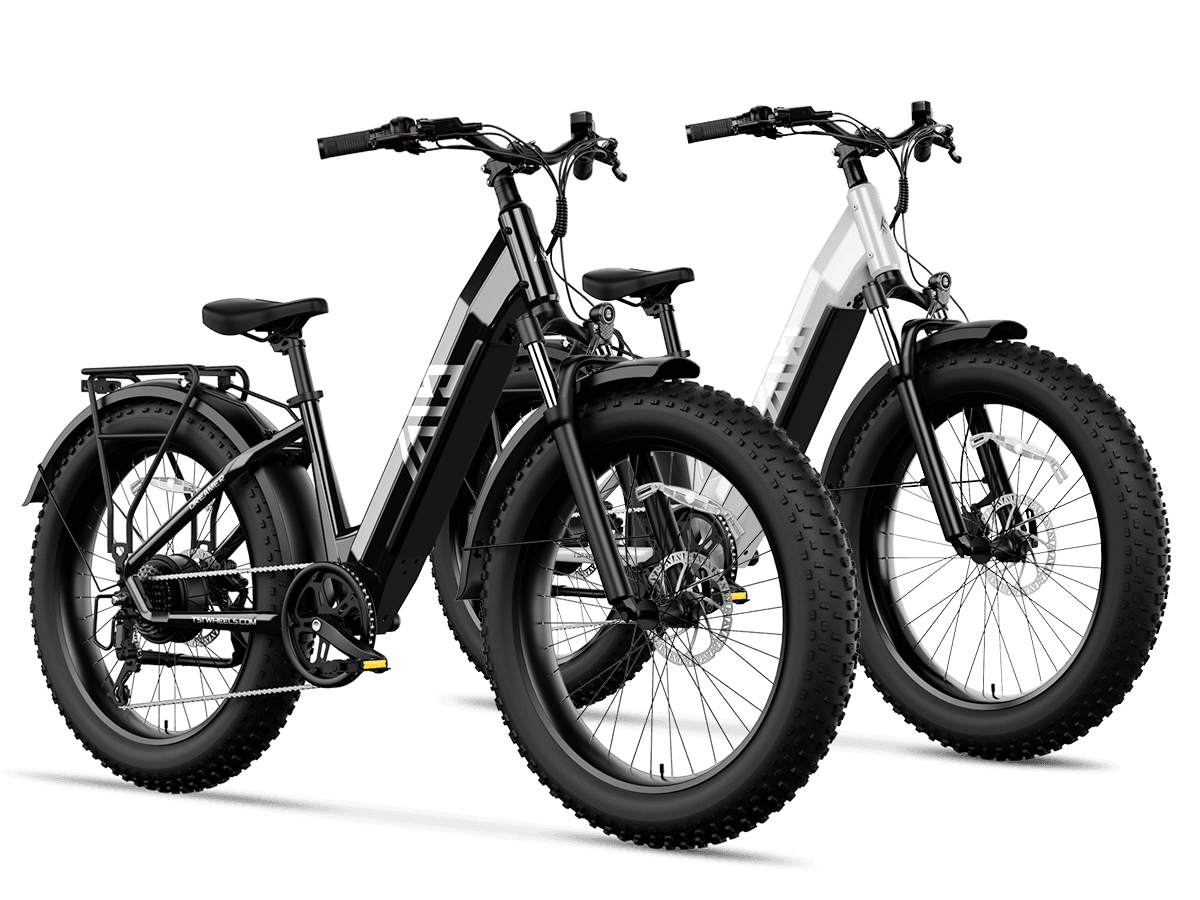
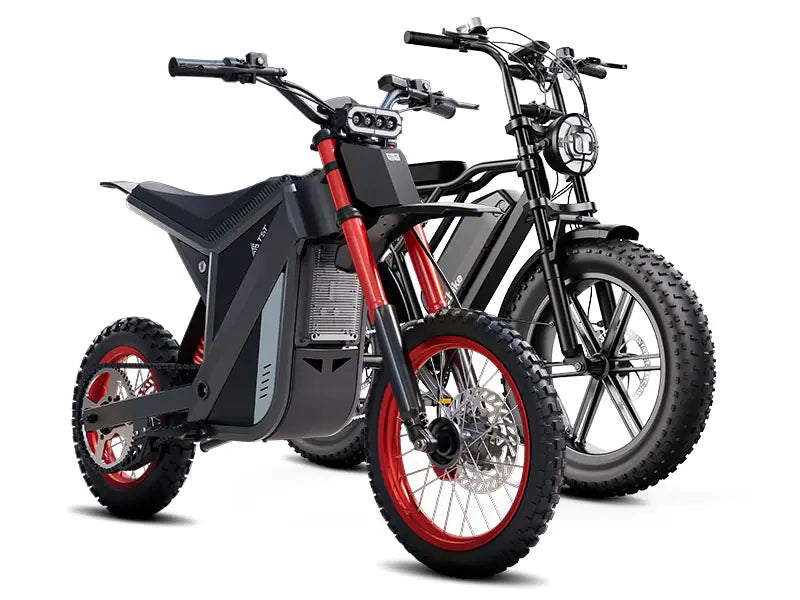
For fat tire e-bikes like TSTE's TST® Defender and TST® Dreamer, sine wave controllers are ideal for their smooth, quiet operation and efficiency, while square wave types suit high-torque demands on rough terrain, both matching 48V batteries and 1300W hub motors up to 90 Nm.
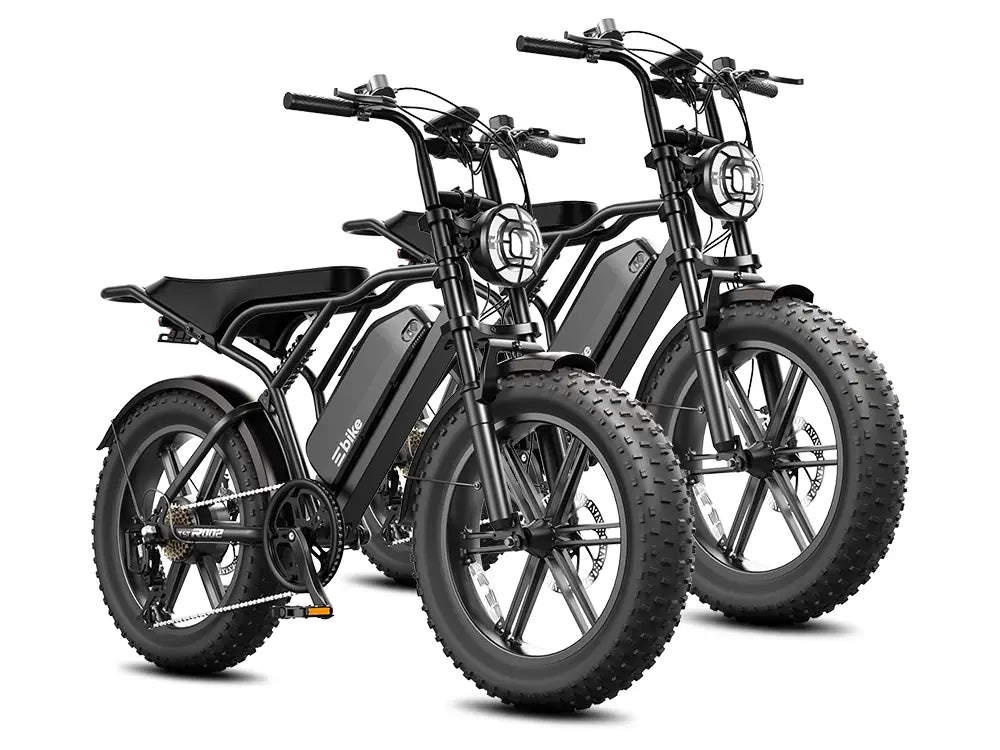
Fat tire enthusiasts know the challenge of powering through sand, snow, or trails—enter the right controller type for TSTE fat tire beasts like the 26" TST® Defender (1300W, 90 Nm) or TST® Dreamer step-thru (1300W, 85 Nm). Sine wave controllers shine here with their fluid power delivery, mimicking natural pedaling for quieter rides and better battery efficiency, extending that 65-mile range on 48V 15Ah packs.
Square wave controllers, on the other hand, pack punchy torque for aggressive off-road pushes, ideal for the Defender's 26" x 4.0" puncture-resistant tires conquering 450 lbs max loads. Battery-mounted controllers save space on compact frames, while box-style ones offer easy access for DIY tweaks. For TSTE riders in the US, prioritize types compatible with PAS 1-5 levels and Boost Mode to unlock full 28 MPH speeds without strain.
| TSTE Fat Tire Model | Motor Power | Torque | Top Speed | Ideal Controller Type |
|---|---|---|---|---|
| TST® Defender | 1300W | 90 Nm | 28 MPH | Sine Wave (smooth trails) |
| TST® Dreamer | 1300W | 85 Nm | 28 MPH | Square Wave (torque-heavy) |
| TST® R002 | 1500W | 90 Nm | 32 MPH | Sine Wave (efficiency) |
How Does a Sine Wave vs Square Wave E-Bike Controller Compare?
Check: Smart LCD Display
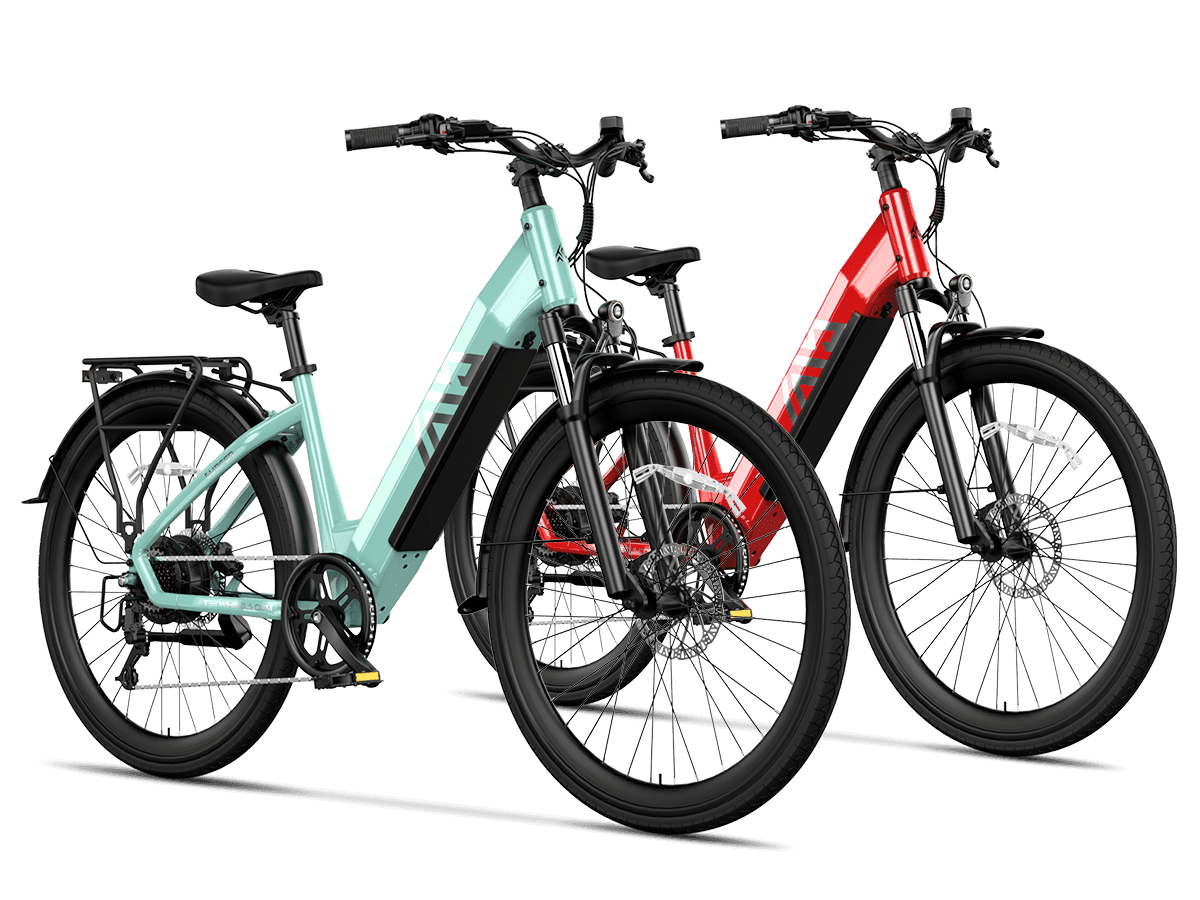
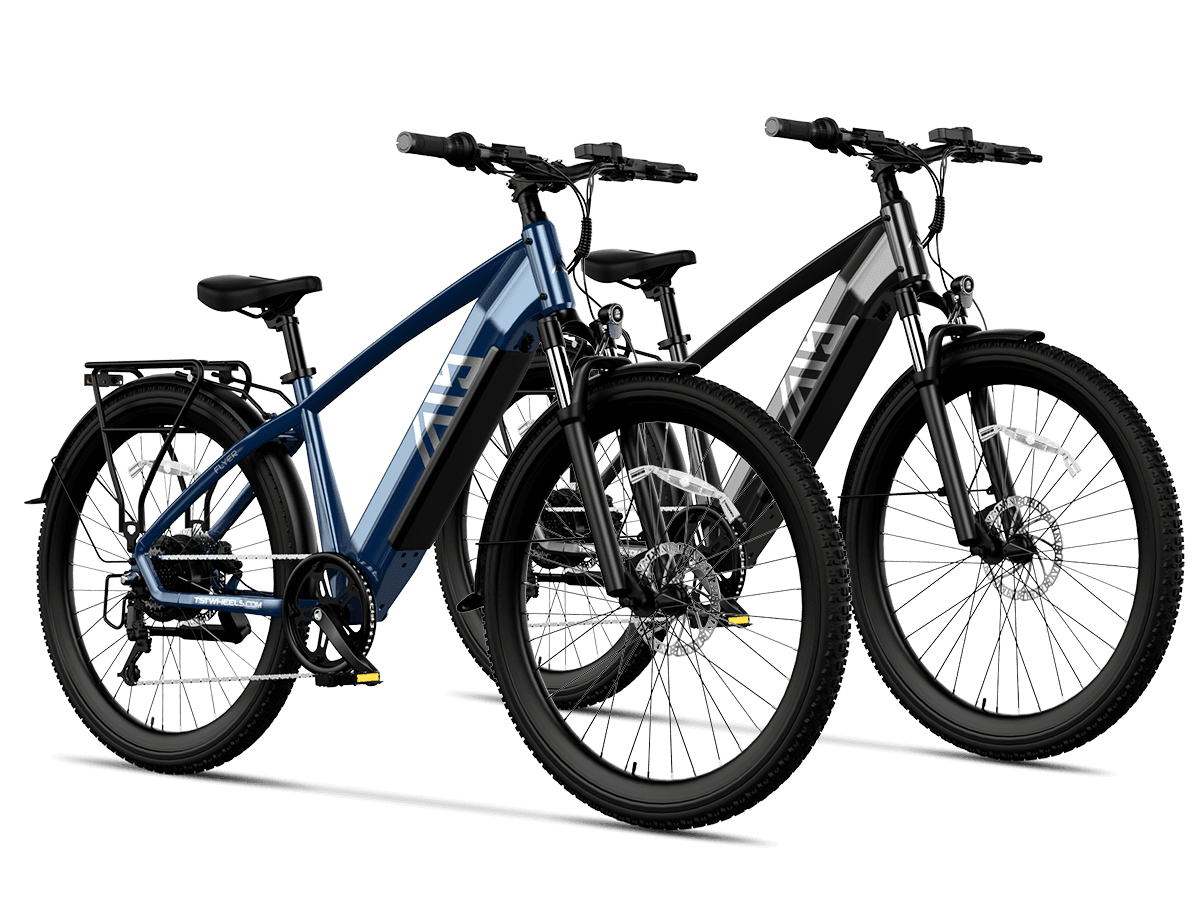
Sine wave controllers provide smoother, quieter acceleration with higher efficiency for commuting, while square wave controllers deliver more raw torque for off-road but with noise and less efficiency—choose sine wave for TSTE commuter models like the Flyer, square for fat tire power like the Defender.
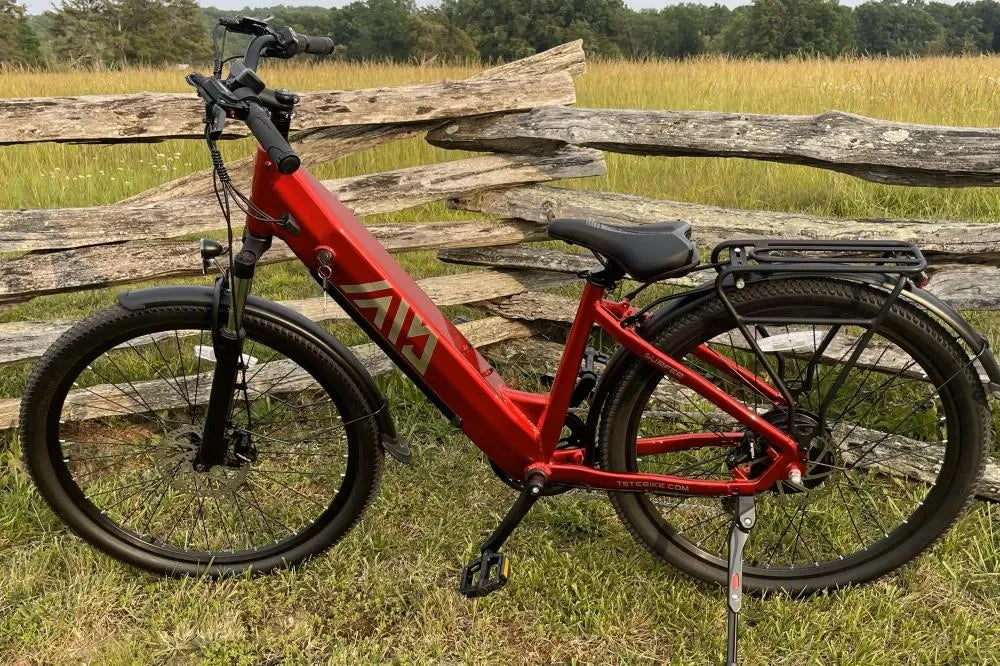
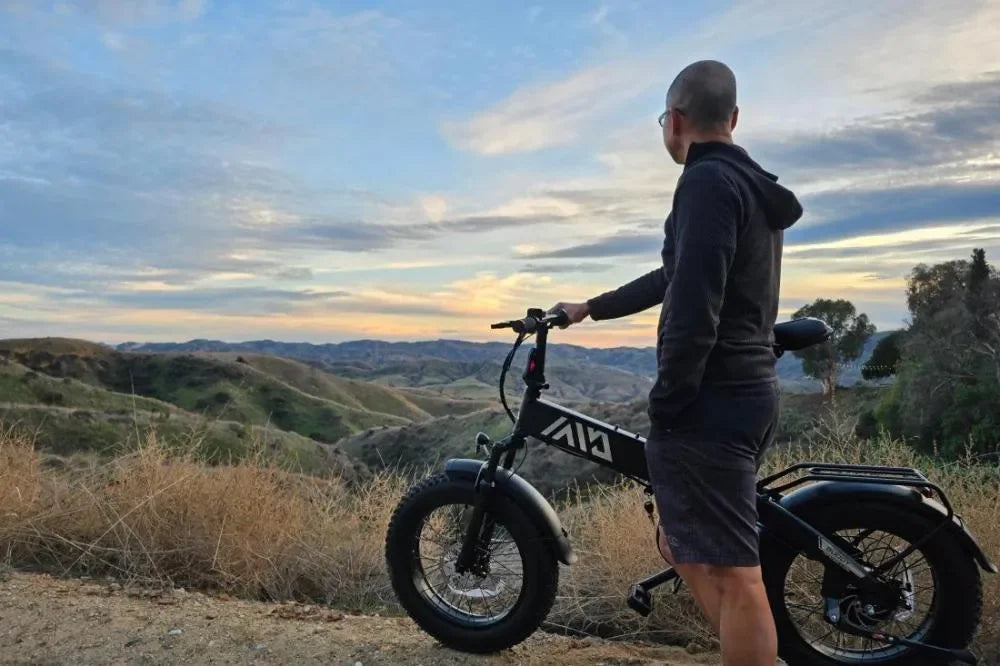
Picture this: you're cruising city streets on your TSTE TST® Flyer 27.5" commuter or blasting trails on the TST® Defender fat tire e-bike. Sine wave controllers excel in smoothness, converting DC to AC power in gentle waves for whisper-quiet operation, less motor heat, and optimal 65-mile range from 48V batteries—perfect for daily US commutes with 23-28 MPH speeds.
Square wave controllers, conversely, pulse power in abrupt squares, unleashing instant torque (up to 90 Nm on Defender) for hill climbs but with audible whine and higher energy draw. For TSTE's PAS 1-5 and Boost Mode, sine wave wins for families on the Dreamer step-thru, while square suits dirt-riding on R002 moped-style. Efficiency edge: sine wave extends battery life by 10-20% on long hauls.
TSTE Bike Expert Views: "At TSTE Bike, our high-torque models like the TST® R002 and TST® R9 rely on advanced controllers optimized for 1500W brushless hub motors and dual-battery systems. These ensure seamless PAS integration and Boost Mode activation, delivering 32 MPH speeds and 65-130 mile ranges safely. US riders love the UL 2849 certified reliability for cargo, folding, and dirt bike adventures—always match voltage for peak performance." – TSTE Technical Team, Ontario, CA
Why Is Voltage and Current Matching Critical for 48V TSTE Bikes?
Voltage and current matching is essential to prevent shutdowns, overheating, or damage in 48V TSTE bikes like the Defender and R002; a mismatch triggers under-voltage protection, cutting power prematurely and risking motor failure on high-draw 1300-1500W setups.
TSTE's lineup, from the 48V 15Ah TST® Surfer step-thru to the dual-battery TST® R9, demands precise 48V controller matching to their removable lithium-ion packs and 54.6V/3A chargers. Mismatched voltage confuses the BMS, halting your 28-32 MPH sprints mid-ride, while current underrating starves the 90 Nm torque on Defender's cargo hauls.
Overcurrent fries components; always verify amp ratings match motor peaks (e.g., 1300W needs 30-40A controllers). This keeps hydraulic brakes and Shimano gears in sync, maximizing 400-450 lbs payloads safely across US terrains.
What Causes Common E-Bike Controller No Power Issues?
Common no-power issues stem from loose battery connections, blown fuses, corroded terminals, or throttle/PAS sensor faults—often fixed by cleaning and reseating on TSTE models like the Buddy folding e-bike before full replacement.
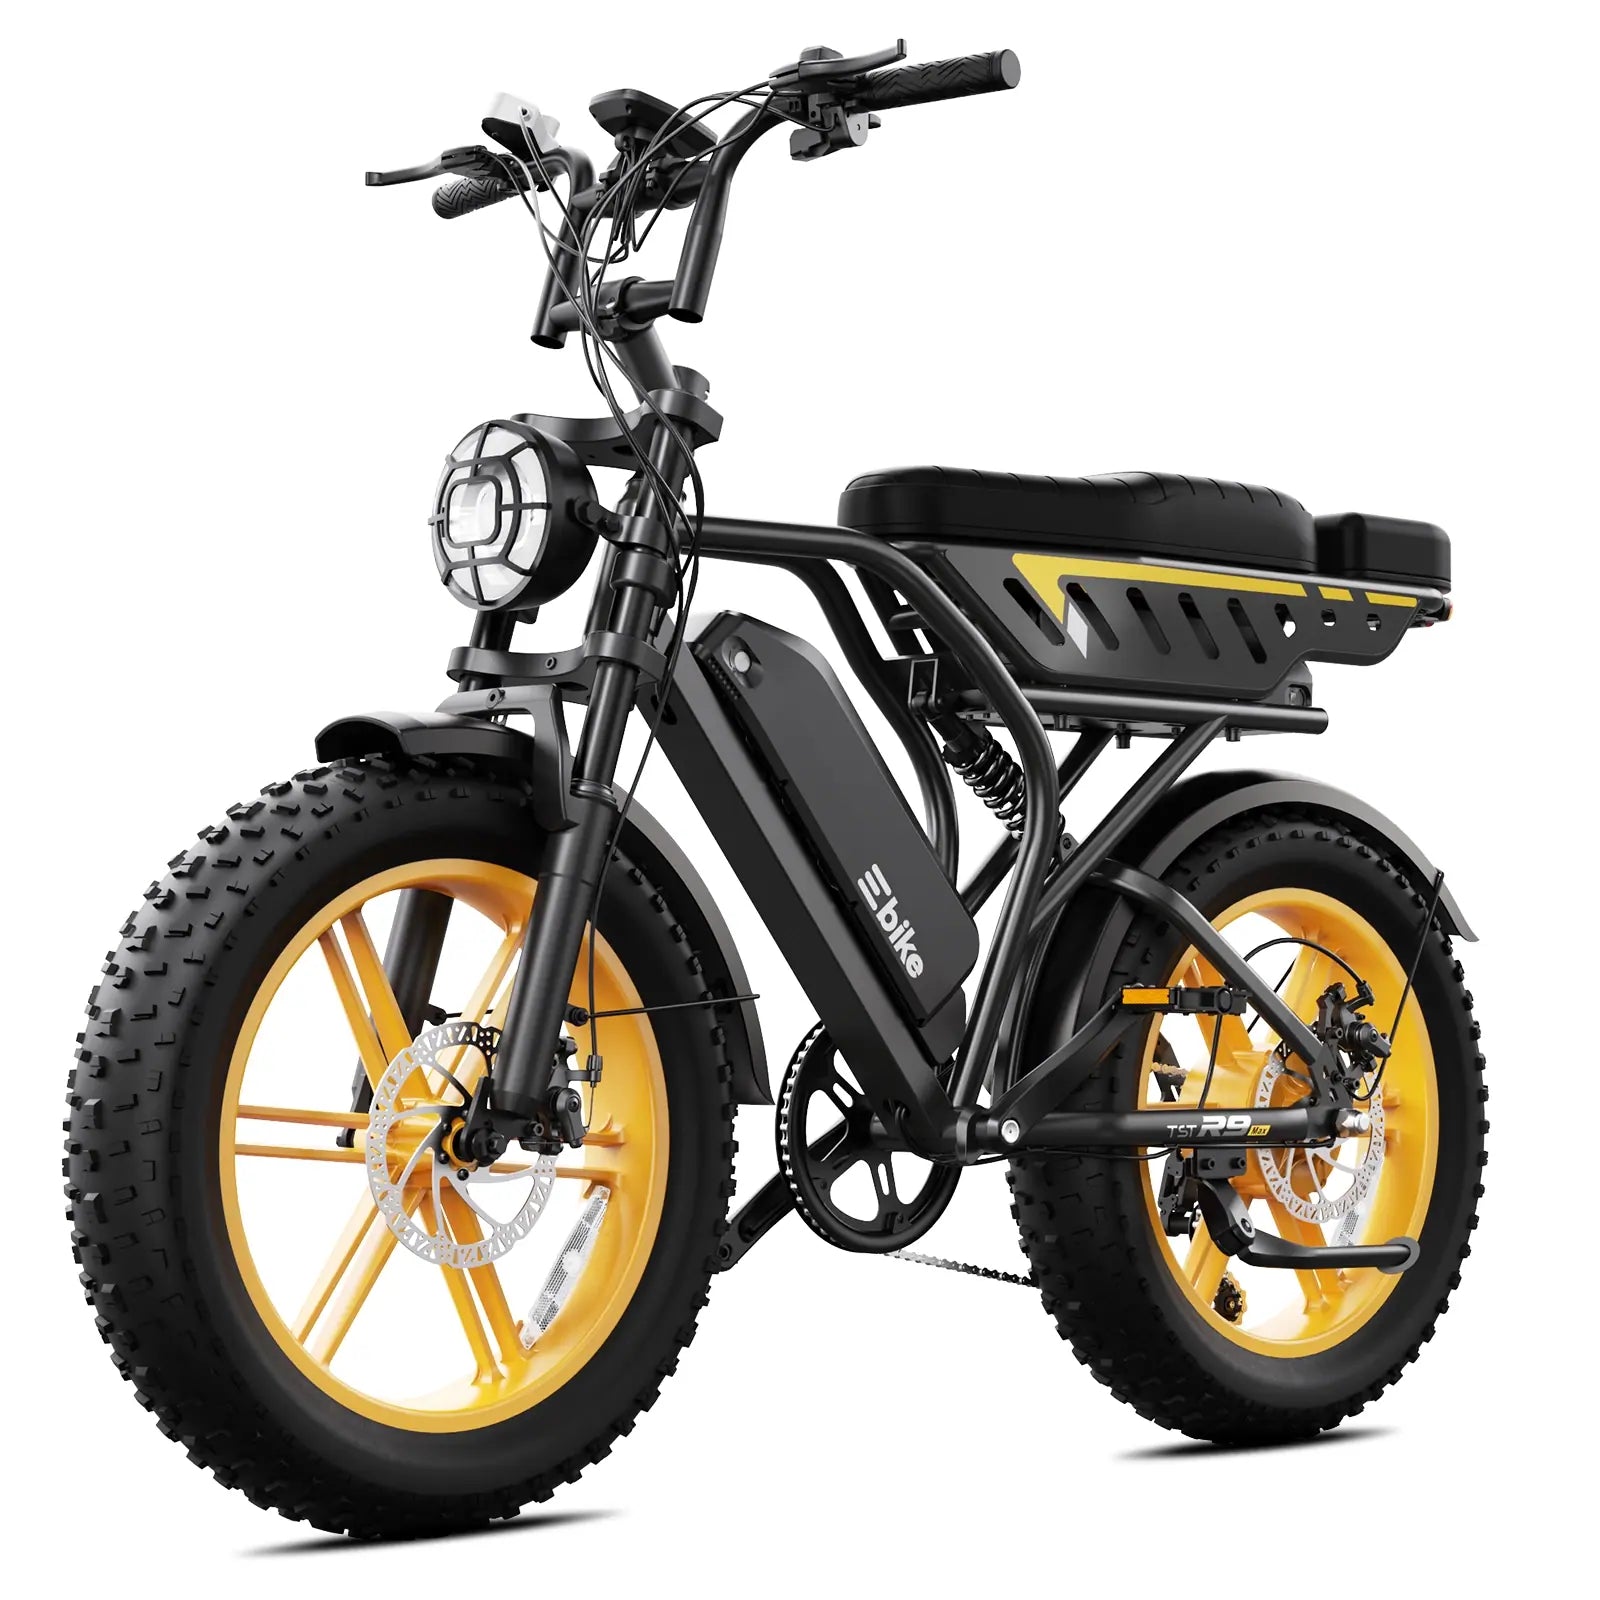
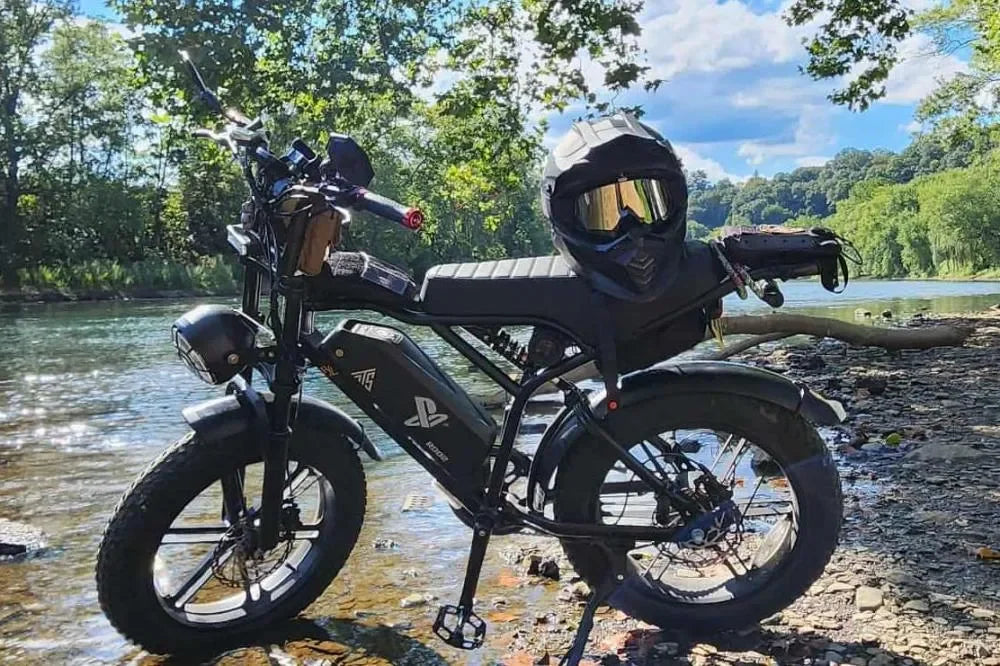
No juice? It's frustrating on your TSTE TST® Buddy Pro folding e-bike mid-commute. Top culprits: corroded battery terminals blocking 48V flow, frayed wires from fat tire vibrations on Defender, or faulty hall sensors in the hub motor. Overheating from prolonged Boost Mode on R002 triggers auto-shutoff, while water ingress zaps un sealed units.
DIY check: inspect for burns or loose plugs. TSTE's IPX6-rated batteries on Dreamer help, but US rain demands vigilance.
How to Troubleshoot E-Bike Controller Problems on R002 or Defender?
Troubleshoot TSTE R002 or Defender by checking battery connections, cleaning terminals, testing throttle/PAS with a multimeter, and inspecting hall sensors—most no-power fixes are simple reseating without tools.
Step-by-step for your TST® R002 moped-style or Defender fat tire:
- Power off, remove battery, clean terminals with vinegar solution.
- Reseat all cables: battery, throttle, display, brakes.
- Test voltage at controller input (should match 48V).
- Check PAS sensors and hall effects with multimeter for 5V signals.
- Scan LCD for error codes on R002.
These resolve 80% of issues on TSTE's 1500W/1300W setups, restoring 65-mile range fast.
Can You DIY Replace an E-Bike Controller on Moped-Style Bikes?
Yes, DIY controller replacement on TSTE moped-style like R002 is straightforward: match 48V/30-50A specs, disconnect/reconnect wires color-coded, mount securely—takes 30 minutes with basic tools, boosting performance under warranty.
For TST® R002 or R7 moped-style, source a compatible sine wave unit for 1500W motor. Unplug battery, note wire colors (red/black power, green/yellow halls), swap, and zip-tie. Test PAS/Boost. TSTE's Ontario, CA shipping means quick parts access.
How to Upgrade Your TSTE E-Bike Controller for Boost Mode?
Upgrade to a high-amp sine wave controller (40A+ for 1500W) to unlock fuller Boost Mode on TSTE R002/R9, improving torque response and range—ensure 48V match and PAS compatibility for 32 MPH peaks.
Level up your TST® Defender or R9: swap to programmable sine wave for customizable PAS curves, enhancing 90 Nm torque and 130-mile dual-battery range. Gains: smoother 32 MPH, less heat. Install mirrors TSTE's factory integration.
| Upgrade Benefit | TSTE Model Impact | Performance Gain |
|---|---|---|
| Sine Wave Swap | R002 | +10% Efficiency, Quieter Boost |
| High-Amp (50A) | Defender | Full 28 MPH Torque |
| Programmable | R9 Dual-Battery | 130-Mile Optimization |
Conclusion
Mastering your TSTE e-bike controller means reliable power for every ride, from fat tire trails to moped-style hauls. With DIY fixes and upgrades, unlock peak performance on models like the Defender and R002. Explore TSTE Bike's high-performance lineup at tstebike.com—shipped from Ontario, California in 1-3 days with full warranty support.
FAQs
What is the best controller for a 1500W TSTE e-bike? A 48V 40-50A sine wave controller matches the TST® R002's motor perfectly for smooth Boost Mode and 32 MPH speeds.
How do I fix e-bike controller no power on Defender? Clean battery terminals, reseat connections, and check fuses—restores power to your 1300W fat tire beast quickly.
Sine wave vs square wave for TSTE fat tire bikes? Sine wave for quiet efficiency on Dreamer commutes; square for torque on Defender off-road.
Can I upgrade TSTE controller for more range? Yes, high-efficiency sine wave boosts 65-mile range on R9 dual-battery by optimizing PAS levels.
Does TSTE warranty cover controller repairs? Yes, 1-2 year coverage on models like R002; contact support for US-based help from California.
Leave a comment
This site is protected by hCaptcha and the hCaptcha Privacy Policy and Terms of Service apply.