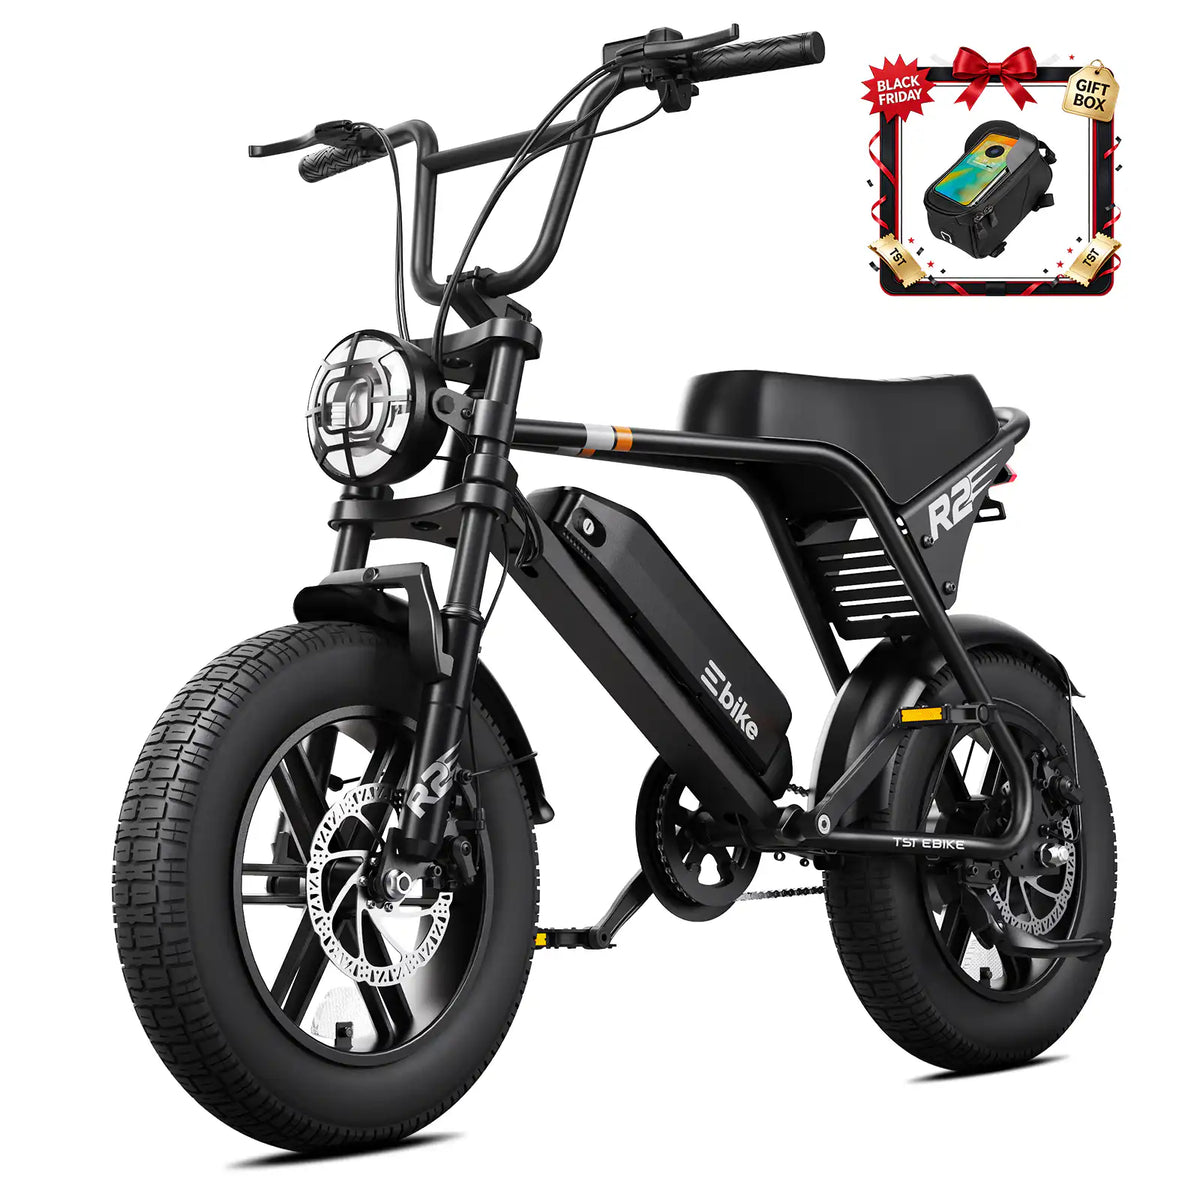

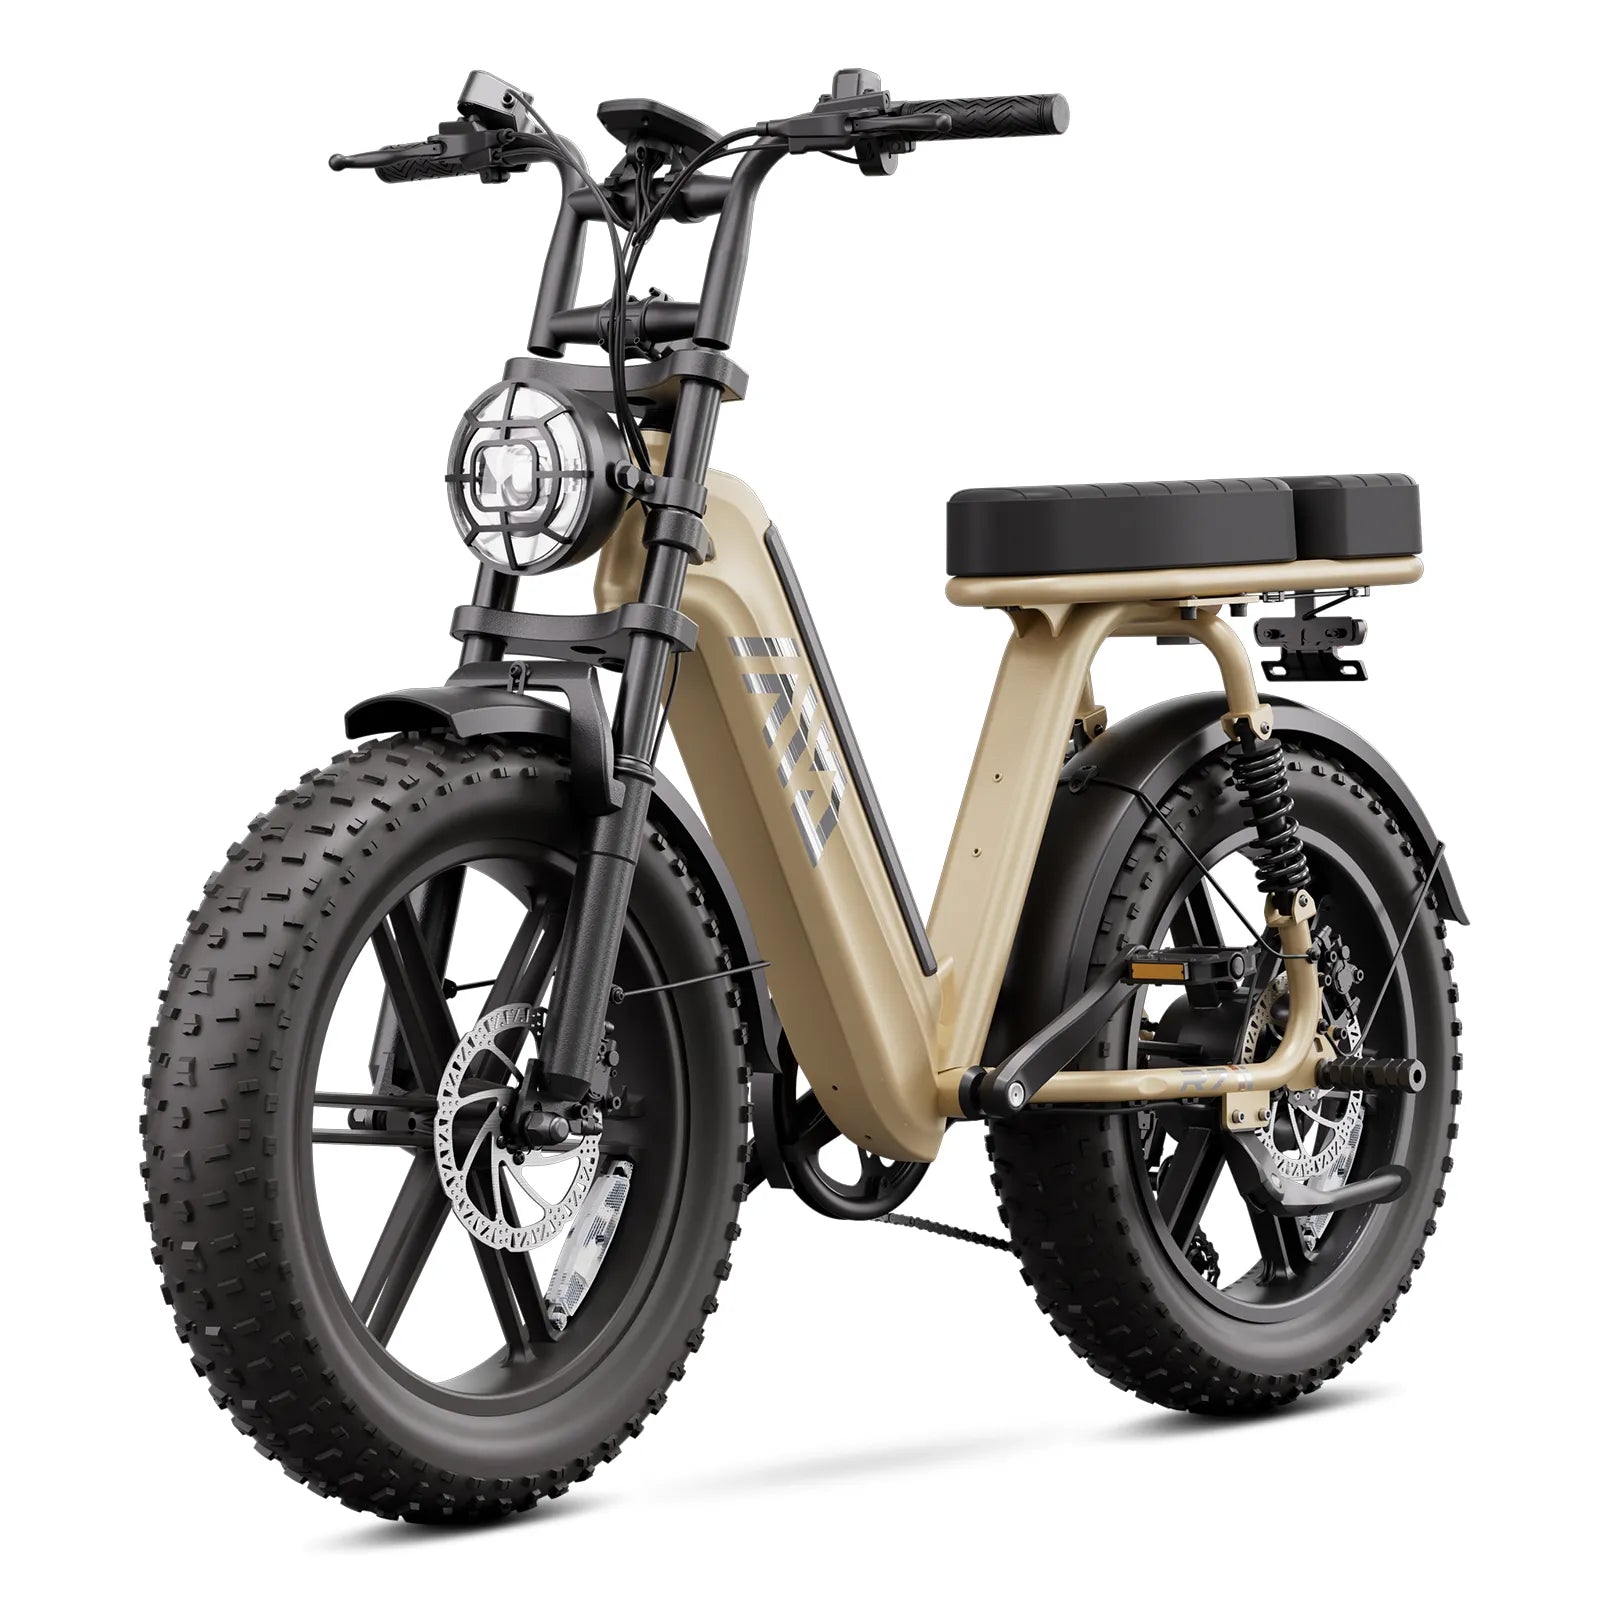
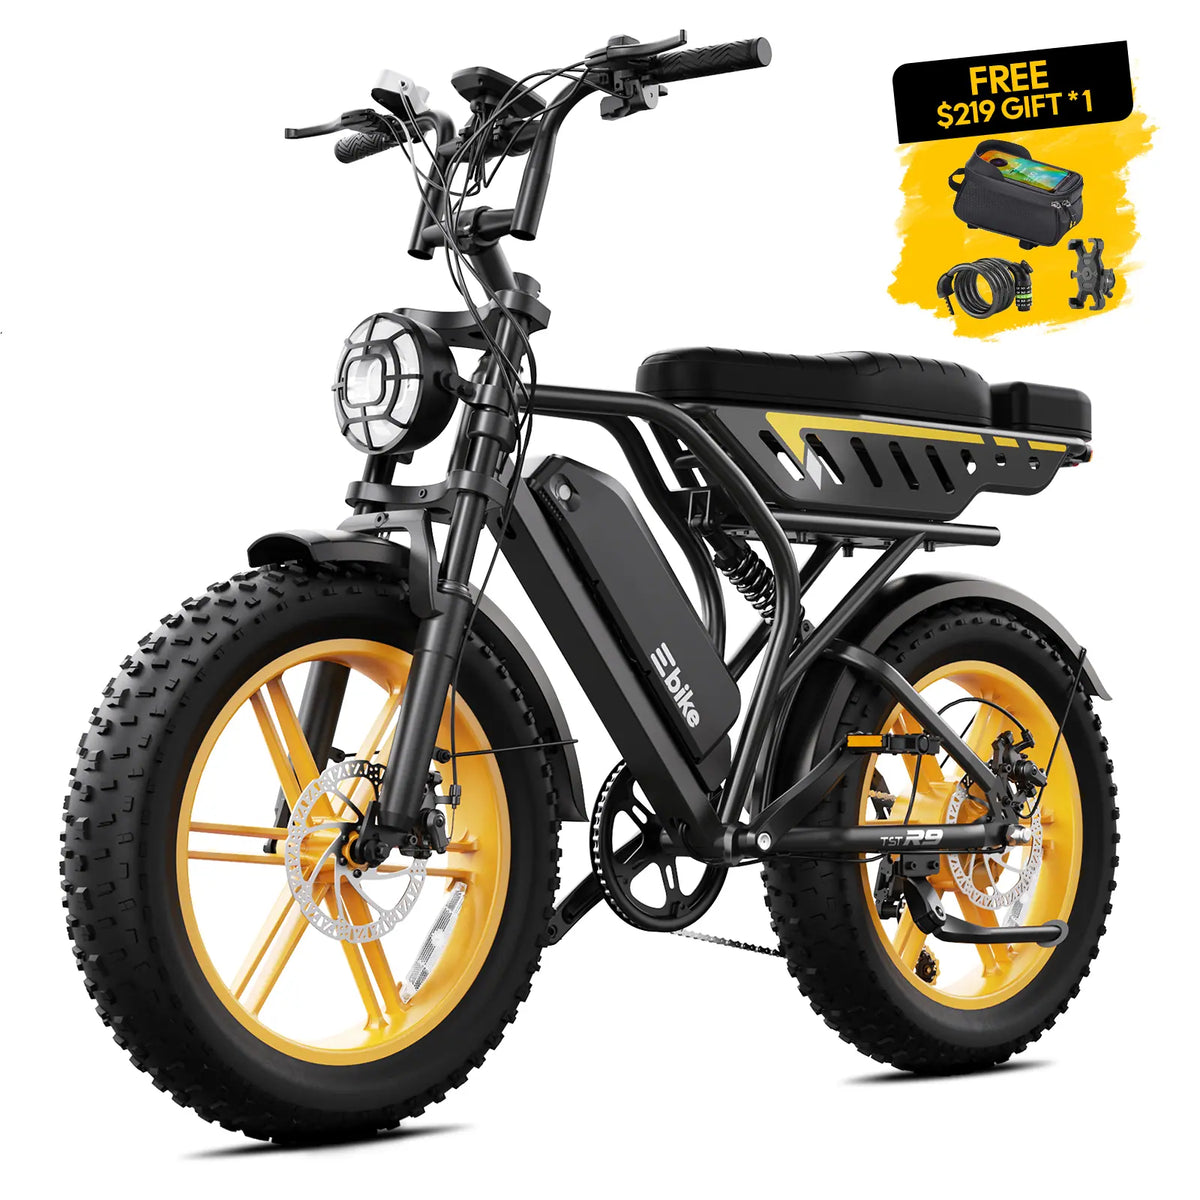


A front rack puts cargo ahead of the steering pivot, so the load becomes part of what you turn. A rear rack leaves the steering lighter but adds weight and width behind you. Neither placement is better in general. The right choice depends on what the bike's manufacturer approves, how heavy and bulky the load is, and how the bike behaves in a low-speed test with the actual cargo.
This guide compares the two placements by their effects on steering, clearance, battery access and visibility, and uses the TST R002 as an example of checking an accessory against one specific bike.
How Placement Changes the Bike
Competitive Cyclist's rack explainer states the core difference plainly. A heavy rear load keeps the steering planted and stable, while a heavy front load changes scrub radius and increases steering inertia. It adds that small, low-mounted front loads of about 5 kg or less have minimal impact, and that heavy, high-mounted front loads can feel sluggish at low speeds. The same guide says taller, high-mounted bags raise the center of mass and make a rig feel top-heavy, while low, compact panniers keep handling more predictable.
| Placement | Main effect on handling | Verify before buying |
|---|---|---|
| Handlebar bag | Load sits at the end of the steering system | The bag's mount, its stated limit, and clearance for lights, display and cables |
| Front rack | Adds steering inertia; heavy or high loads feel sluggish at low speed | Fork mounting points or axle clamp, approved load, brake and fender space |
| Rear rack with panniers | Steering stays more planted; weight moves behind the rider | Rack rating, pannier gap to wheel or tire, heel space, rear light visibility |
| Trunk box | Adds height and weight behind the rider | Approved models, battery removal, seat and passenger space |
Rack ratings differ by position. The retailer's guide lists typical rear-rack limits of 20 to 55 kg, with commuter racks commonly rated 20 to 30 kg. For front racks it lists 5 to 25 kg, with most low-rider designs aimed at 5 to 10 kg. It also notes that seatpost racks are usually limited to 8 to 12 kg. These are typical ranges from one retailer's explainer, not standards, so the rating printed on your own rack and bike controls.
Two further points from that guide matter for e-bikes. Load limits depend on rack material, mounting hardware and the bicycle's intended design. Cargo weight should also be added to rider weight when checking wheel, rim and hub ratings.
CPSC's micromobility guidance says to follow all manufacturer directions, identify weight limits, and check for damage including cables and the frame before riding. It also says to keep both hands on the handlebars and keep items off the handlebars. A purpose-made handlebar bag is different from a shopping bag hung from the grips, and CPSC's page does not address purpose-made bags. The bag's own mounting instructions and limits therefore matter.
The TST R002 as a Worked Check
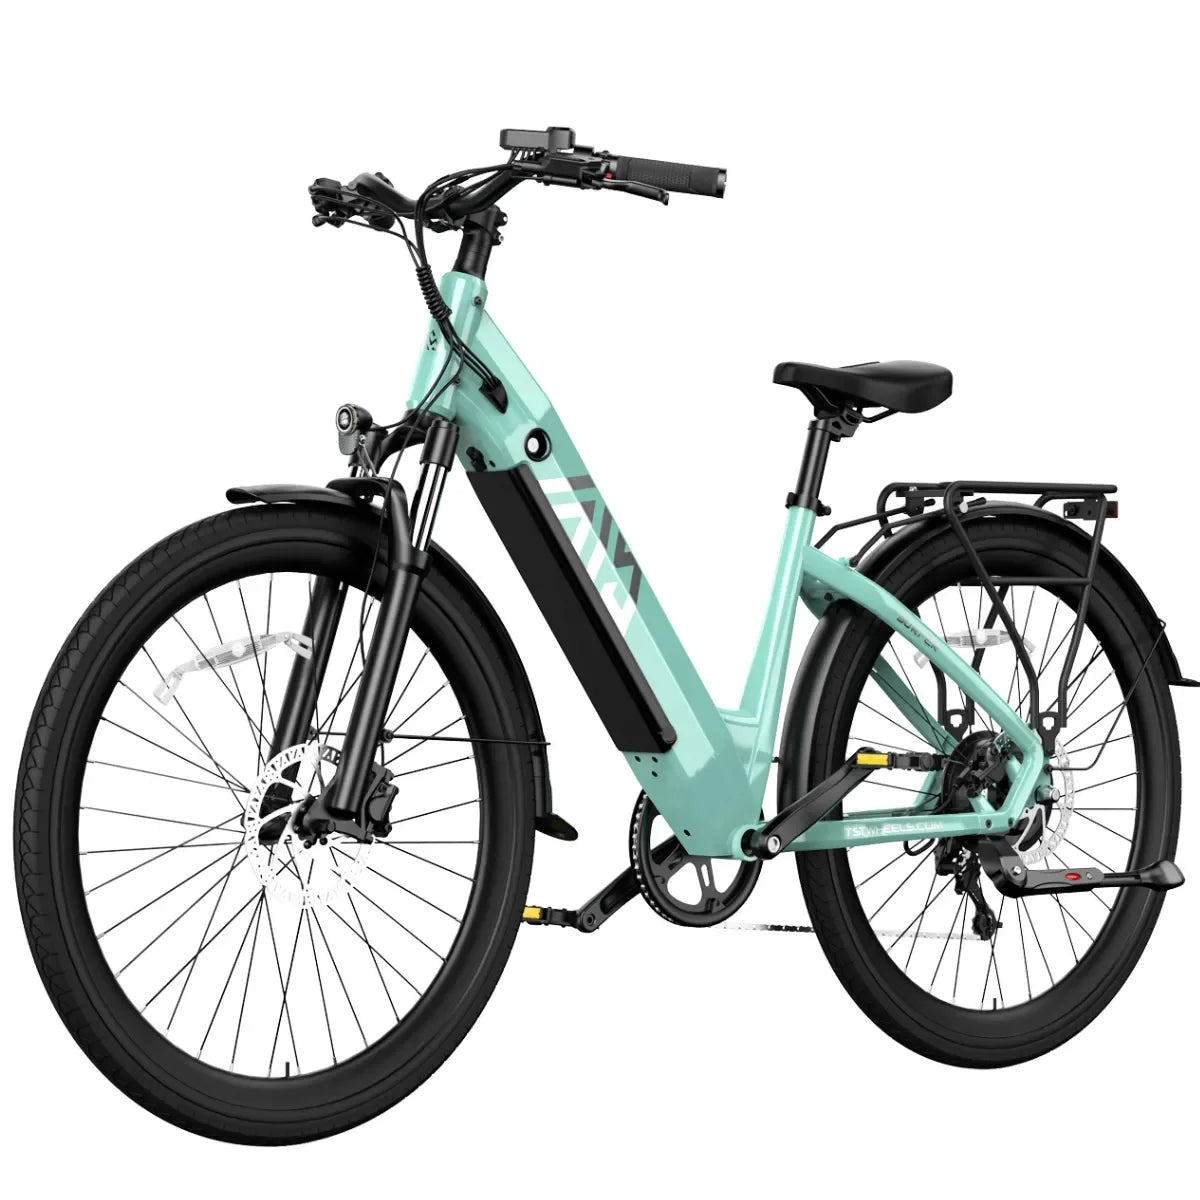
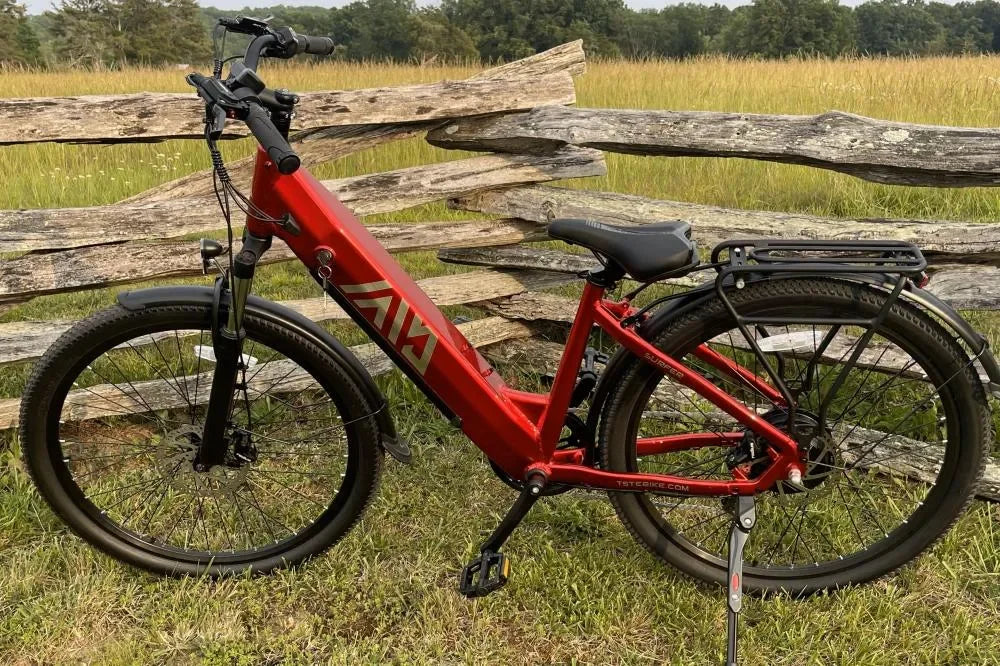
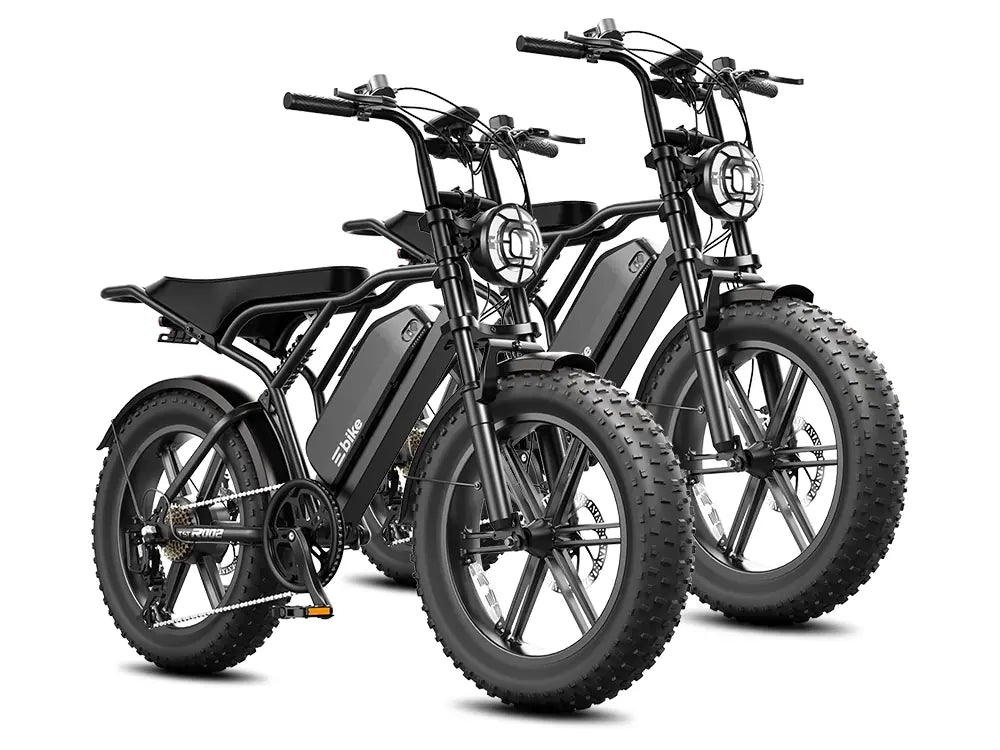
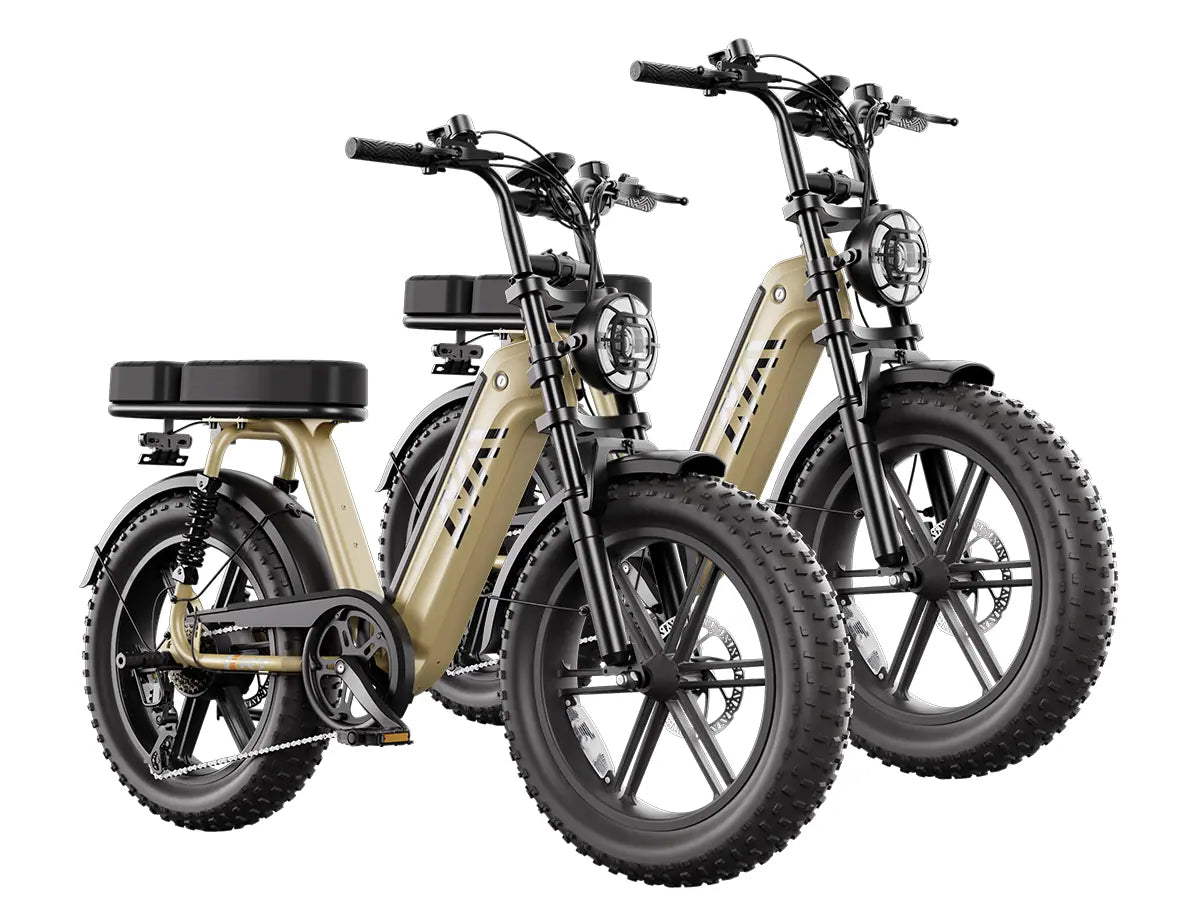
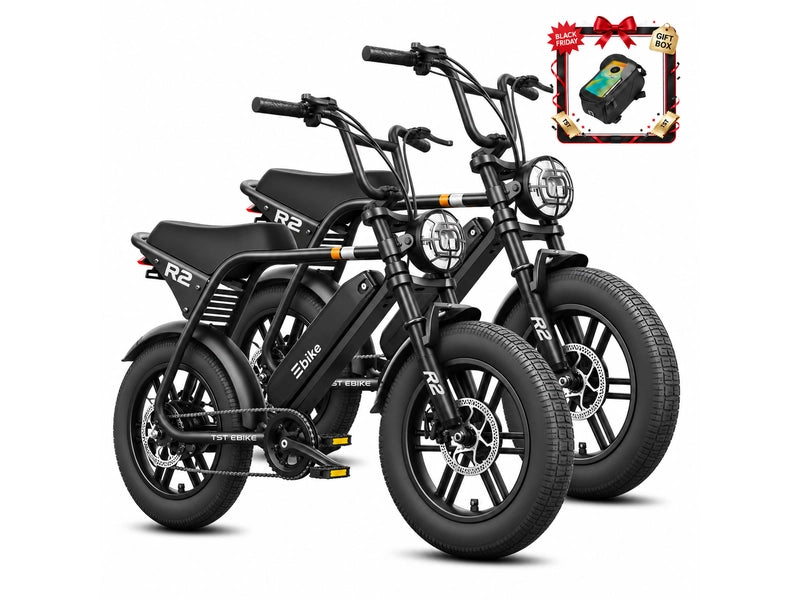
The R002 product page lists a rear rack, fender set and headlight in the package. It also lists a removable battery supplied with keys, front and rear suspension, 20 × 4.0-inch tires, front and rear disc brakes, a 60.3-inch length, a 37.5-inch wheelbase and a 450 lb maximum load. The page gives no separate rack rating and does not define how the 450 lb figure divides between rider, cargo and accessories. Do not add or subtract loads until TST's manual defines them.
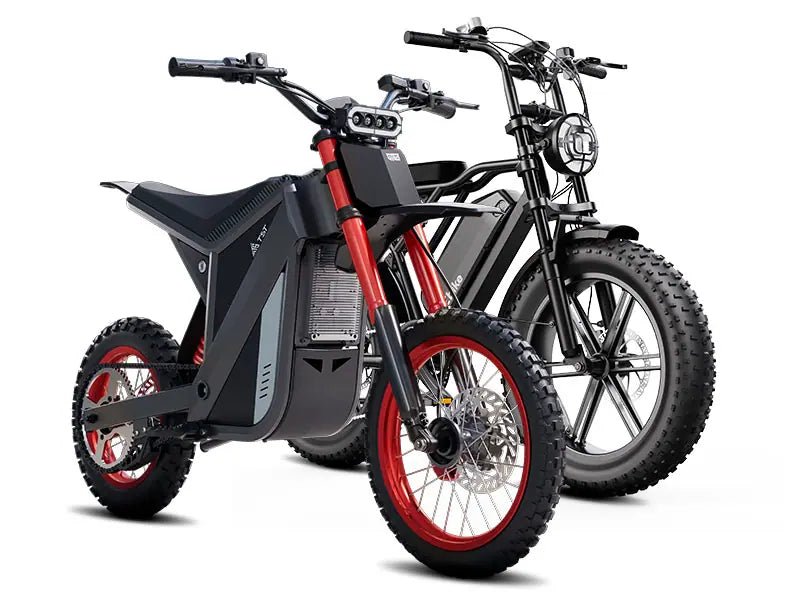
TST's accessories collection, first of three pages, lists a handlebar bag, a handlebar bag with phone holder and lock set, and a trunk box labeled for use on the R7 and R002. That page shows no front rack or pannier. A separate TST Front Shelf listing says it is only compatible with the TST Carrier, so it should not be assumed to fit an R002. TST also organizes accessories by bike type, including an "Accessories of R002" collection, which is the place to confirm what is approved for your model.
For an R002 owner, that points to this order of checks:
-
Start with the included rear rack and ask TST for its rated capacity before loading it.
-
Do not fit a front rack to the fork unless TST lists it as approved for your model, since the R002 has front suspension and the pages read do not show a fork rack mount.
-
Confirm with TST which handlebar and trunk accessories fit your exact bike, what each can carry, and whether the trunk box blocks battery removal.
-
Treat any "universal" accessory as unverified until its mounts, dimensions and rating match your bike.
Fat Tires, Panniers and Clearance
The retailer's guide recommends leaving 10 to 25 mm between a pannier and the wheel or tire, with the lower end for fender-equipped bikes. That figure comes from a general commuting explainer and does not address 4-inch tires, so a fat-tire bike needs a direct check. Fit the rack and an empty pannier, spin the wheel, compress the suspension if the rack moves with it, and look for rubbing at the tire, fender and brake hardware.
Run these checks with the accessory fitted:
-
Heel space. Pedal through full strokes with an empty pannier and watch for contact.
-
Lights and reflectors. CPSC advises riders to use reflectors and headlamps because drivers and pedestrians may not see them. Bags and boxes should not hide the headlight, rear light or reflectors.
-
Cables and steering sweep. Turn the bars fully both ways with a front accessory fitted and check that brake lines and display or light cables do not stretch or rub.
-
Battery access. Confirm you can still unlock and remove the battery. CPSC advises using only the charger provided or recommended by the manufacturer, so removal should not push you toward improvised charging.
-
Mounting points. The guide explains that racks transfer cargo weight to frame or fork mounting points. Rear racks typically use seatstay and dropout eyelets, and front racks use fork braze-ons, axle clamps or low-rider mounts. A bike without the right mounts needs a model-approved solution.
A Low-Speed Test, and When to Split the Load
Competitive Cyclist suggests running a short, traffic-free loop with your intended load before committing to a full commute. A staged version works as follows:
-
Ride the bike unloaded with the accessory fitted and check for rattles, cable rub and loose bolts.
-
Add part of the lowest applicable rating, with heavy items low and centered and both sides balanced.
-
In an empty lot, ride a straight line, a slow figure-eight, a tight U-turn and a firm stop with both hands on the bars.
-
Recheck straps, bolts and clearance. Increase the load only if the bike stays quiet and predictable, and stay inside every limit that applies.
Reduce or split the load if the front wheel resists tracking straight, the bars tug at low speed, bags swing, or the rig feels top-heavy. A load that fits the rack rating can still handle badly, and a rating is not a promise of stable handling. If the test shows a loose mount, heel contact, cable stretch or a blocked battery, remove or refit the accessory. For fork, frame or mounting questions, contact TST support or a qualified bike technician.

Leave a comment
This site is protected by hCaptcha and the hCaptcha Privacy Policy and Terms of Service apply.