
Most TST eBikes arrive 80% pre-assembled from the Ontario, CA warehouse. Complete setup in 20 minutes by installing the front wheel, aligning handlebars, attaching pedals and kickstand, and performing safety checks. Follow model-specific video guides and use included tools. All TST models ship with warranty coverage and responsive customer support for assembly questions.
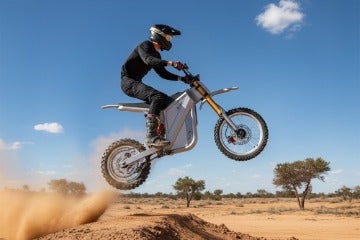
Check: Dirt eBike
What's Inside Your TST eBike Box? Complete Unboxing Checklist
Your TST eBike box contains the pre-assembled frame with rear wheel, motor, battery, brakes, and drivetrain intact, plus front wheel, handlebars, pedals (left/right marked), kickstand, fenders, derailleur guard, tools, charger, and manual—everything for a quick 20-minute setup from TSTE Bike's Ontario, California warehouse.
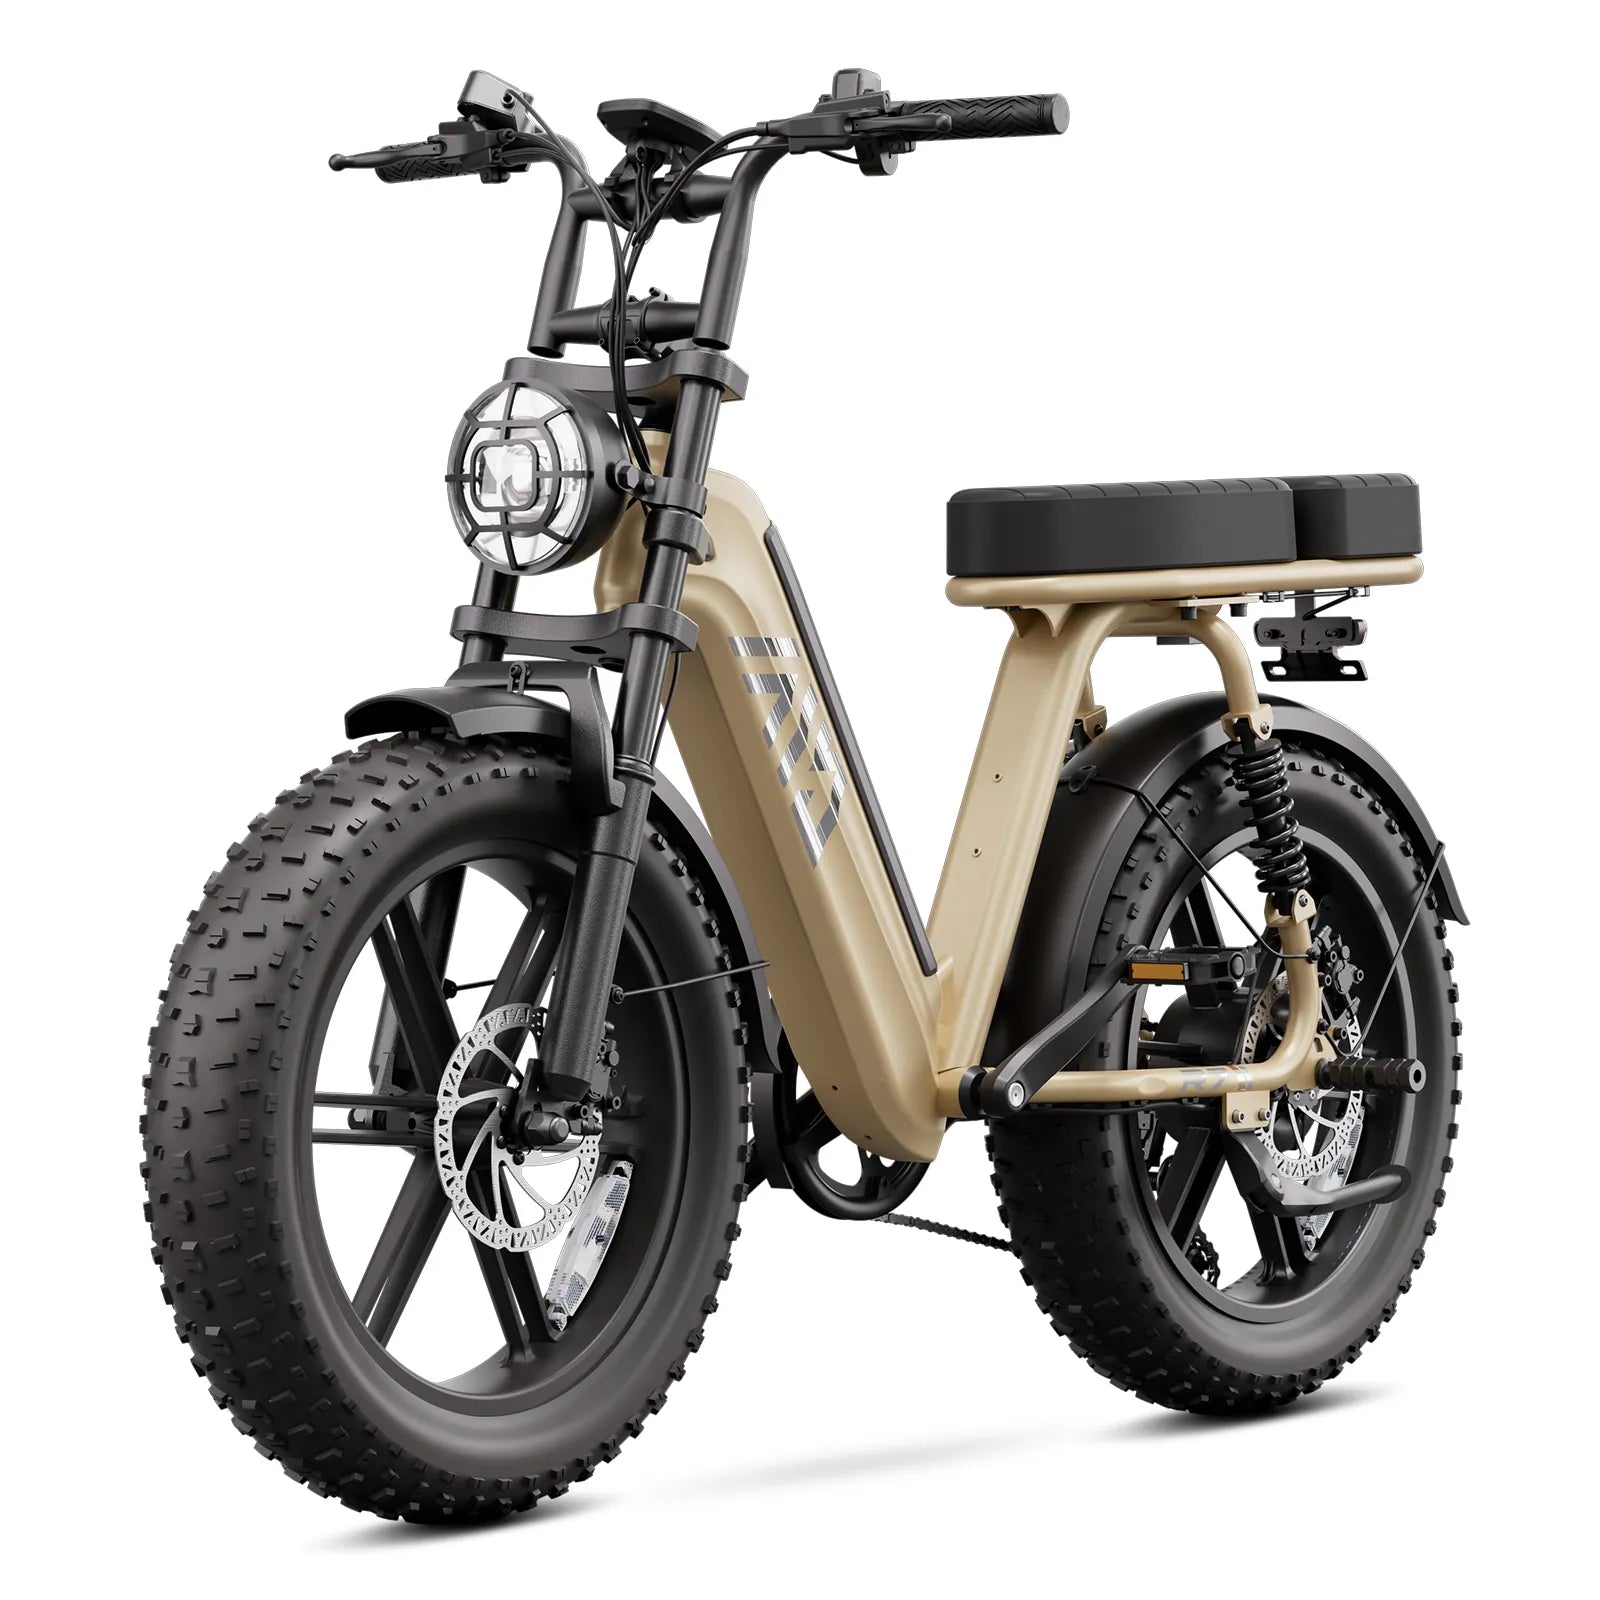
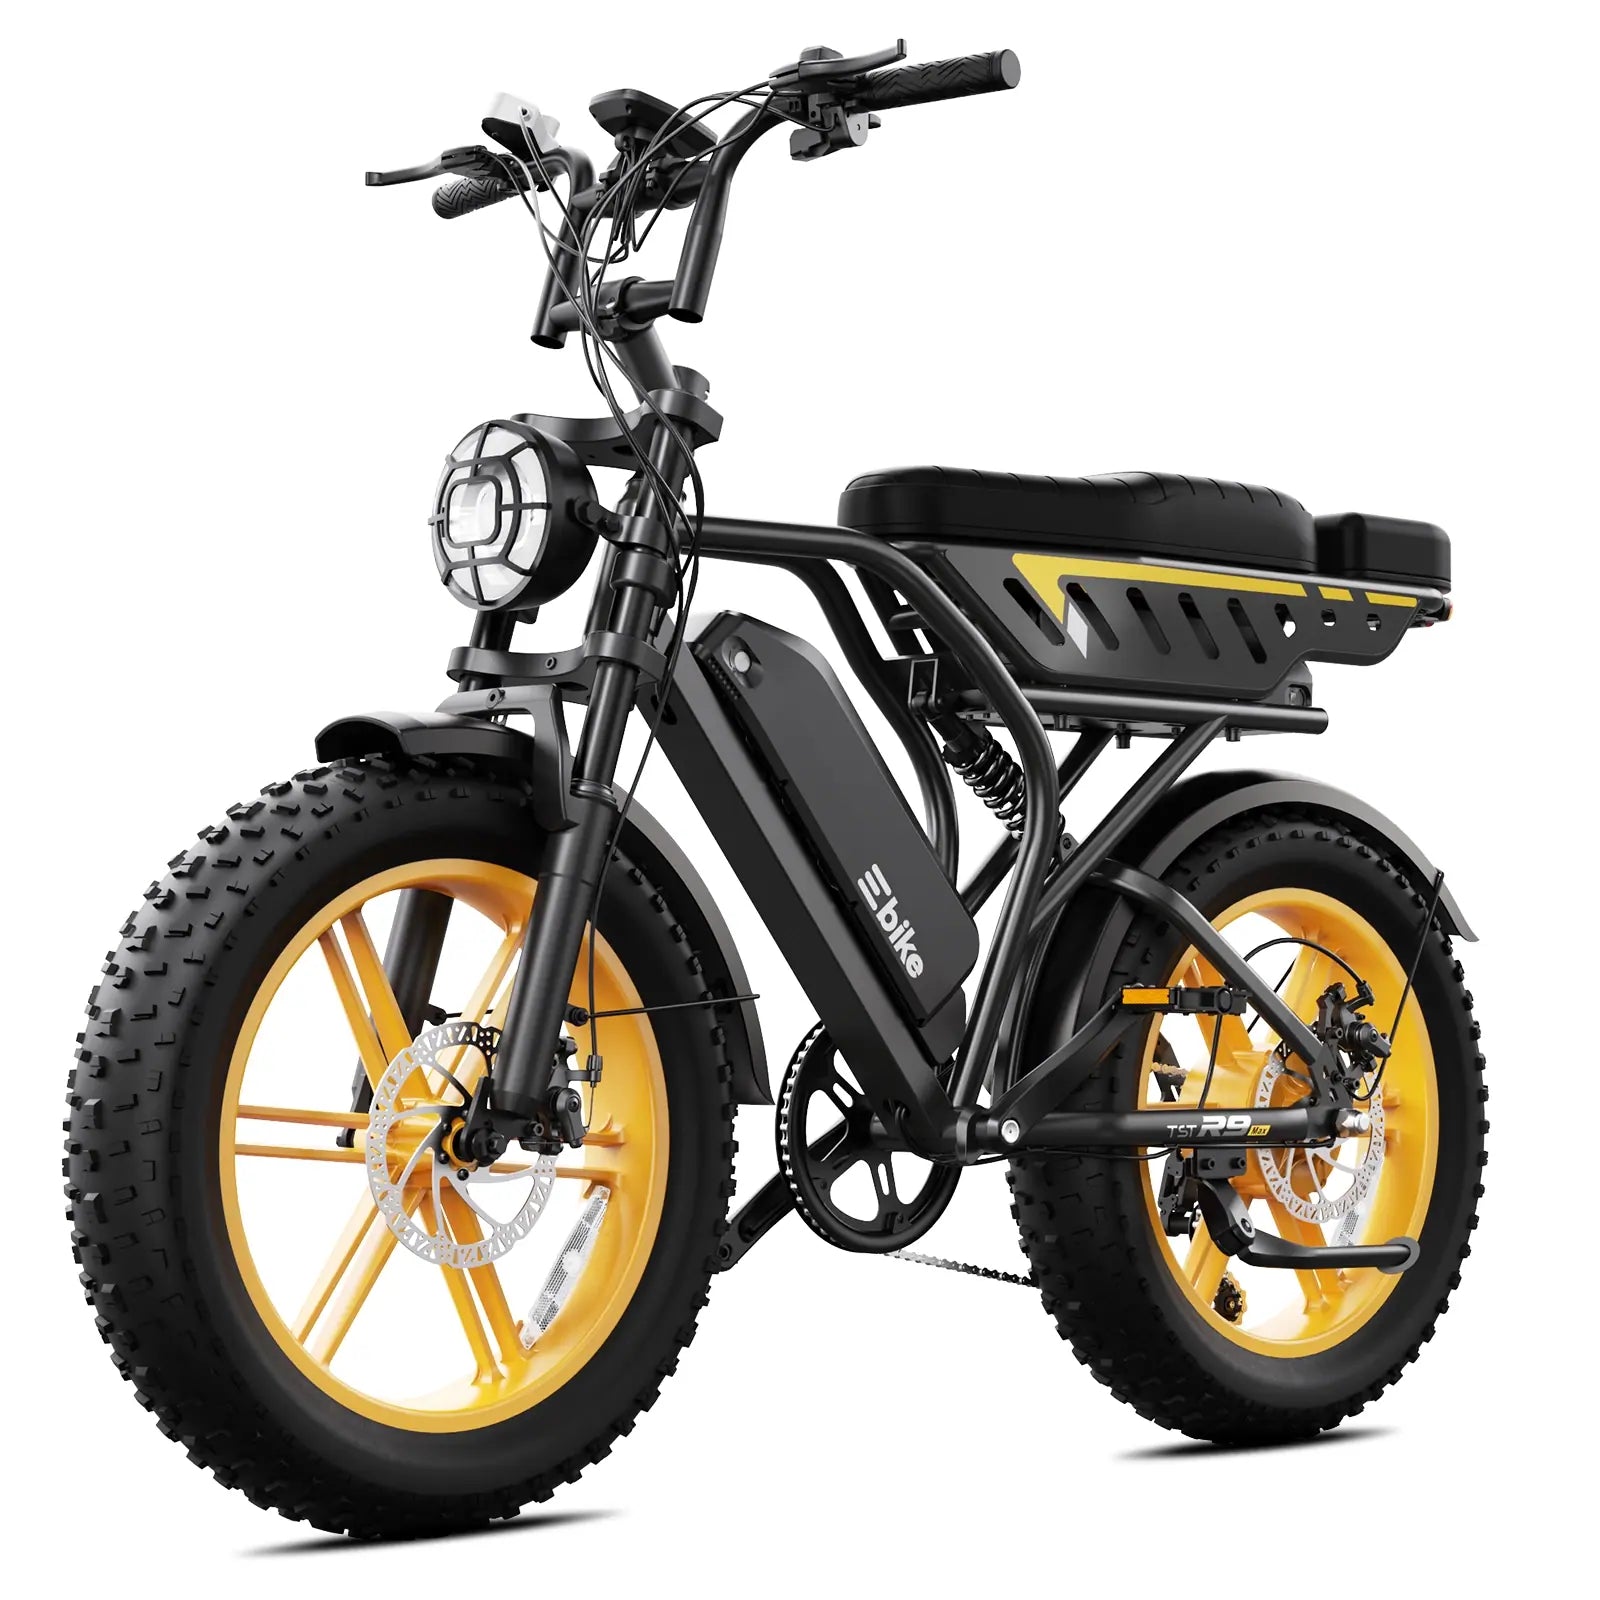
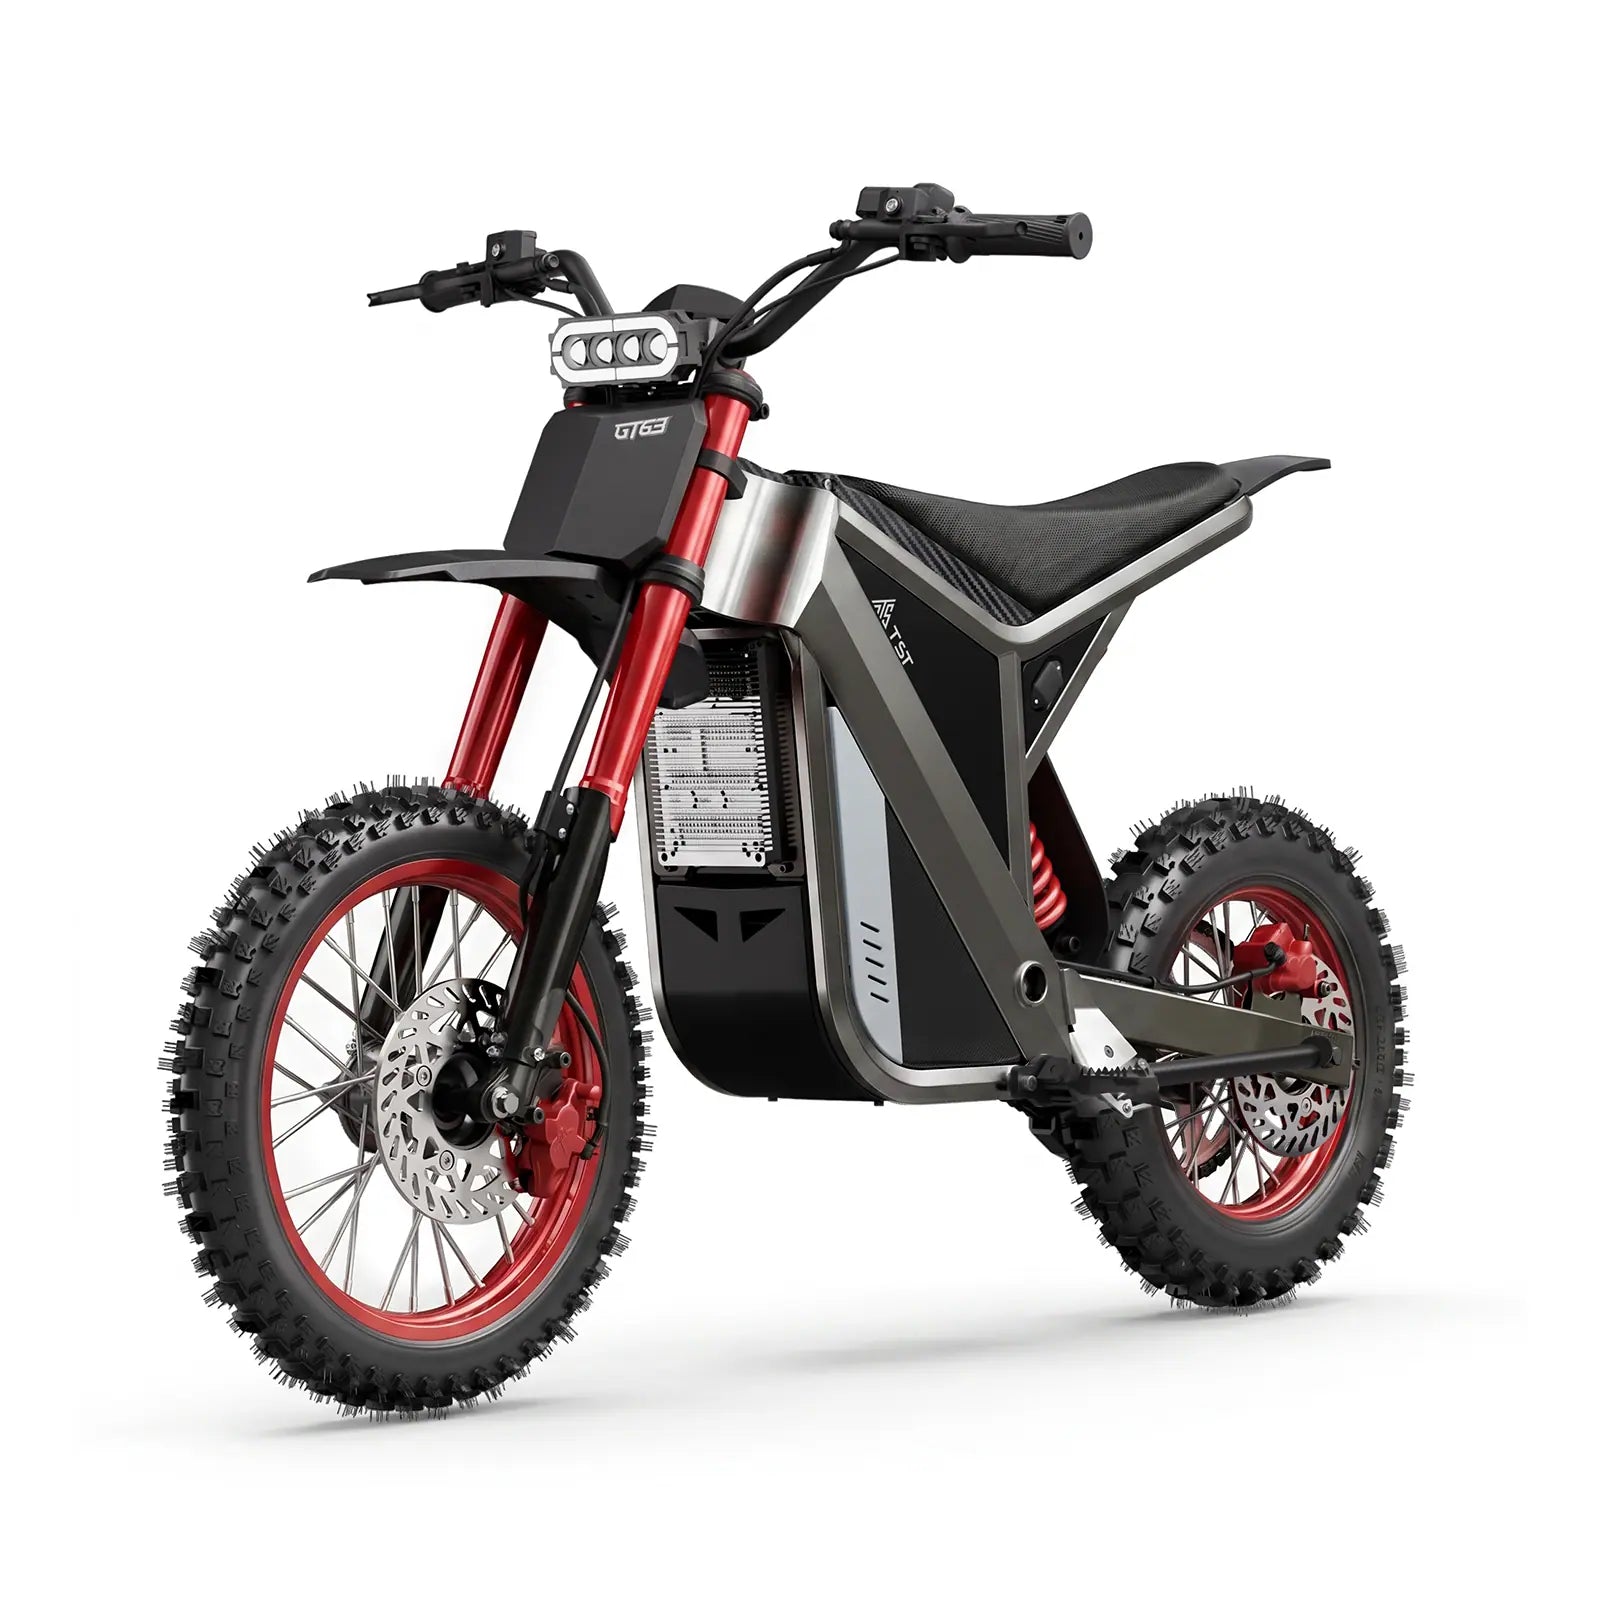
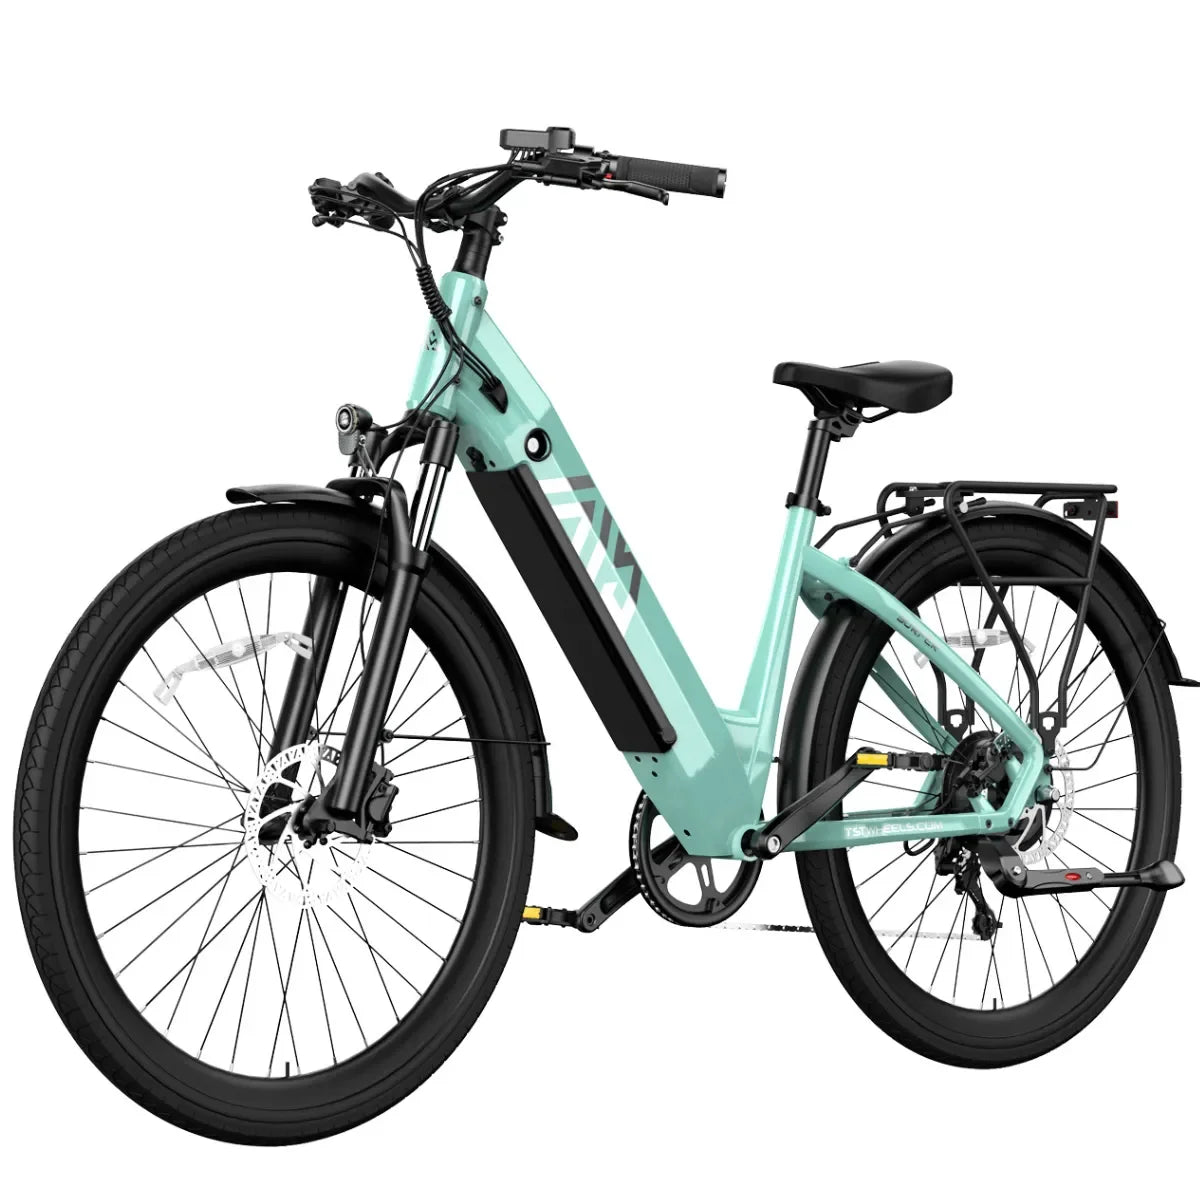
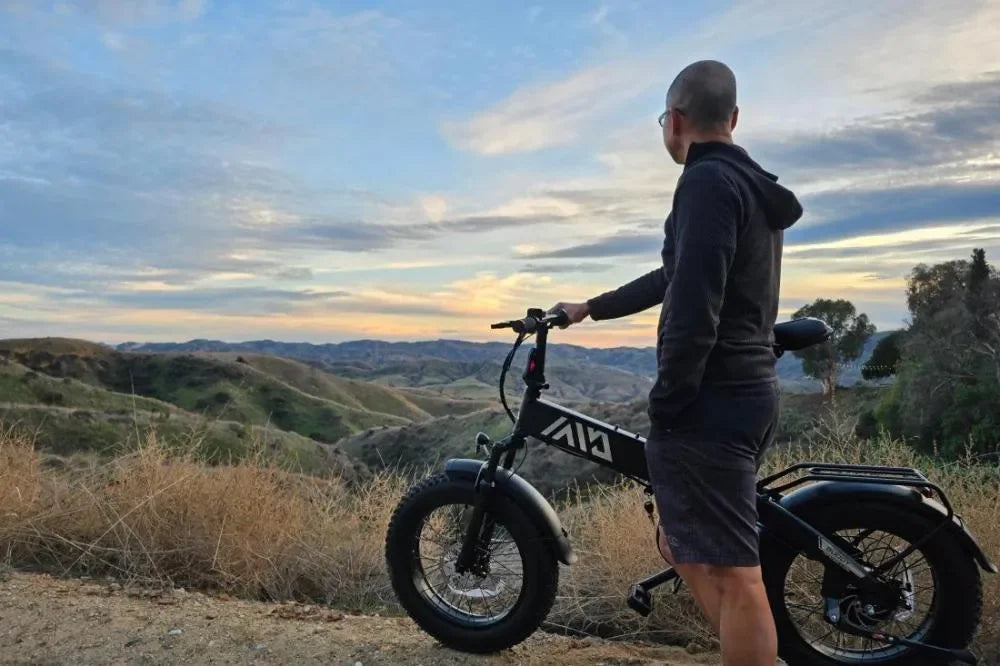
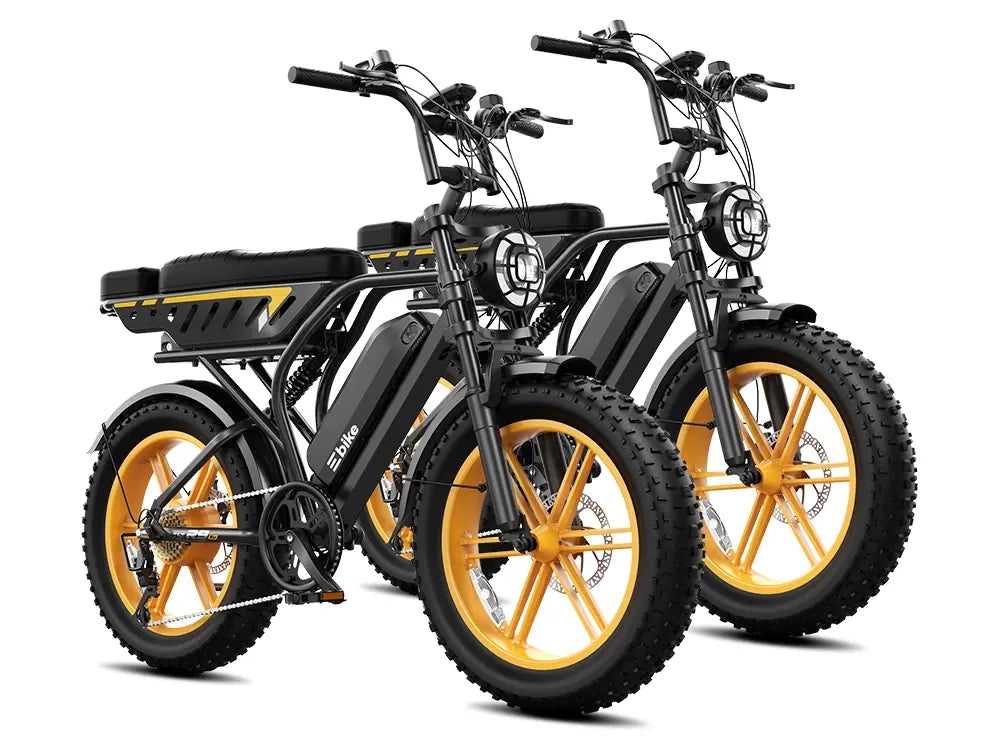
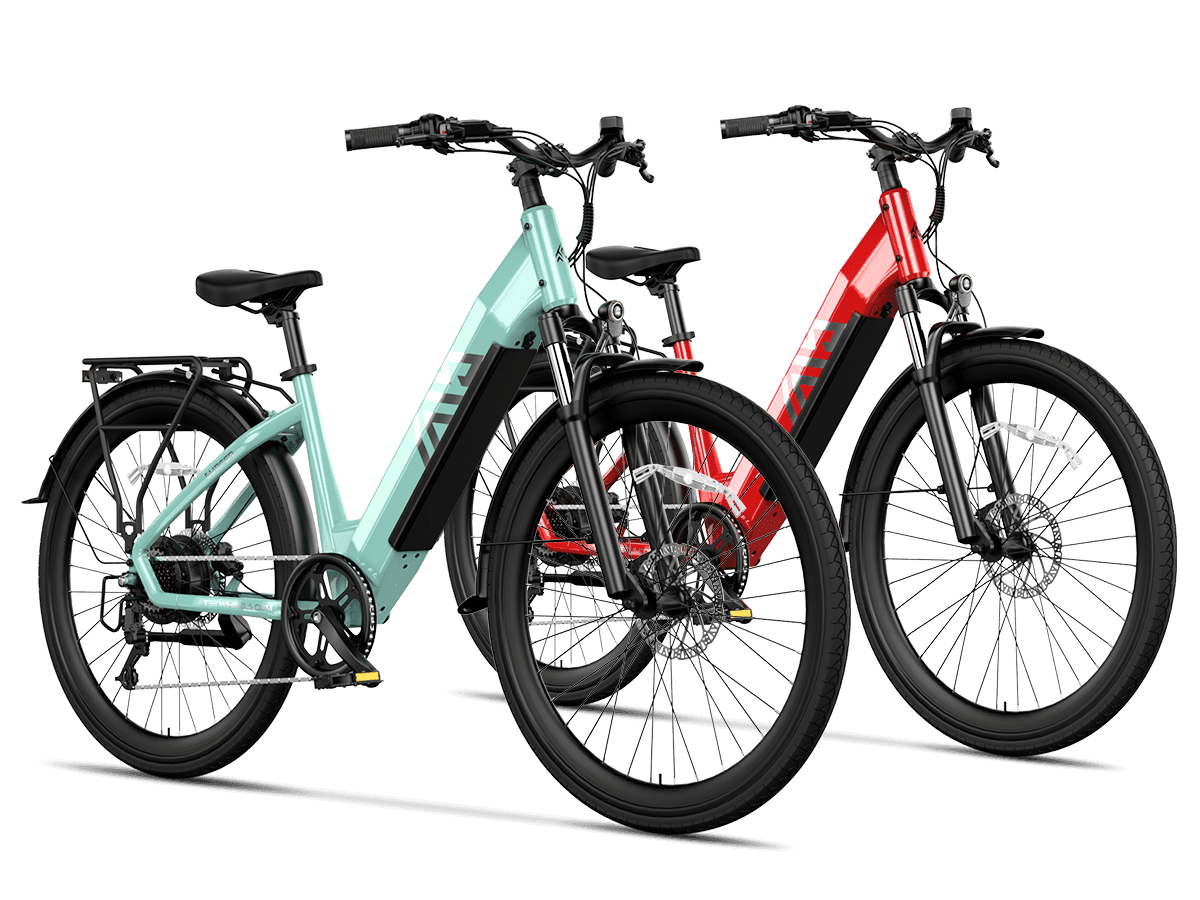
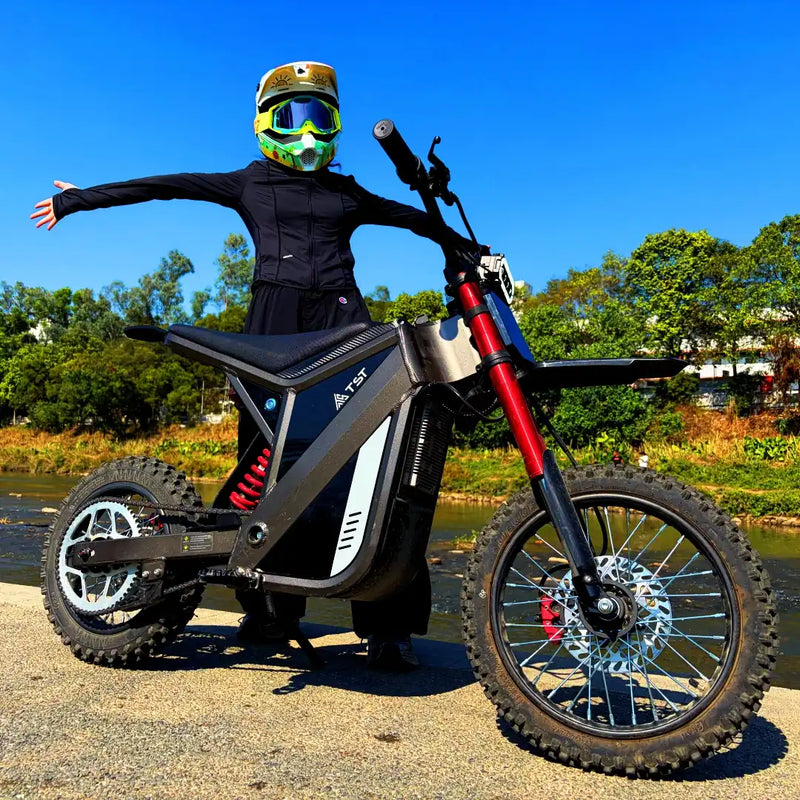
Unboxing your TST electric bike is exciting and straightforward, designed to eliminate any fears of complex online purchases. TSTE Bike ships all models, like the popular TST R002 moped-style eBike or TST Flyer 27.5" commuter, in sturdy cardboard boxes reinforced for 1-3 business day delivery across the US. For rugged models like the TST GT63 electric dirt bike, expect a specialized dirt bike shipping box that protects the 2200W brushless motor and 14" fat tires during transit.
Start by opening the top flaps. Inside, you'll find:
- Pre-assembled bike frame (80% ready: rear wheel, chain drive on dirt bikes like GT63, Shimano 7-speed drivetrain, hydraulic brakes with 180mm rotors on most models).
- Front wheel (detached for shipping safety, with disc rotor aligned for quick install).
- Handlebar assembly (stem may need flipping on R002/R9 models).
- Pedals (L/R labeled, threads pre-greased).
- Kickstand with pre-installed screws.
- Fenders (front/rear, with brackets).
- Tool kit (wrenches, Allen keys, screwdriver—everything included, no extras needed).
- Battery charger (e.g., 54.6V/3A for 48V 15Ah batteries).
- Removable battery (on frame or in pack).
- Manual with numbered diagrams and QR code for video tutorials.
- Spare parts bag (washers, nuts, zip ties).
For the TST Defender 26" fat tire eBike, the box highlights the 1300W SUTTO motor and 26" x 4.0" Chao Yang tires. Dirt bike fans love the TST GT73's reinforced box for its 6000W power and 17" wheels. Check for damage immediately and note local pickup option at 820 S Wanamaker Ave, Ontario, CA 91761.
What Tools Do You Need to Assemble Your TST Electric Bike?

All tools are included in your TST eBike box—no purchases required. Use the provided Allen keys (4-6mm), adjustable wrench, pedal wrench, screwdriver, and torque wrench for handlebars and axles. This plug-and-play kit ensures 20-minute assembly for models like R002, Flyer, and Buddy Pro.
TSTE Bike prioritizes simplicity for US riders, from city commuters to trail enthusiasts. Lay out the tool pack first—it's compact and labeled. Core tools cover all steps:
| Tool | Used For | Models |
|---|---|---|
| 4/5/6mm Allen keys | Handlebar stem, fenders, kickstand | All (R002, Flyer, Defender, GT63) |
| Pedal wrench (15mm) | Left/right pedals | Flyer, Surfer, Buddy Pro |
| Adjustable wrench | Front axle nuts, pedals | R9, R002, GT73 dirt bikes |
| Screwdriver (Phillips/flat) | Derailleur guard, seat post | Carrier cargo, Dreamer step-thru |
| Torque wrench (optional, included on premium) | 5-10 Nm for stems/brakes | R002, GT63 |
Safety gear: gloves, bike stand (or flip bike upside down on a blanket). Charge the battery (4-5 hours for 48V 15Ah on Flyer/Defender) while assembling. TSTE's design means no special skills—just follow the manual's clear diagrams.
How Do You Install the Front Wheel on Your TST eBike Correctly?
Flip the bike, remove axle packing from brake caliper, insert spacers/washers on fork dropouts, slide axle through with disc rotor between pads, add lock washers/nuts, and hand-tighten then wrench snug (no tools beyond included kit)—takes 2-3 minutes on R002 or Defender.
This is the most common step across TST models, shown in unboxing videos for the TST R002 and GT63 dirt bike. Position the bike upside down or on kickstand. Remove shipping clip from brake caliper—pull out foam/packing.
- Unscrew axle nuts/washers from front wheel hub.
- Align disc rotor precisely between caliper pads (spin wheel to check clearance).
- Insert axle: thick washer, thin washer, fork dropout, repeat opposite side.
- Hand-thread nuts, then tighten with wrench (20-25 Nm torque).
For fat tire models like TST Defender (26" x 4.0"), ensure 8mm tread clears fender brackets. On TST GT63 dirt bike, the 60/100-14 front tire slots easily with chain drive protected. Test spin: wheel should rotate freely, no brake rub.
How to Align and Tighten Handlebars on TST Moped-Style and Commuter Models?
Loosen stem bolts, flip stem if shipped backward (common on R002/R9), center handlebars perpendicular to frame, insert spacers if needed, tighten 4 side bolts to 5-8 Nm while viewing top-down alignment—done in 2 minutes with included Allen keys.
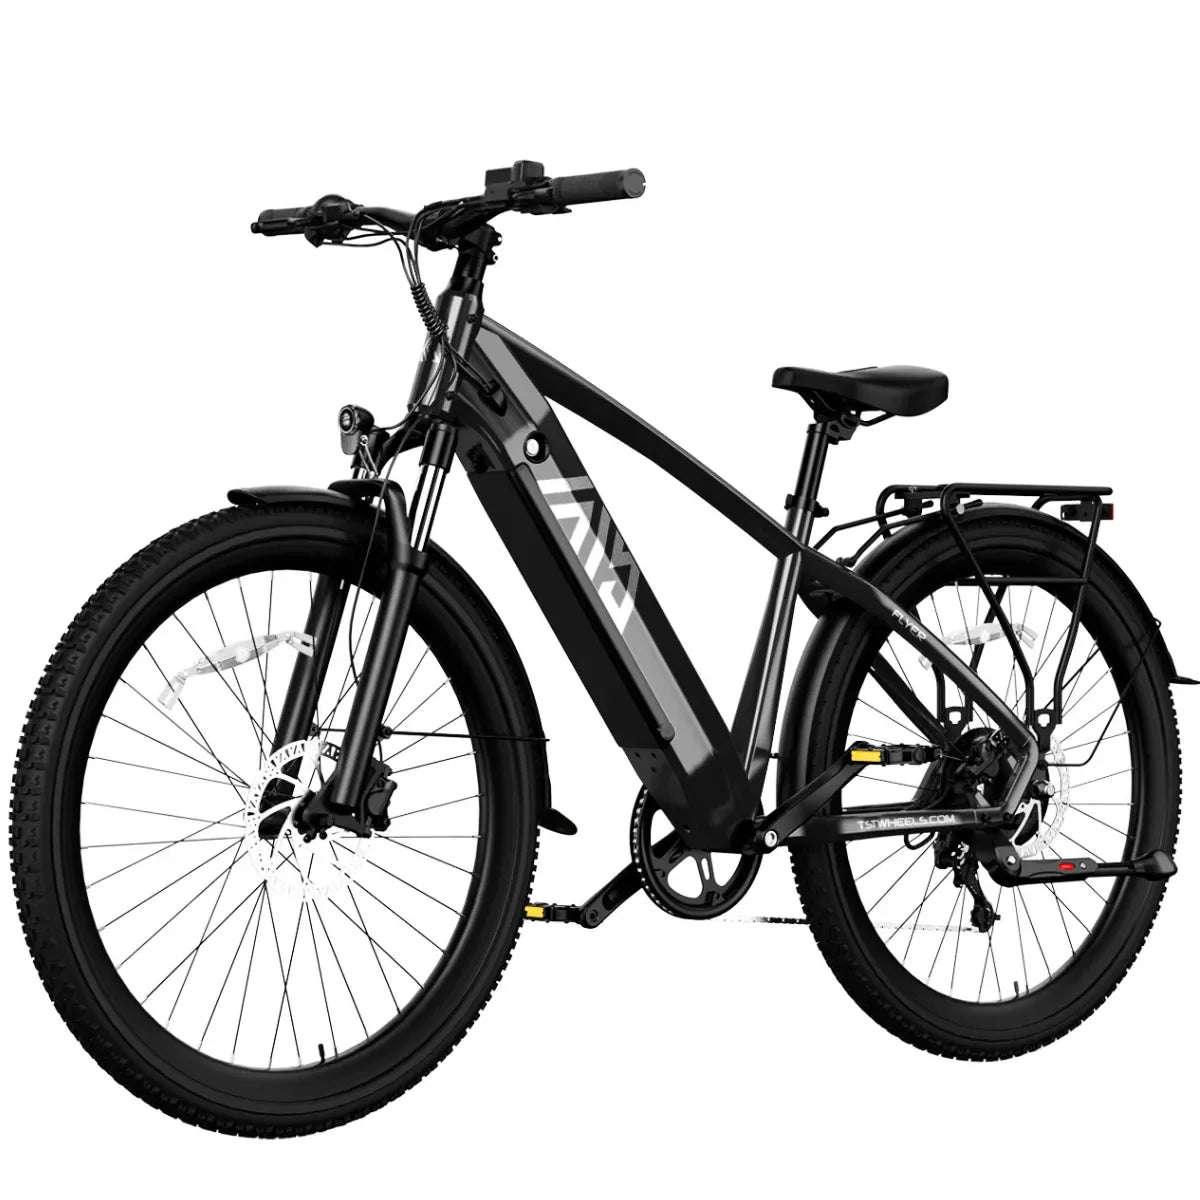
Moped-style like TST R002 (1500W full suspension) and commuter Flyer (1000W, 27.5" tires) arrive with handlebars detached for shipping. Videos demonstrate flipping the stem cap.
Steps:
- Loosen 4 stem faceplate bolts.
- Remove stem, flip 180°, reinstall on steerer tube.
- Add spacers under stem for height (R9 dual-battery fits 5'1"-6'4" riders).
- Align bars straight (use frame as guide).
- Tighten evenly: top-down view ensures no twist.
Route headlight wires (integrated LED on Flyer) into controller port—plug red-to-red with arrow alignment. Secure with zip ties.
How Do You Attach Pedals, Kickstand, and Derailleur Guard in 5 Minutes?
Check: Are electric dirt bikes street legal?
Thread left pedal (L) counterclockwise on left crank, right (R) clockwise on right; mount kickstand behind frame bracket with pre-installed screws; clip derailleur guard over chainstay—total 5 minutes using pedal wrench and screwdriver.
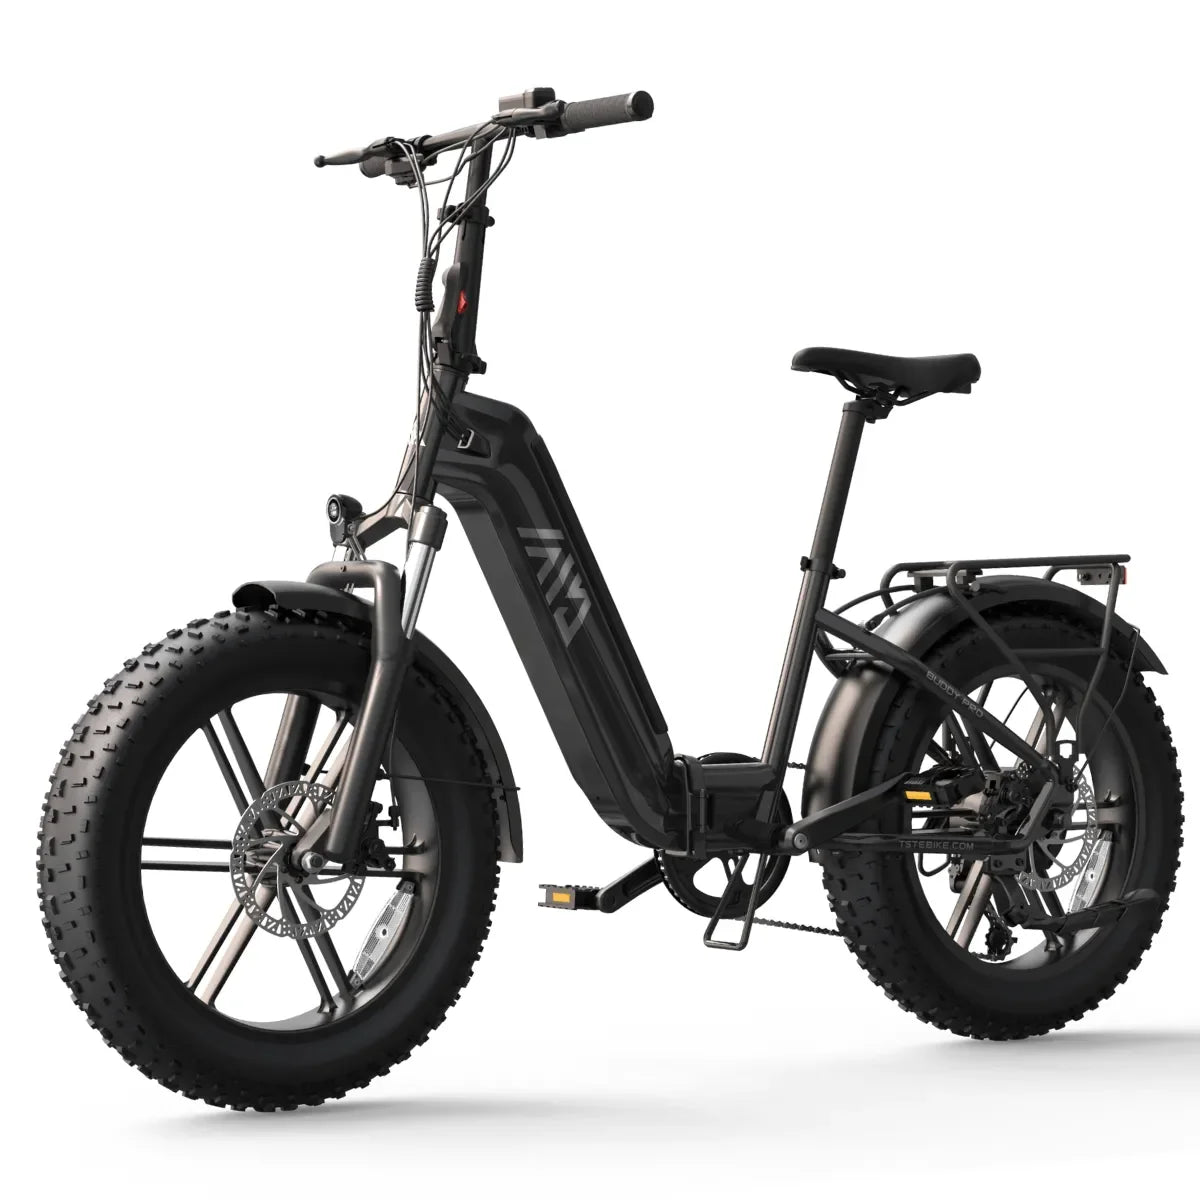
Pedals are marked L/R to prevent cross-threading. Grease threads first. For TST Buddy Pro folding eBike, this quick step complements its under-10-second fold.
Quick sequence:
- Pedals: Insert into crank arms, wrench tighten (35 Nm).
- Kickstand: Align behind bracket, screw through front holes (R002 videos show lock washers).
- Derailleur Guard: Snap on, secure with 2 screws—protects Shimano 7-speed on Defender/R9.
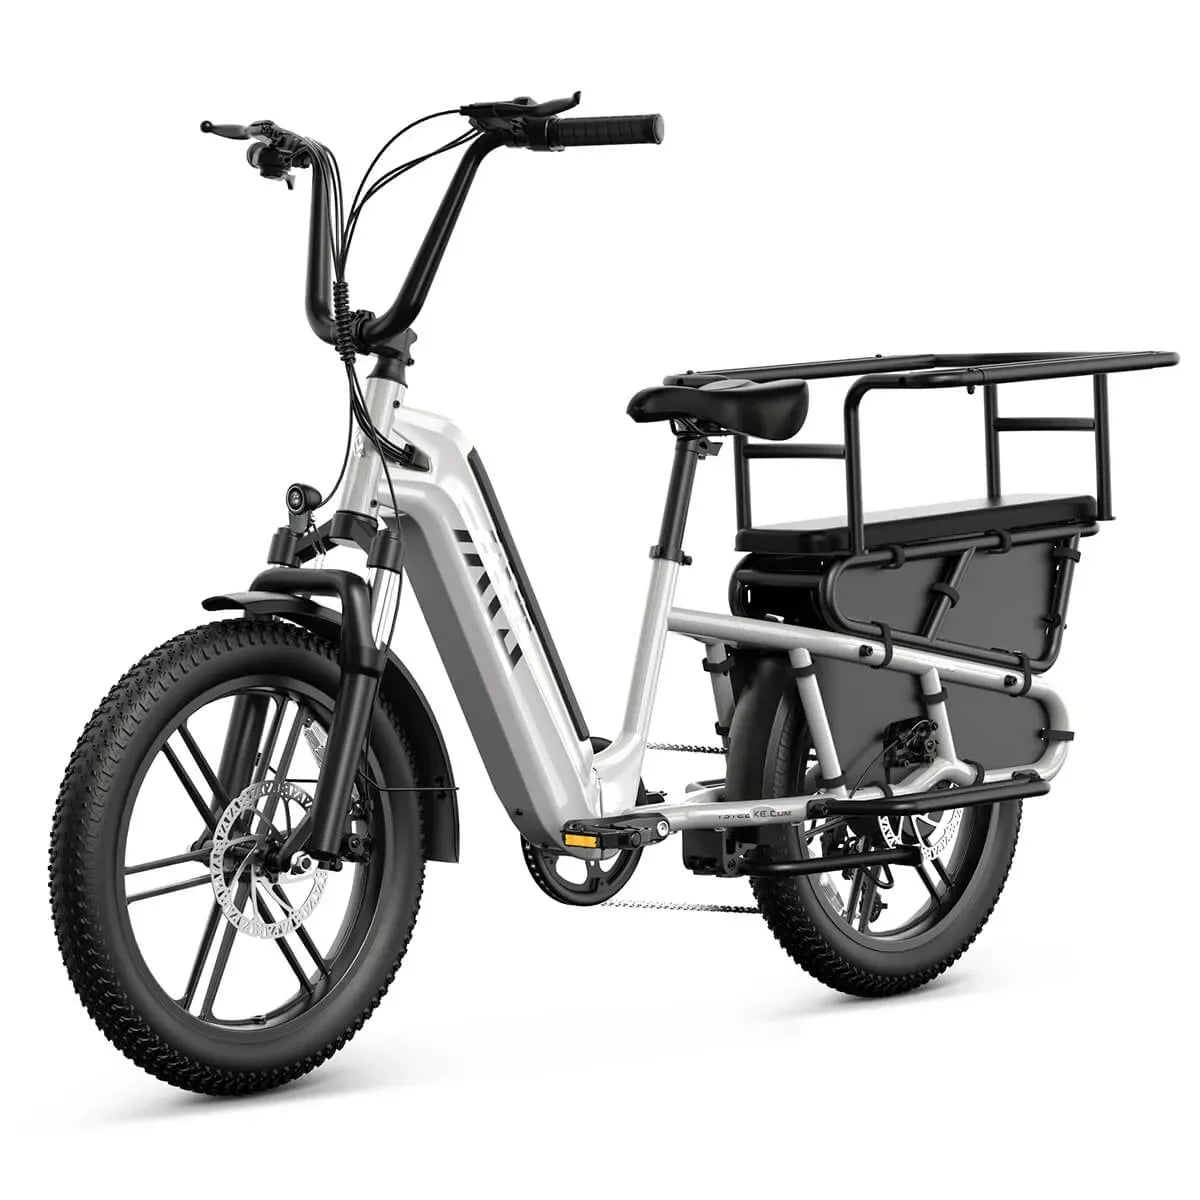
Fenders attach next: front loops over fork brace, rear to rack (free on Carrier cargo model, $534 value).
What Are the Critical Safety Checks Before Your First Ride?
Tighten all bolts (axle, stem, pedals), check brake lever pull (no drag), spin wheels freely, test throttle/PAS levels 1-5, adjust seat (min 30" height on most), charge battery fully, and verify lights—then take a short test ride in a safe area.
TSTE Bike warranties (1-2 years) cover proper assembly. Brake rotors must clear calipers; torque stems to avoid slippage. For dirt bikes like GT63 (43 MPH top speed), confirm IP65 waterproof seals and 35° climb readiness.
Why Does Your TST Buddy Pro or R9 Fold, and How Does That Speed Up Setup?
Folding designs like Buddy Pro (20" full suspension, folds in 10s) and R9 (dual 48V 15Ah, up to 130 miles) ship compactly, with pre-aligned components for ultra-fast setup—handlebars/pedals attach in under 5 minutes total, ideal for urban storage.
TST Buddy Pro's step-thru frame and quick-release battery make it family-friendly. R9's full suspension (adjustable rebound) and modular rear speed cargo/passenger swaps. Both from Ontario warehouse enhance quick US delivery.
What Should You Do If Assembly Issues Arise? Troubleshooting & Support
Contact TSTE Bike support via website chat/email for free video calls; common fixes: re-align rotor (spin test), flip stem, or replace spacers from spares. All models backed by 1-year warranty and Ontario experts—no returns needed.
Issues like stiff brakes? Re-seat rotor. Pedal won't thread? Confirm L/R. TSTE's responsive team handles it fast.
TSTE Bike Expert Views
"At TSTE Bike, we design every model like the R002 and GT63 with 80% pre-assembly from our Ontario warehouse, ensuring even first-timers finish in 20 minutes. Our hydraulic brakes and Shimano drivetrains arrive calibrated, with tools and videos eliminating guesswork. Families love the Carrier's free $534 accessories; dirt riders trust GT73's 339 Nm torque post-setup. Ride confidently with our 1-3 day delivery and 2-year R002 warranty." — TSTE Assembly Specialist
| Model | Motor/Torque | Range/Top Speed | Weight/Max Load |
|---|---|---|---|
| TST R002 | 1500W/90 Nm | 65-100 mi/32 MPH | 71.87 lbs/450 lbs |
| TST Flyer | 1000W/70 Nm | 65 mi/23 MPH | 58.86 lbs/400 lbs |
| TST Defender | 1300W/90 Nm | 65 mi/28 MPH | 71.65 lbs/450 lbs |
| TST GT63 | 2200W/210 Nm | 50 mi/43 MPH | 114.6 lbs/280 lbs |
Conclusion
Assembling your TST eBike is simple, fast, and fear-free thanks to TSTE Bike's thoughtful design and California shipping. Hit the trails or streets in 20 minutes—explore the full lineup for your perfect ride.
FAQs
How long does TST dirt bike unboxing take? 15-20 minutes for GT63; specialized box protects suspension.
Are tools included for all TST models? Yes, full kit for R9, Buddy Pro, and more.
What if pedals are hard to install? Use included wrench, grease threads, match L/R markings.
Can I pick up from Ontario warehouse? Yes, at 820 S Wanamaker Ave for immediate assembly help.
Does assembly void warranty? No, TSTE covers proper setups with 1-year standard.
Leave a comment
This site is protected by hCaptcha and the hCaptcha Privacy Policy and Terms of Service apply.