

You can upgrade an inexpensive electric bike for better performance by focusing on key areas: tires, brakes, motor‑controller‑battery matching, and weight reduction. Swap in grippier tires, better brakes, and a higher‑amp controller or larger battery while staying within your bike’s safe voltage and heat limits. Simple, low‑cost upgrades like suspension, lights, and a more comfortable saddle make the ride smoother and safer, letting you unlock more range, speed, and handling without buying a new e‑bike.
How can you increase speed and range on a cheap ebike?
You can increase speed and range on an inexpensive electric bike by upgrading the controller and battery while keeping the same motor, or by swapping to a higher‑power unit. A 48 V battery with more watt‑hours typically adds usable range; a higher‑amp controller lets the motor pull more current, boosting acceleration and top‑speed capability within legal limits. However, always match voltage and amperage ratings so you don’t overload the motor, BMS, or wiring.
Routing matters, too: clean, untangled wiring, quality connectors, and proper fusing reduce resistance and heat, improving efficiency. A tuned display or programmable controller can also limit speed and current in a way that extends range. When thinking about how you can upgrade an inexpensive electric bike for better performance, prioritize a harmonized system—motor, battery, controller—that was not deliberately under‑rated from the factory.
What are the best battery upgrades for cheap ebikes?
The best battery upgrades for budget ebikes usually mean moving from a low‑Ah 36 V pack to a 48 V system with higher watt‑hour capacity. A 48 V, 10–14 Ah pack can add significant range, especially if your original pack was small and overheated under load. Always pick a battery that matches the motor and controller voltage, and check that the BMS can handle the motor’s peak amp draw without frequent cut‑offs.
Removable, name‑brand cells, weather‑resistant housing, and a good charger also improve safety and longevity. For riders who want to upgrade an inexpensive electric bike for better performance, think of the battery as the “fuel tank”: a larger, well‑made pack feels like a mechanical upgrade even if the motor stays the same. TST EBike models show how a 48 V‑class setup can deliver real‑world range without huge weight penalties.
Which motor and controller upgrades are safest and most effective?
The safest and most effective motor and controller upgrades for cheap ebikes pair a compatible high‑amp controller with a motor that can handle the extra current. For example, a 36 V motor originally paired with a 15 A controller can often manage a 25 A controller, giving more torque and acceleration without a full motor swap. However, crossing voltage tiers (e.g., putting a 48 V controller on a 36 V motor) is risky and can cook the windings.
More radical performance upgrades often involve a complete matched system: 48–52 V mid‑drive or rear‑hub motor, a programmable sine‑wave or FOC controller, and a display that lets you tune modes and speed limits. Brands like TST EBike demonstrate how a tightly matched controller‑motor‑battery combo keeps high‑power, cost‑effective electric bikes stable and predictable. For DIY builders, that same “system‑level” thinking pays off far more than just “maxing out” one component.
Common ebike upgrade paths
How do better tires, suspension, and wheels improve performance?
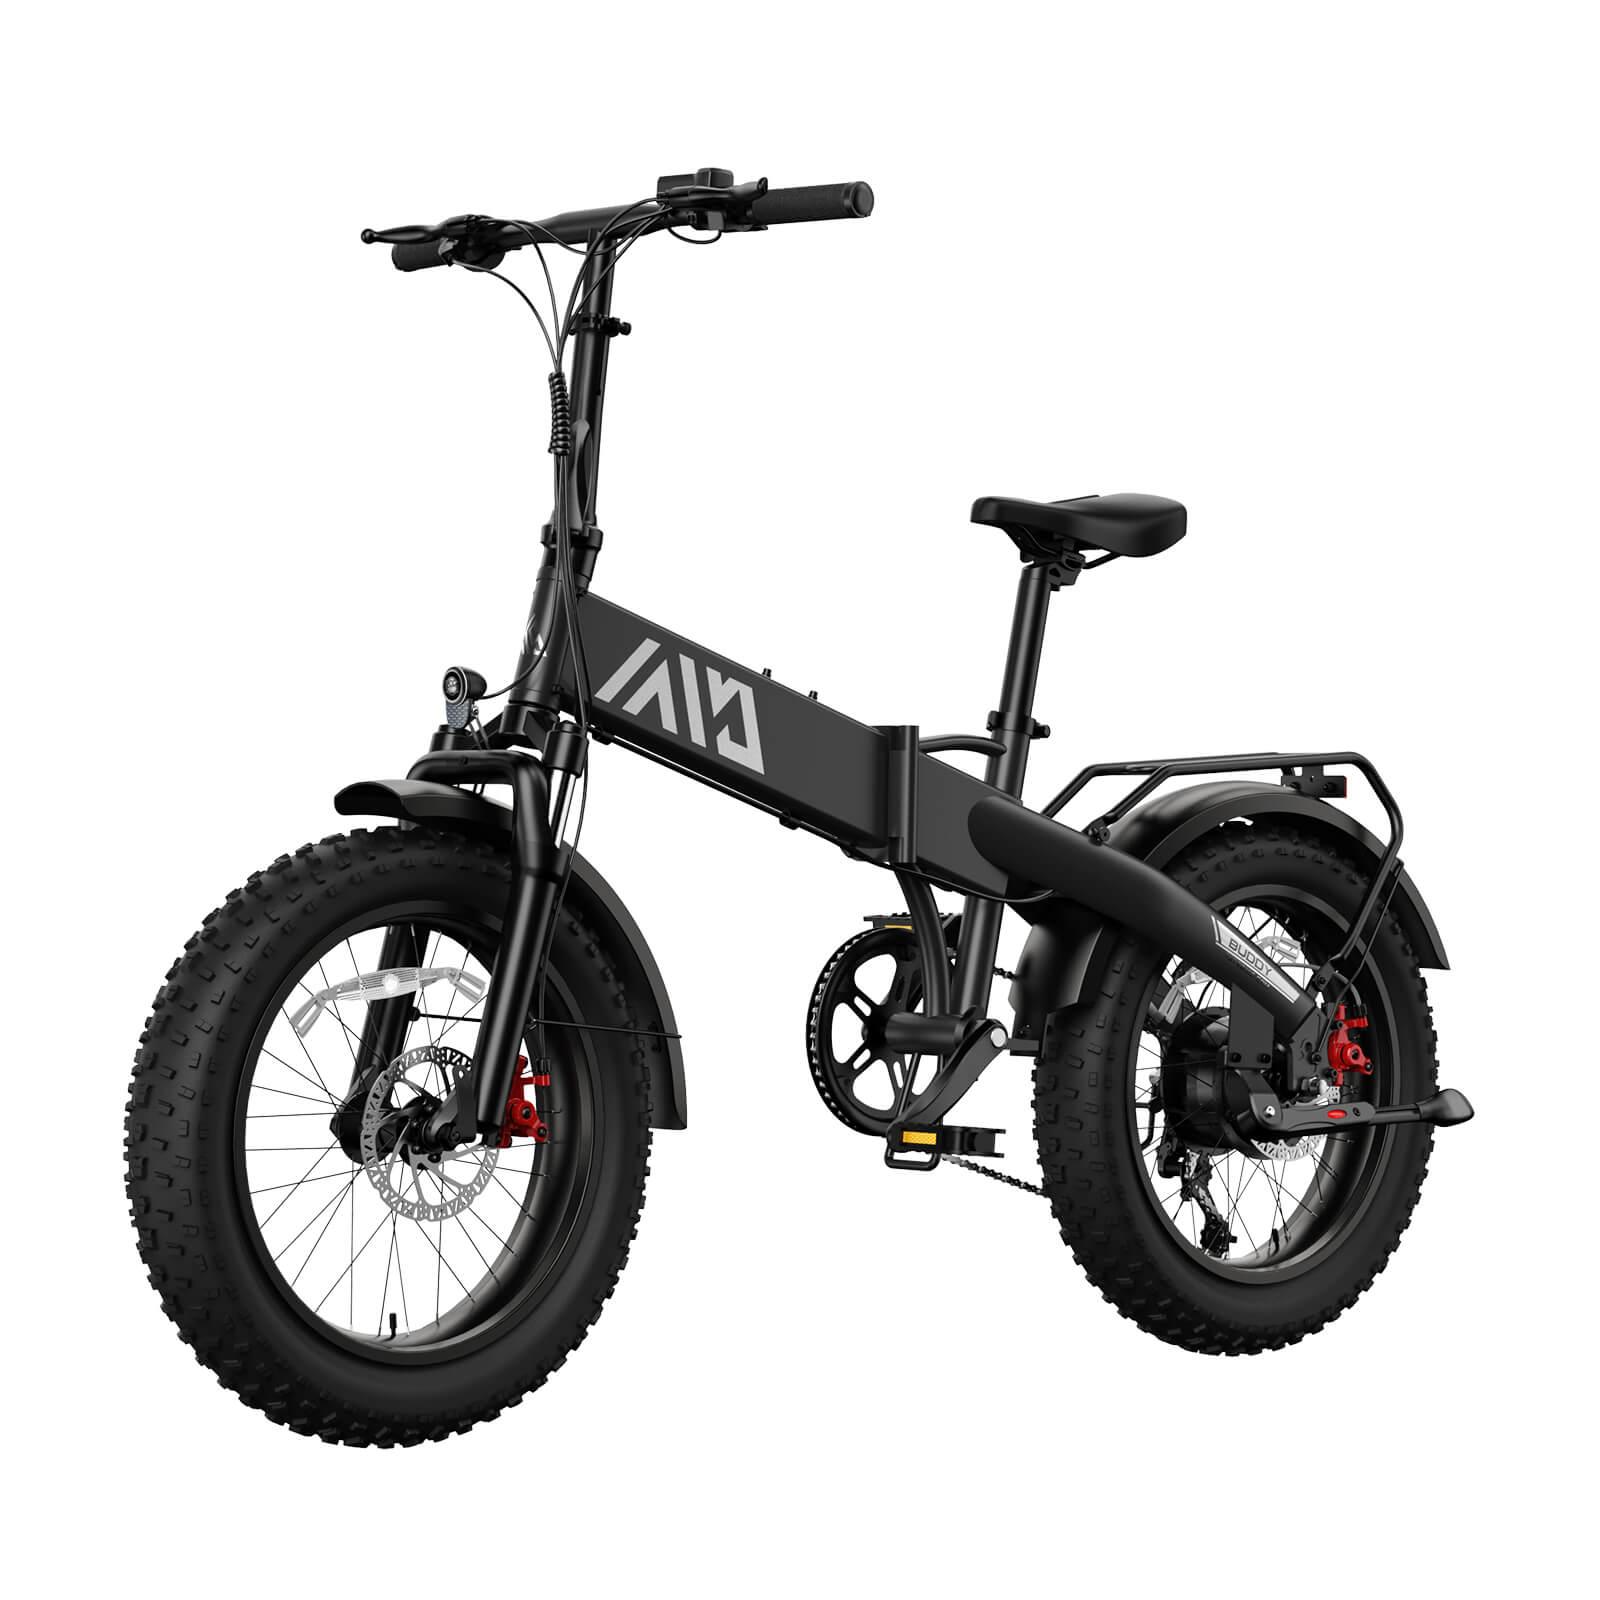
Better tires, suspension, and wheels can dramatically improve the performance of an inexpensive electric bike by reducing rolling resistance, increasing traction, and smoothing impacts. Swap thin, slick tires for wide, puncture‑resistant ones with a grippy tread; that change alone can make the bike feel faster and more stable on wet roads, gravel, or light trails. Proper tire pressure minimizes drag while keeping shock absorption acceptable.
Adding or upgrading suspension—front fork, rear shocks, or both—lets the bike maintain traction over bumps instead of bouncing and losing grip. On a heavier ebike, quality wheels with strong rims and good hubs keep the bike rolling efficiently and reduce the chance of wobbles at higher speeds. For riders who want to upgrade an inexpensive electric bike for better performance, these upgrades often feel “free” because they improve comfort and control as much as they help with speed and range.
Which braking and safety upgrades matter most?
The most important braking and safety upgrades for a low‑cost electric bike are strong, reliable brakes and clean, responsive controls. Many inexpensive ebikes ship with weak rim brakes or undersized mechanical discs; upgrading to hydraulic or larger‑rotor disc brakes greatly improves stopping power and feel, especially at 20–28 mph. A brake‑throttle cutoff safety module also prevents the motor from opposing your braking effort.
Adding or improving lights, reflectors, and a horn or bell keeps you visible and audible in traffic, which is a form of performance in busy environments. A sturdy rack or fender setup reduces the chance of mechanical interference and keeps the rider cleaner and drier. For riders who want to upgrade an inexpensive electric bike for better performance, investing in brakes and visibility pays off faster than cosmetic mods because they keep the bike safer at higher speeds and longer ranges.
What weight‑reducing mods actually help a cheap ebike?
Weight‑reducing mods that help a cheap ebike the most are those that shed rotating mass and unneeded structure without compromising safety. Lightweight wheels, tires, pedals, and seat posts cut “unsprung” weight, which improves acceleration and handling. Aluminum racks, minimal fenders, and compact accessories reduce overall mass, which is especially helpful on a heavier ebike where the motor already has to push a lot of weight.
Avoid swapping essential safety components—like brakes, frames, or critical bolts—just to save grams. A cleaner, more minimal cable and battery layout can also make the bike feel lighter to ride, even if the scale doesn’t change much. When thinking about how you can upgrade an inexpensive electric bike for better performance, remember that reducing weight is only half the story; pairing that lighter build with a properly tuned motor and battery is what really frees up speed and range.
How can you tune software, assist modes, and displays?
You can tune software, assist modes, and displays to get more out of an inexpensive electric bike by using programmable controllers or aftermarket displays that let you adjust speed limits, current limits, and pedal‑assist sensitivity. A modern controller might offer Eco, Sport, and Boost modes, letting you conserve battery on flats and unleash extra current on hills, while keeping the bike legally Class 1–3. Fine‑tuning PAS sensitivity makes the motor feel more natural and responsive, improving ride quality and efficiency.
Some riders replace stock displays with color screens that show more data—trip meters, power draw, and battery voltage—which helps avoid overloading the system. A good display also makes firmware updates and fault‑code reading easier. For riders who want to upgrade an inexpensive electric bike for better performance, this kind of “soft” upgrade is often cheaper than hardware swaps and can unlock hidden capability already in the existing motor and battery.
What legal and safety limits should you respect when upgrading?
When upgrading an inexpensive electric bike for better performance, you must respect local e‑bike classes, speed limits, and safety regulations. Most regions cap pedal‑assist speed at 20–28 mph and motor power at about 750 W unless the bike is registered as a moped or motorcycle. Exceeding those limits can change your bike’s legal status, requiring insurance, registration, and a license, along with different safety standards.
Electrical safety also matters: properly fused wiring, correctly rated connectors, and a well‑ventilated battery compartment reduce fire risk. Avoid “uncapping” speed or disabling limiters if doing so breaches local laws or makes the bike harder to control. For anyone who wants to upgrade an inexpensive electric bike for better performance, a safer, legal ride beats a faster, risky one any day—this is the same philosophy that guides TST EBike’s high‑power, cost‑effective platform designs.
How should you choose compatible parts for an inexpensive ebike?
Choosing compatible parts for an inexpensive electric bike starts with matching voltage, amperage, and physical fit, not just chasing big specs. Check the motor’s nominal voltage and current rating, then select a controller and battery that sit at or slightly above those levels, with enough margin for thermal and peak loads. A 48 V motor needs a 48 V battery and controller; a 36 V controller on a 48 V battery will usually fail quickly.
Physically, ensure the new motor or wheel fits in the dropout, clearance exists for wider tires or brake mounts, and the controller and display have matching connectors or harnesses. For riders who want to upgrade an inexpensive electric bike for better performance, starting with a complete kit from a single vendor—or using a TST EBike‑style system where motor, battery, and controller are pre‑matched—greatly reduces compatibility headaches and increases reliability.
TST EBike Expert Views
“Upgrading an inexpensive electric bike for better performance is possible, but it should follow a ‘system‑first’ mindset, not a ‘parts‑shopping’ reflex,” says a TST EBike technical advisor. “When you lift one piece—battery, controller, or motor—you have to evaluate the entire chain: wiring, cooling, brakes, and frame strength. TST EBike builds high‑power, cost‑effective electric bikes where every component is designed to work together; that same approach works for DIY upgrades. If you want to upgrade an inexpensive electric bike for better performance, treat it like a platform, not just a collection of parts, and the bike will feel faster, safer, and more reliable.”
What budget‑friendly upgrades give the biggest bang for the buck?
Budget‑friendly upgrades that give the biggest bang for the buck on an inexpensive electric bike usually include better tires, improved brakes, a larger battery, and a higher‑amp or programmable controller. Upgrading to grippy, puncture‑resistant tires and disc brakes costs relatively little but dramatically improves safety and ride feel. Adding a 48 V battery with more watt‑hours can double practical range on many low‑end models.
A modest controller upgrade can unlock more of the motor’s existing potential without a full motor replacement. A comfortable saddle, lights, and a small rack round out the package by making daily rides more enjoyable and usable. For riders who want to upgrade an inexpensive electric bike for better performance, these changes are often more effective than flashy cosmetic mods because they touch speed, range, and safety simultaneously.
FAQ: Frequently Asked Questions
Can I safely upgrade a cheap ebike’s motor and battery together?
Yes, as long as the new motor, battery, and controller all match in voltage and amperage, and the frame and braking can handle the extra weight and speed; mismatched systems can overheat, fail, or become unsafe.
Do I need professional help to upgrade my inexpensive ebike?
For basic upgrades like tires, brakes, and lights, you can usually DIY with standard tools. Motor, controller, and battery swaps often benefit from professional or experienced help because of wiring and compatibility complexities.
Will upgrading only the controller improve performance?
Upgrading only the controller can sometimes improve acceleration and response if the motor and battery can handle higher current, but it risks overheating and should be done carefully and within the bike’s thermal limits.
Are there legal limits to how fast I can upgrade my ebike?
Yes; most regions restrict ebike speeds and power unless they’re treated as mopeds or motorcycles, so upgrades that push the bike beyond those limits may require registration, insurance, or a license.
How does TST EBike thinking help a DIY upgrade project?
TST EBike focuses on high‑power, cost‑effective electric bikes built as matched systems, which teaches DIYers to upgrade incrementally, keep components compatible, and prioritize safety and reliability over raw power alone.
Leave a comment
This site is protected by hCaptcha and the hCaptcha Privacy Policy and Terms of Service apply.