
Assemble your TST R002 in 30 minutes: 1) Unbox and install kickstand with 5mm hex. 2) Mount front wheel with sleeve/flat washers, safety hooks. 3) Align handlebars perpendicular, tighten 5mm allen. 4) Thread pedals (L counterclockwise, R clockwise). 5) Install battery (flip switch on), charge 4-5 hours to 20 PSI tires. Test power and app for 32 MPH unlock.
Check: R002 Assembly Support
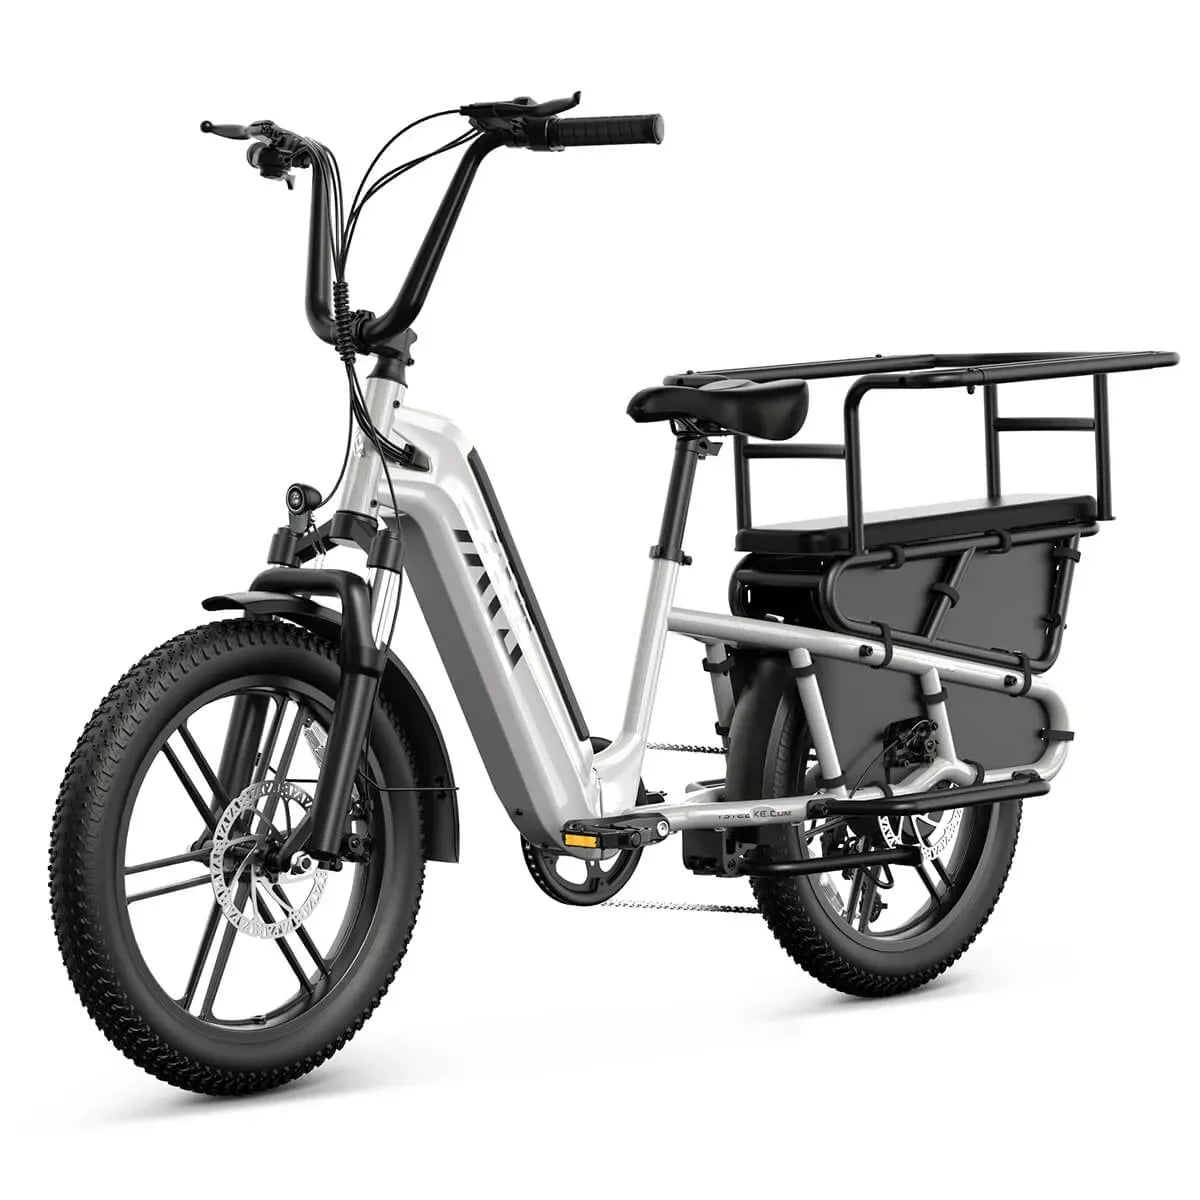
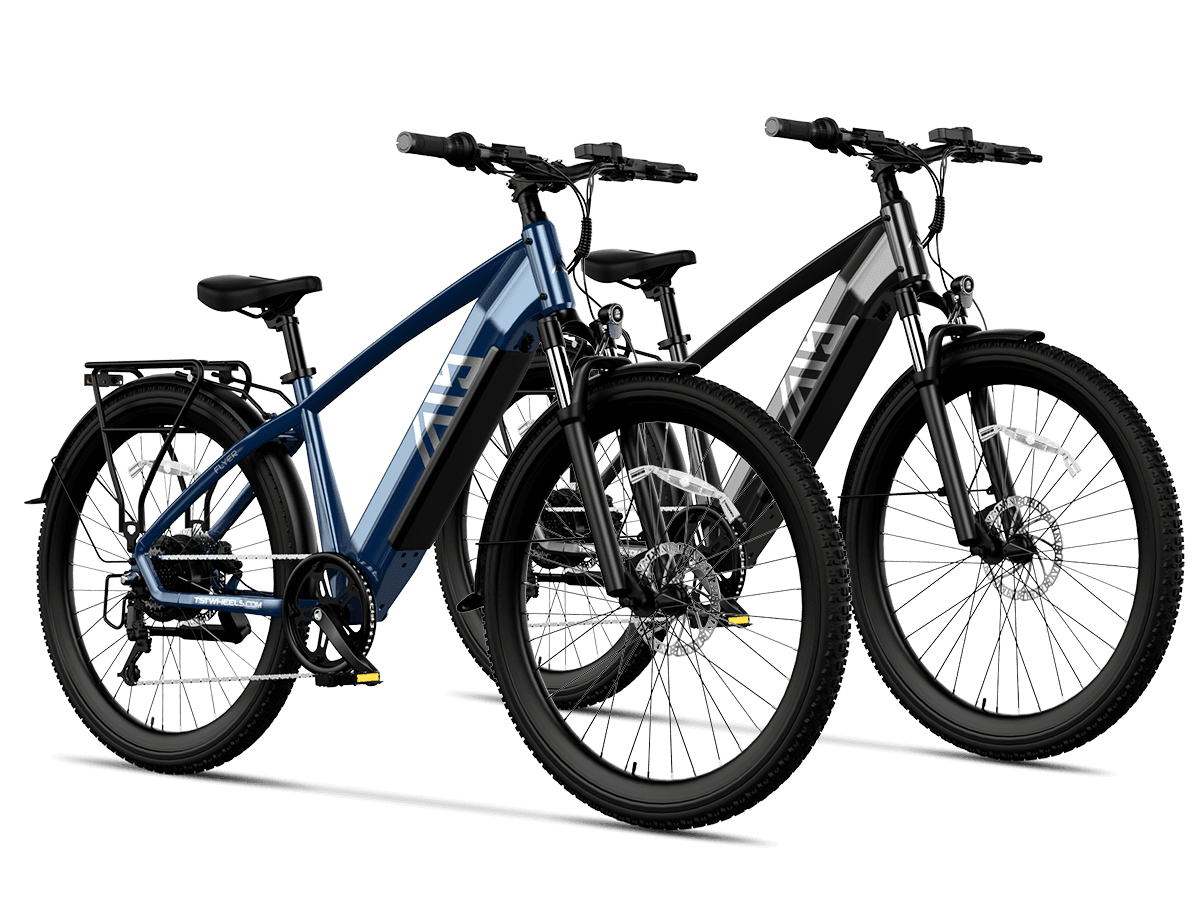
What’s in the TST R002 Box? Complete Unboxing Checklist
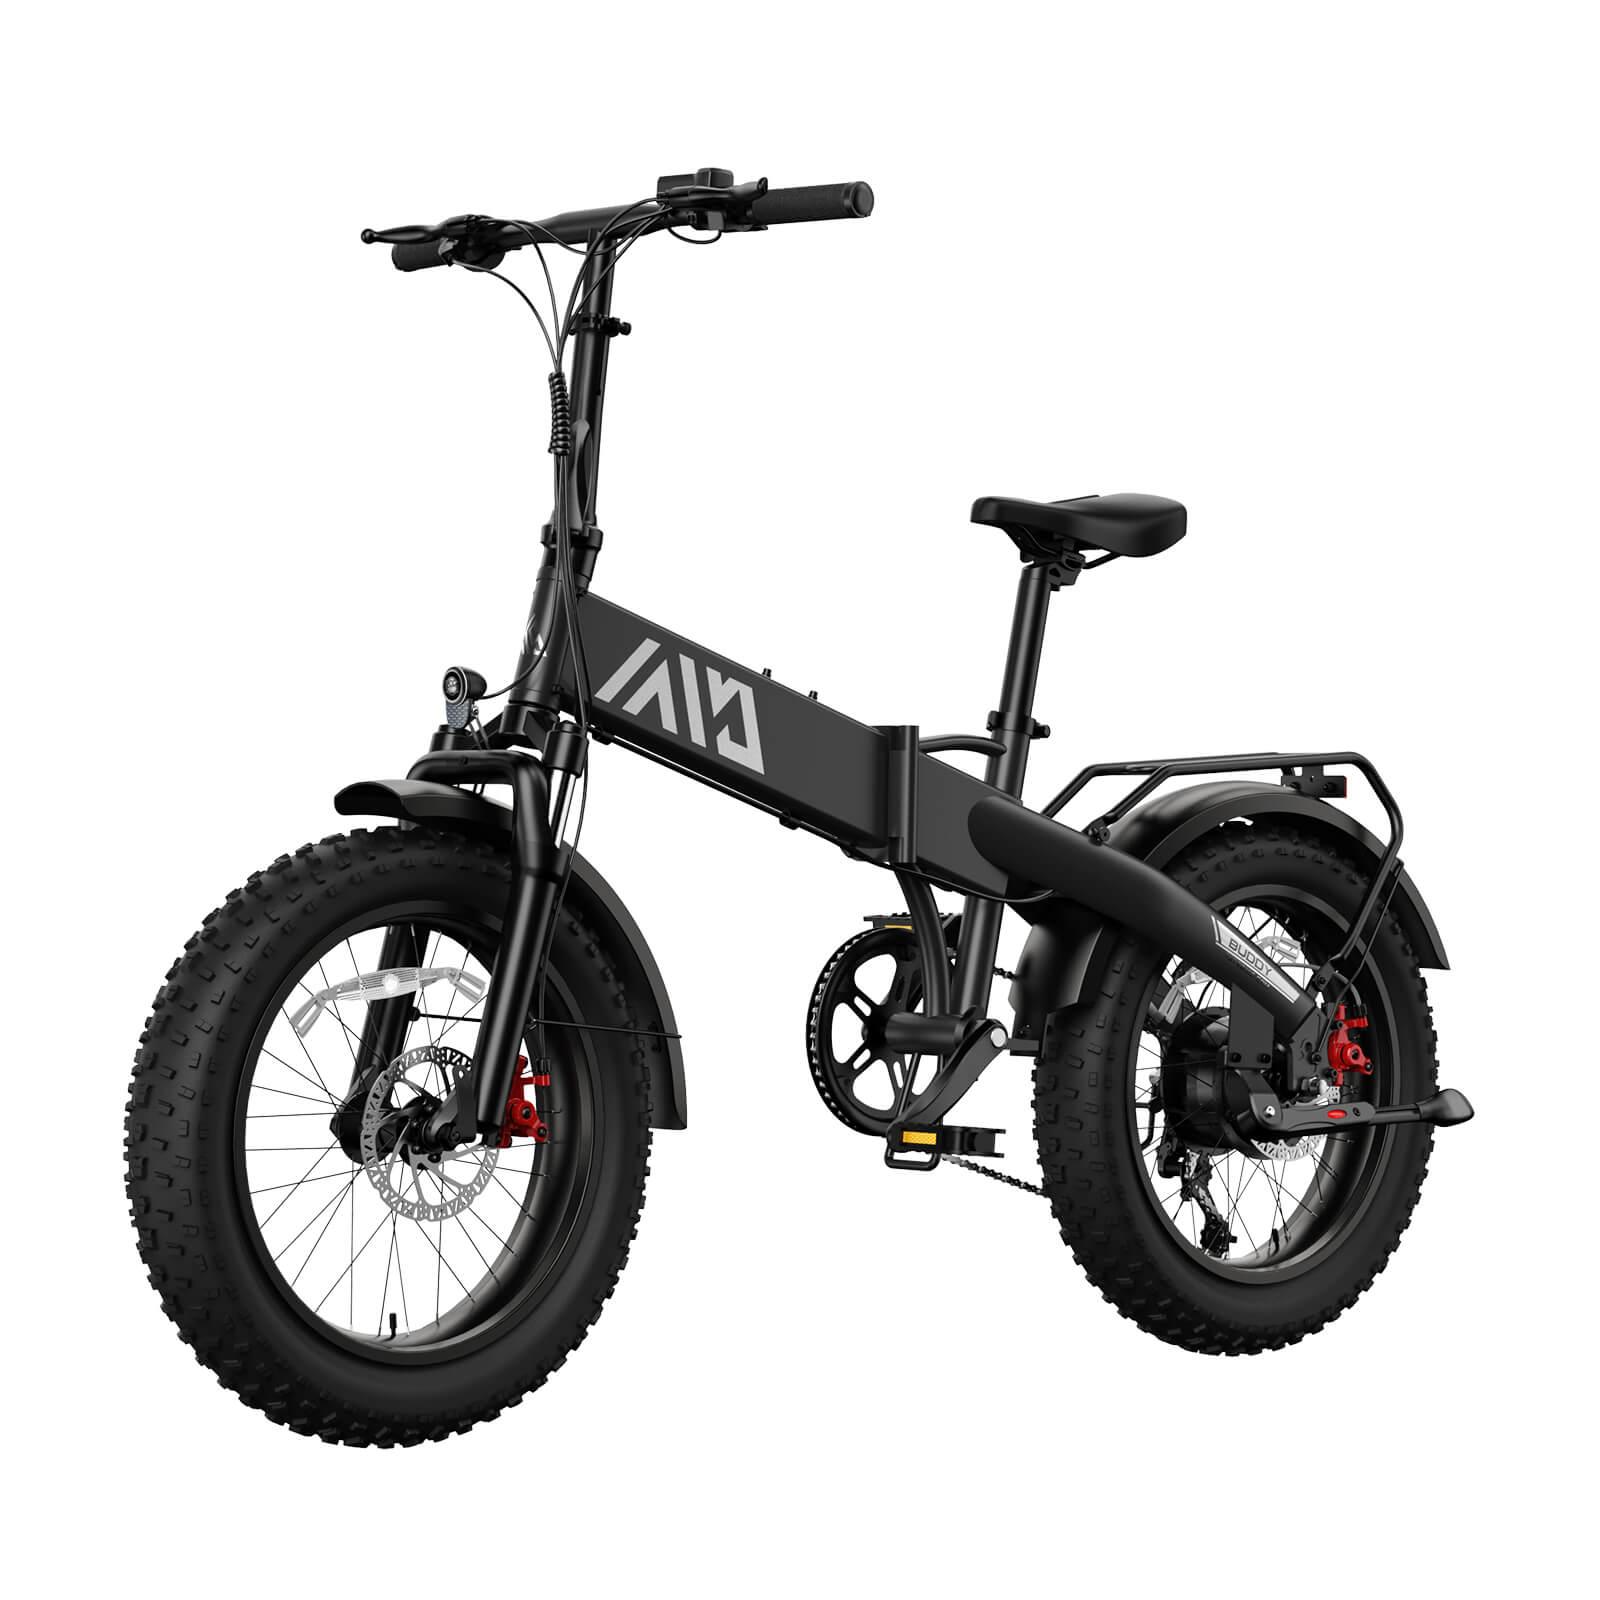
The TST R002 box contains the pre-assembled frame with rear wheel, full suspension, battery (15Ah standard or 25Ah Plus), charger, pedals, tools (hex keys, wrenches), handlebars, front wheel, seat, kickstand, and accessories like derailleur guard. Everything ships securely from Ontario, California, ready for quick setup.
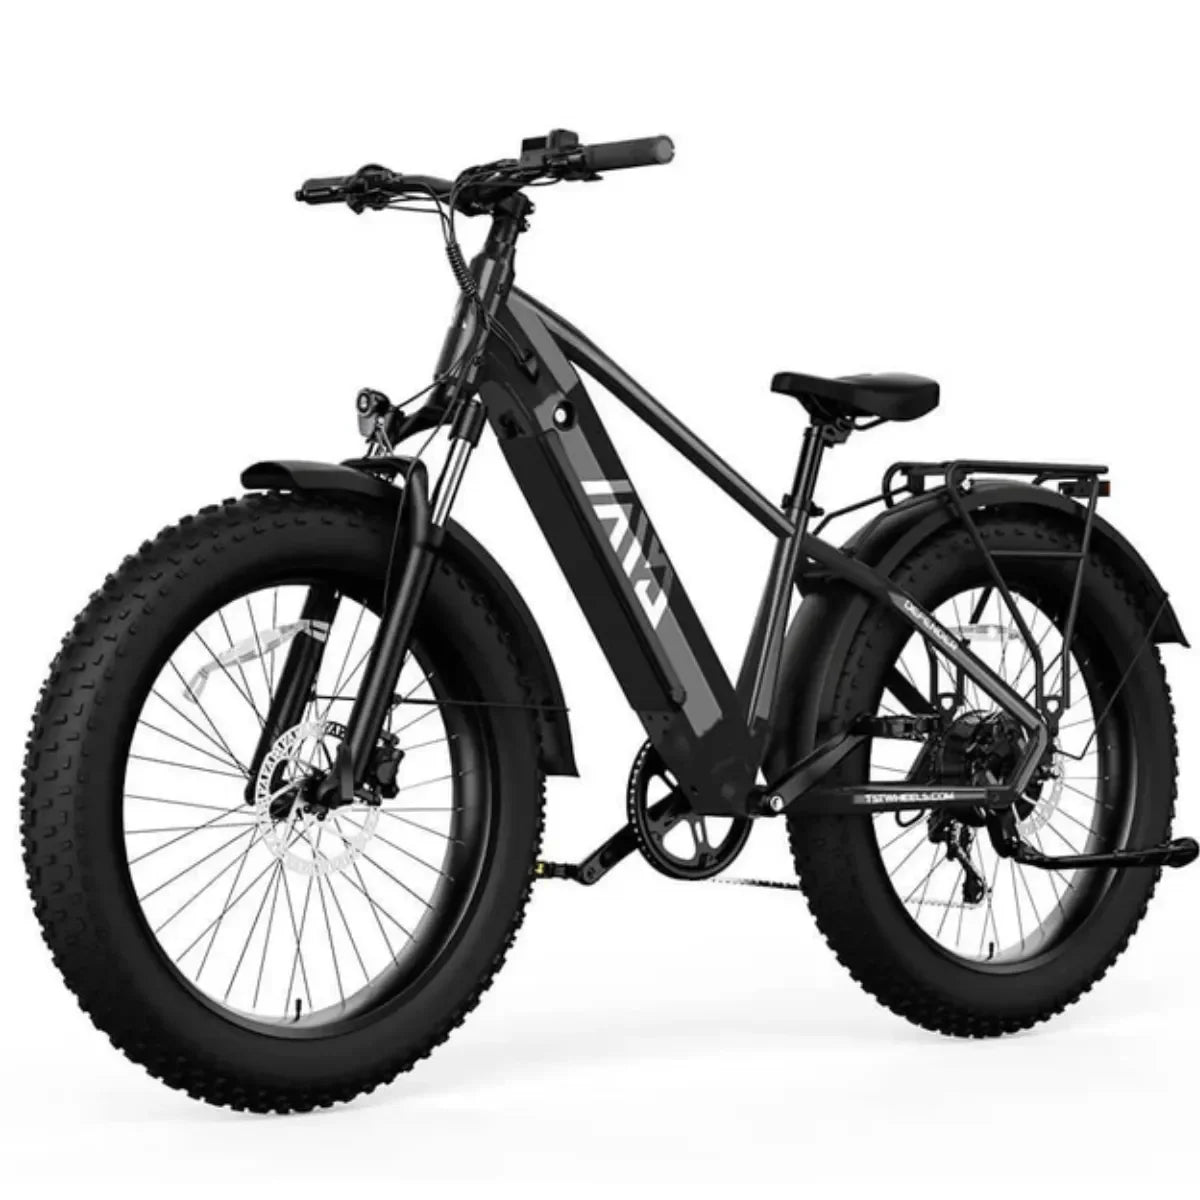
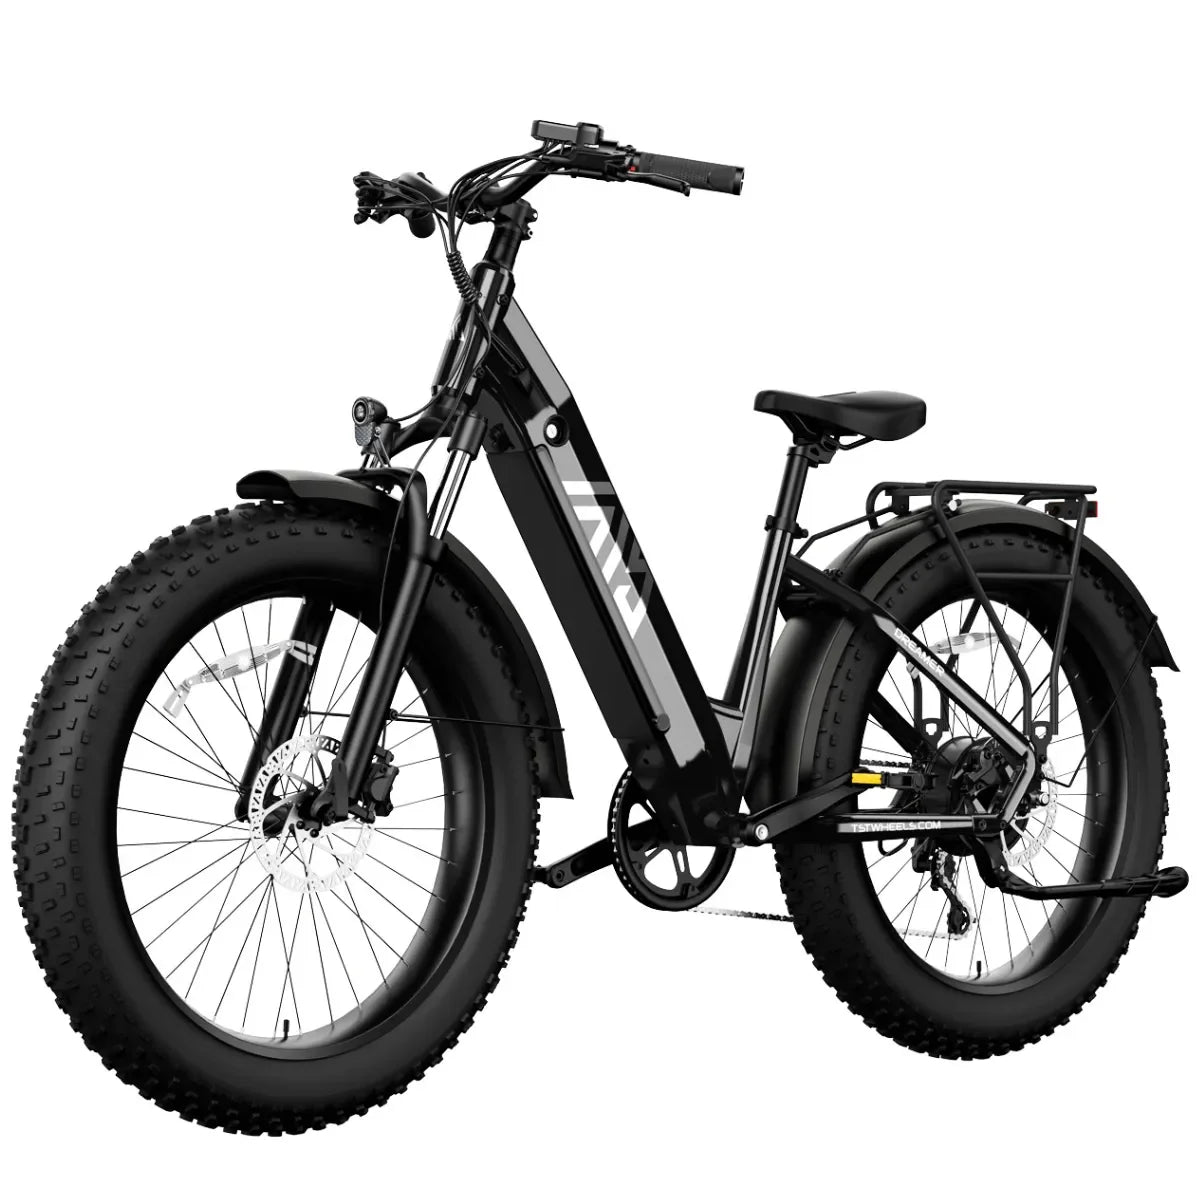
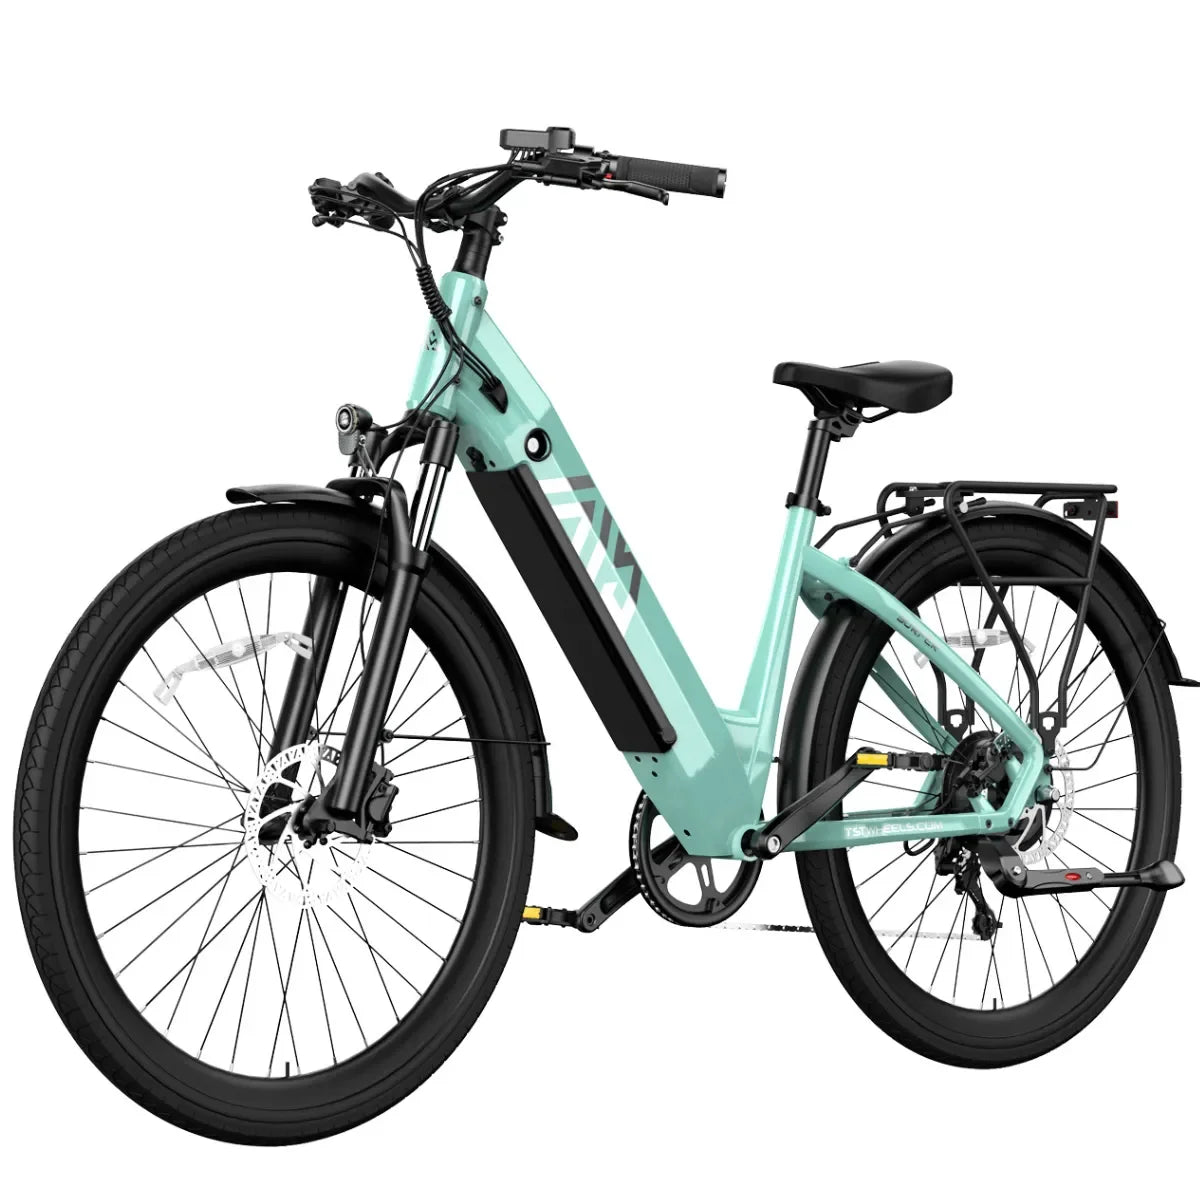
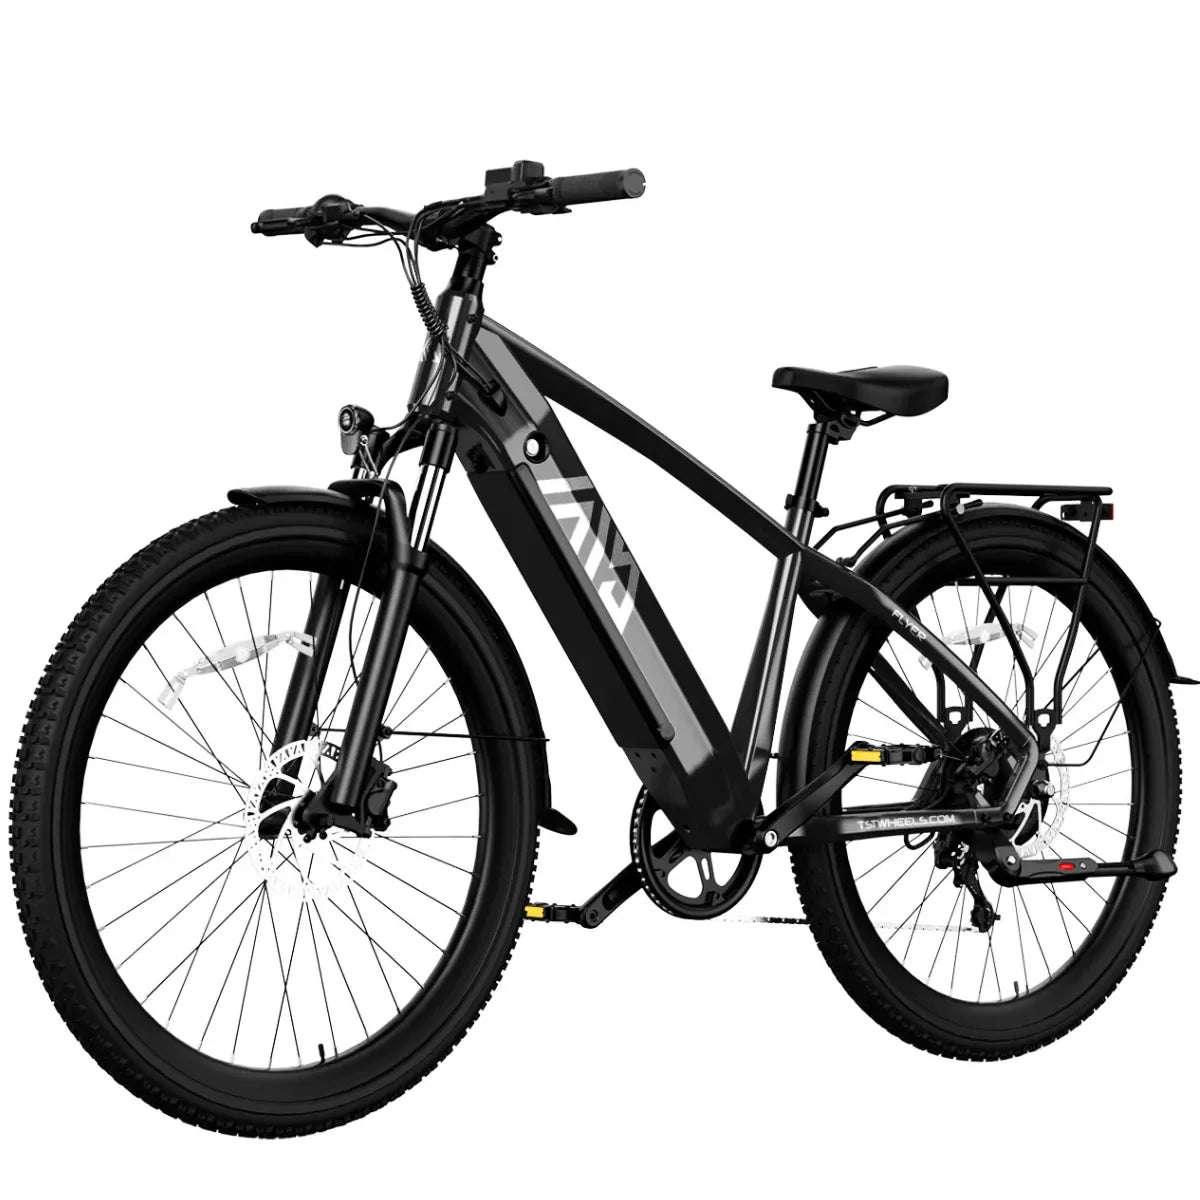
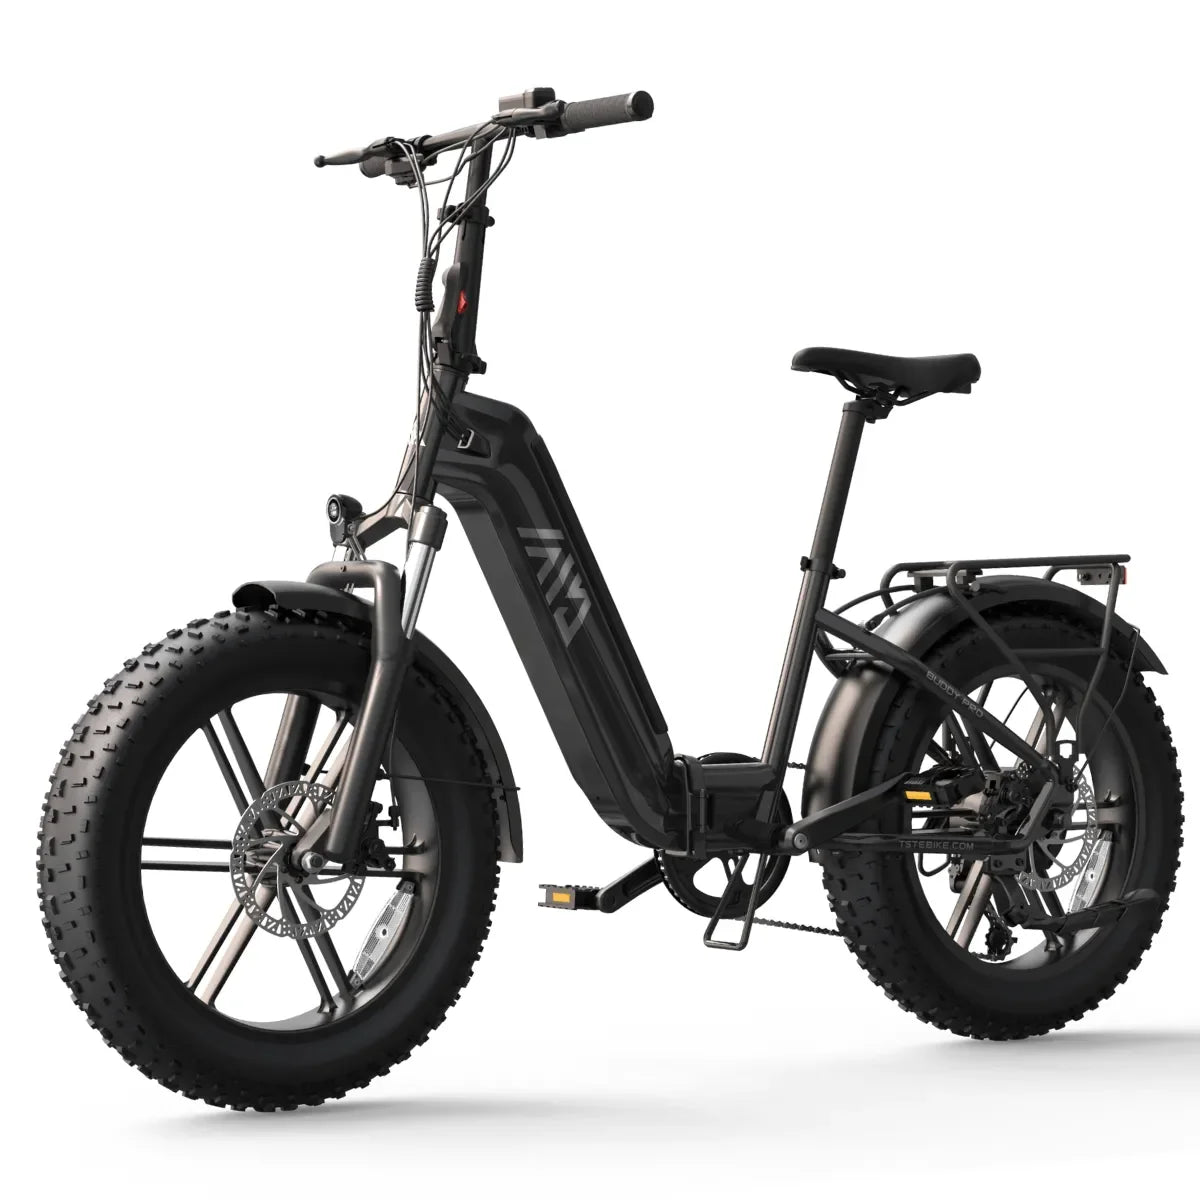
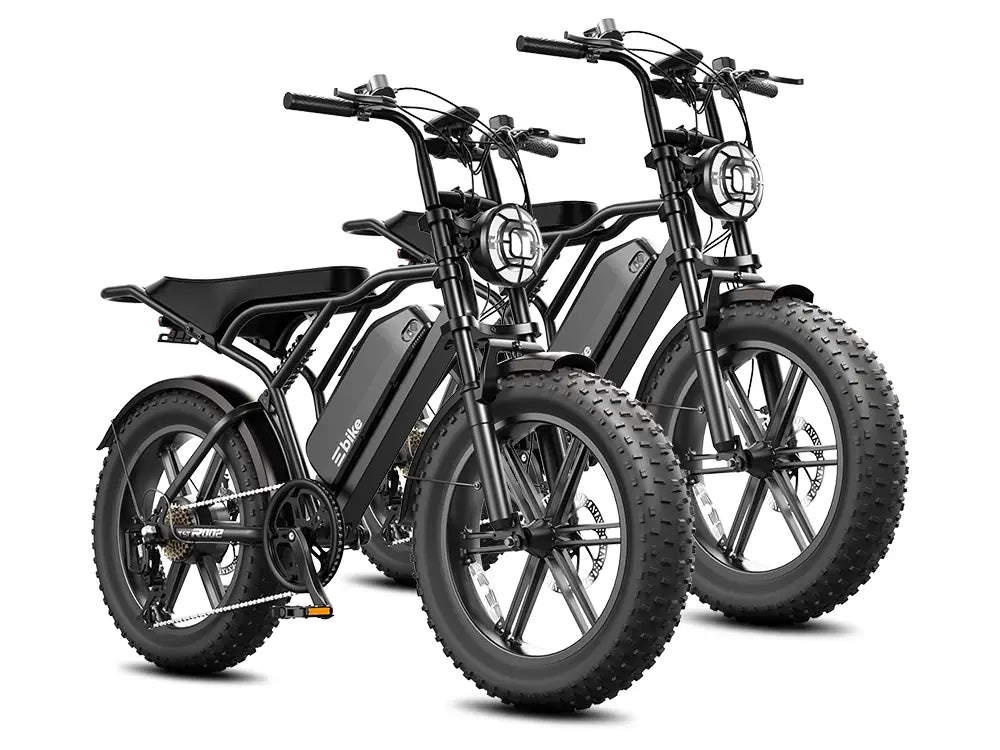
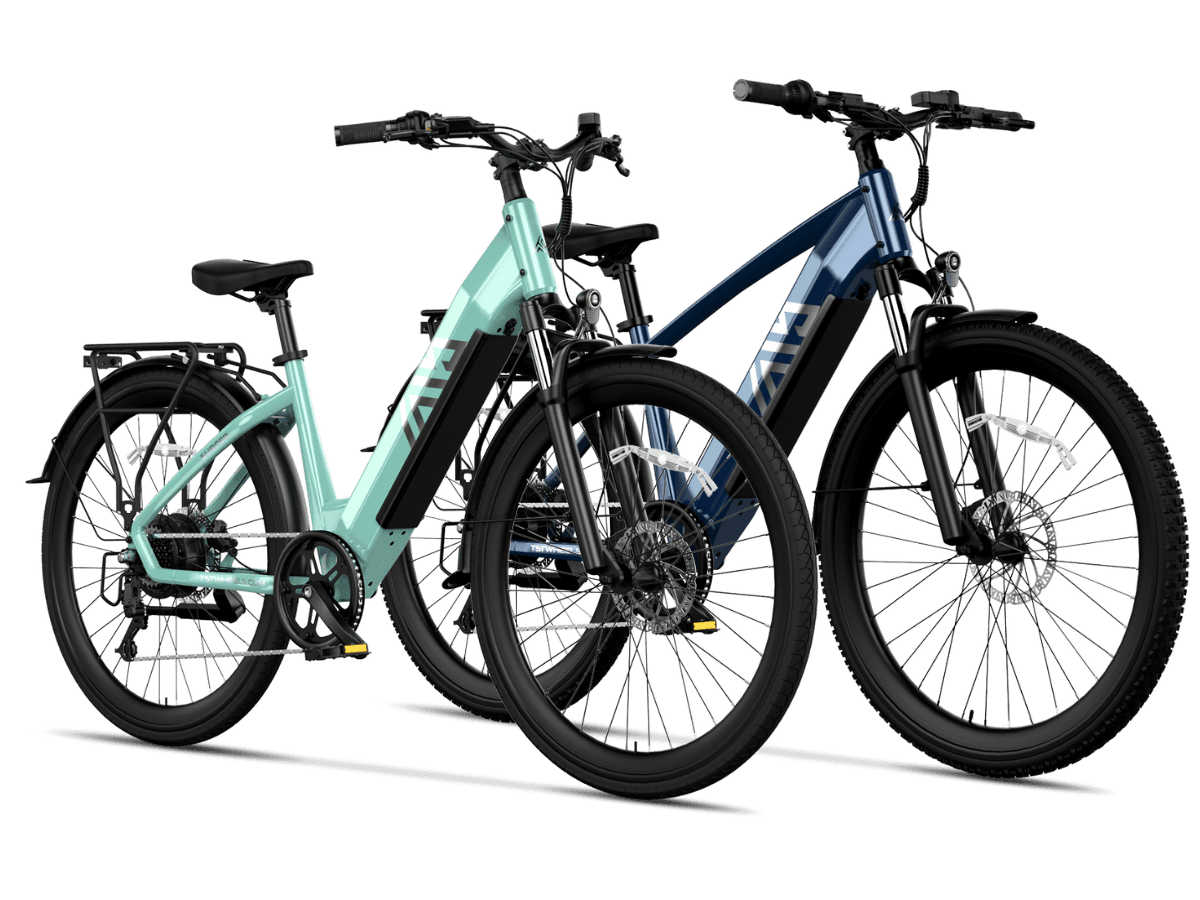
Excited to unbox your new TST R002 20'' 1500W Full Suspension Moped-Style Electric Bike? This powerhouse delivers 90 Nm torque, up to 100-mile range on the Plus variant, and a thrilling 32 MPH top speed—perfect for US commuters tackling city streets or trails. The bike arrives mostly pre-assembled from TSTE Bike's Ontario, California warehouse, with delivery in 1-3 business days.
Start by laying out all components: the frame (total length 60.3", wheelbase 37.5"), 48V 15Ah or 25Ah removable lithium-ion battery, 54.6V/3A charger, Shimano 7-speed drivetrain parts, 20" × 4.0" puncture-resistant fat tires (front wheel separate), LCD display, front/rear disc brakes, and full suspension setup. Tools include 5mm hex keys, pedals (labeled L/R), kickstand, seat post, and spare parts like a derailleur guard. Pro tip: Keep packaging for 7 days in case of returns, and remove plastic from brake pads immediately.
TSTE Bike packs thoughtfully—scan the QR code for the app and manual. Battery ships partially charged (4 lights lit), but charge fully before riding. Ratings average 4.8/5 from 295 reviews, praising easy unboxing and robust build.
How Do I Install the Kickstand on TST R002?
Install the TST R002 kickstand using a 5mm hex key: Align the mounting bracket under the frame near the crank, insert bolts, and tighten securely (10-15 Nm torque). Test stability with bike upright before proceeding.
Flip the bike upside down or use a stand. Locate the kickstand bracket—it mounts to the designated frame hole near the bottom bracket. Slide the kickstand legs into place, aligning holes perfectly. Use the provided 5mm Allen key to thread and tighten the two bolts firmly. Avoid over-tightening to prevent frame damage.
This step takes under 2 minutes and ensures your 71.87 lb bike stands steady for assembly. Common mistake: Misaligning the bracket, causing wobble—double-check level ground. TSTE Bike's full suspension frame handles the weight effortlessly, supporting up to 450 lbs max load.
How to Install TST R002 Front Wheel Correctly (Washer Order Matters)?
Mount the TST R002 front wheel by inserting the axle through the fork dropouts, adding sleeve, flat washer, then speed nut or safety hook. Align disc rotor, tighten both sides alternately with included wrench. Washer order: dropout > spacer > flat washer > nut.
With the bike inverted, remove the shipping axle nuts. Slide the 20" × 4.0" fat tire axle through the front fork dropouts. Key: Correct washer sequence—thicker washer first against dropout, then thin spacer, flat washer, and nut. Hook disc brake caliper over rotor, ensuring it spins freely without rubbing.
Tighten nuts finger-tight, then wrench alternately side-to-side for even tension. Spin the wheel to check trueness. This prevents common issues like loose forks or brake drag, noted in user videos. Inflate to max 20 PSI later for optimal fat tire grip on US trails.
What’s the Right Way to Mount TST R002 Handlebars and Avoid Alignment Issues?
Loosen stem bolts with 5mm hex, slide handlebars into stem, align perpendicular to front wheel. Tighten top bolt first (8-10 Nm), then side bolts evenly. Test by rolling bike straight—adjust if bars twist under torque.
Remove stem bolts and slide handlebars through the stem clamp. Position grips, shifters, brake levers, and throttle ergonomically—perpendicular to wheel for straight-line stability. Tighten the central stem bolt first, then the two side bolts in a star pattern.
Avoid the manual's missed step: Pre-compress stem slightly to grip bars fully. This fixes alignment woes in Reddit threads, ensuring precise control for 32 MPH speeds. TSTE Bike's ergonomic design suits riders up to max seat height 39".
How Do I Install TST R002 Pedals (Left vs Right Threading)?
Thread right pedal (R) clockwise into right crank arm; left pedal (L) counterclockwise into left arm using 15mm pedal wrench. Grease threads first, hand-tighten then wrench 1/4 turn. Labels match crank arms.
Pedals are side-specific to prevent cross-threading. Apply grease to threads, align L pedal with left crank (counterclockwise), R with right (clockwise). Finger-tighten, then use the pedal wrench for final quarter-turn—snug but not overtight.
This 1-minute step avoids stripped cranks. Test by spinning cranks freely. Shimano 7-speed setup shines here, pairing with pedal assist levels 1-5 and Boost Mode for versatile US riding.
| TST R002 Key Specs | Details |
|---|---|
| Motor | 1500W brushless rear hub, 90 Nm torque |
| Battery | 48V 15Ah or 25Ah removable |
| Range | 65-100 miles (pedal assist) |
| Top Speed | 32 MPH |
| Weight / Max Load | 71.87 lbs / 450 lbs |
How to Install TST R002 Front Light and Connect Wiring?
Slide front light into handlebar mount, route wires through stem, connect to main harness plug. Secure with zip ties, test power after battery install. Integrated LED ensures night visibility.
Position the headlight bracket on handlebars, tighten with hex key. Tuck wires neatly to avoid pinching. Plug into the controller harness—polarity matches automatically. Zip-tie excess cable. Power on to verify brightness, ideal for urban commutes.
How Does TST R002 Battery Installation Work (Standard vs Plus)?
Unlock with key (counterclockwise), slide 15Ah standard or larger 25Ah Plus battery into frame mount, lock clockwise. Flip side on/off switch to "line" (on). Charge 4-5 hours via side port with 54.6V/3A charger first.
Use provided keys: Turn counterclockwise to release latch, slide battery (720Wh standard) into dedicated slot until it clicks. Lock securely. Crucial: Flip the battery's on/off switch (line icon) before powering display. Standard 15Ah gives 65 miles; Plus 25Ah hits 100 miles.
Charge fully pre-ride—ships at 4 bars. UL 2849 certified for safety. Differences: Plus battery is heavier but auto-locks easier.
TSTE Bike Expert Views: "The TST R002's dual-battery ready frame and quick-swap design make it commuter gold. Flip the switch, charge to full, and unlock 32 MPH via app—optimized for real US roads. Our 2-year warranty covers assembly hiccups; full suspension tunes effortlessly for 450 lb loads." – TSTE Bike Engineering Lead
What Are TST R002 Riding Modes, Display Setup, and App Connection Steps?
Power on (hold button 3s), cycle PAS 1-5 and modes (throttle/Boost) via display. Scan QR for app, Bluetooth pair (select black/white model), unlock Class 3 speed. LCD shows speed, battery, distance.
Hold power 3 seconds post-battery on. P1/P2 settings auto-reset. App connects via Bluetooth icon—firmware unlocks full 32 MPH. 4 modes: pedal assist, throttle, Boost for hills. Perfect for trails or streets.
How Do I Tune TST R002 Suspension, Inflate Tires, and Perform Safety Checks?
Check: Anti-slip Ebike Pedals
Adjust front/rear preload for rider weight (80-100 PSI air if adjustable), inflate 20" fat tires to 15-20 PSI. Check brakes, torque bolts (10-15 Nm), test throttle low-speed, inspect cables.
Tune full suspension preload knobs for your weight—firmer for heavier loads. Pump tires to 20 PSI max for fat tire flotation. Checklist: Brakes engage firmly, no wheel play, display functional, lights work. Pre-ride: Low-speed test in driveway.
| Model Comparison | R002 | R7 Cargo |
|---|---|---|
| Motor / Torque | 1500W / 90 Nm | 1500W / 90 Nm |
| Range | 65-100 mi | 65 mi |
| Warranty | 2 years | 1 year |
| Weight | 71.87 lbs | 82.67 lbs |
Conclusion
Your TST R002 is road-ready in under 30 minutes, backed by TSTE Bike's 2-year warranty and US shipping. Ride confidently with 1500W power, full suspension comfort, and UL-certified safety. Explore TSTE Bike's lineup for more electric mobility fun.
FAQs
Does the TST R002 come fully assembled? Mostly—install wheels, bars, pedals, and battery in 20-30 minutes.
How long to charge TST R002 first time? 4-5 hours to full with included 54.6V/3A charger.
What's the tire pressure for TST R002? 15-20 PSI max for 20" fat tires.
Can I unlock higher speeds on TST R002? Yes, app connects via Bluetooth for full 32 MPH Class 3.
What's the warranty on TST R002? 2 years from TSTE Bike.
Leave a comment
This site is protected by hCaptcha and the hCaptcha Privacy Policy and Terms of Service apply.