
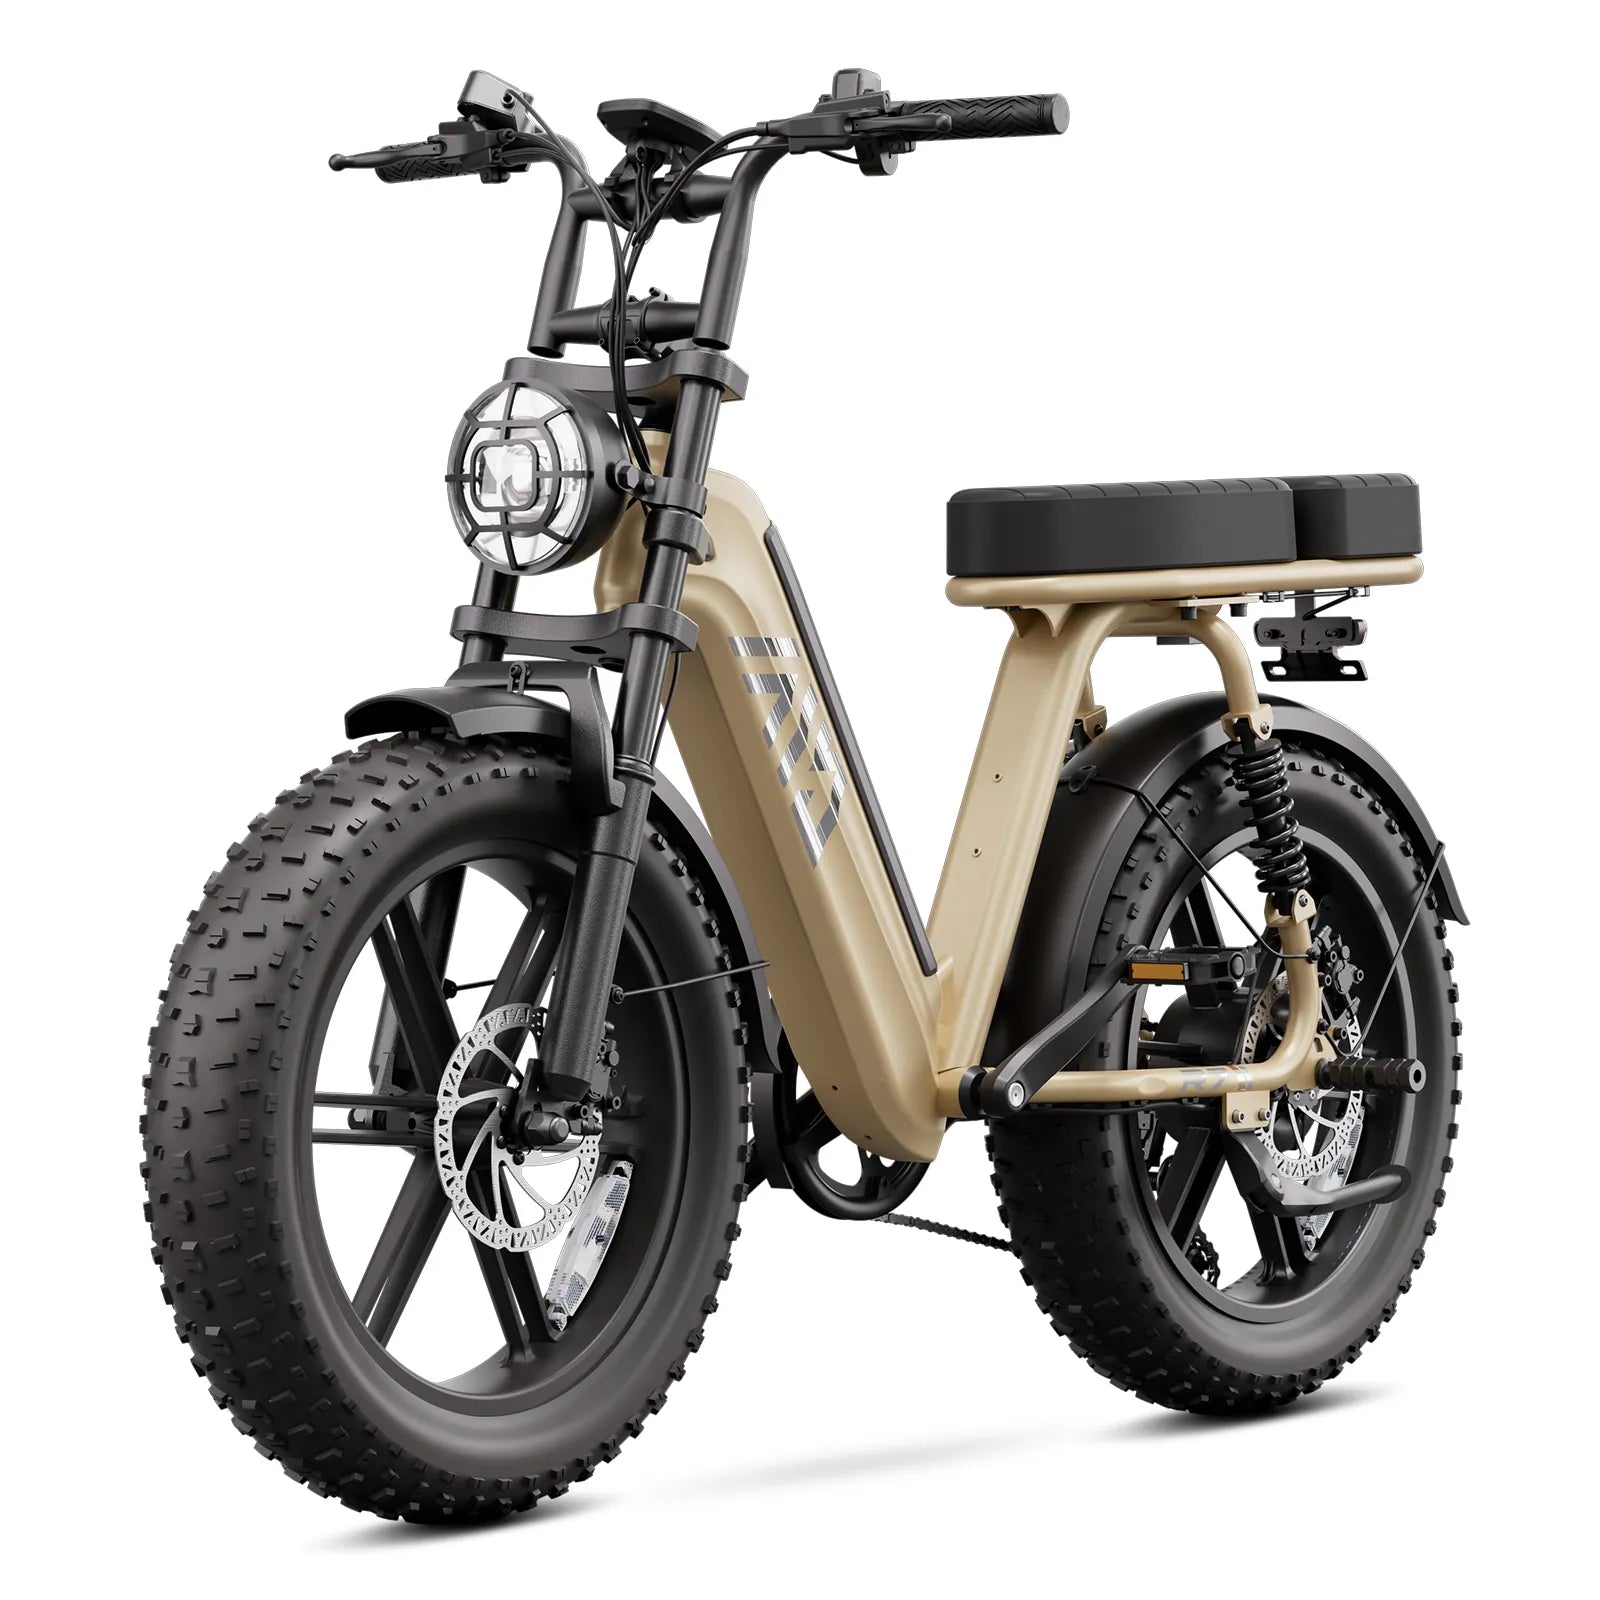
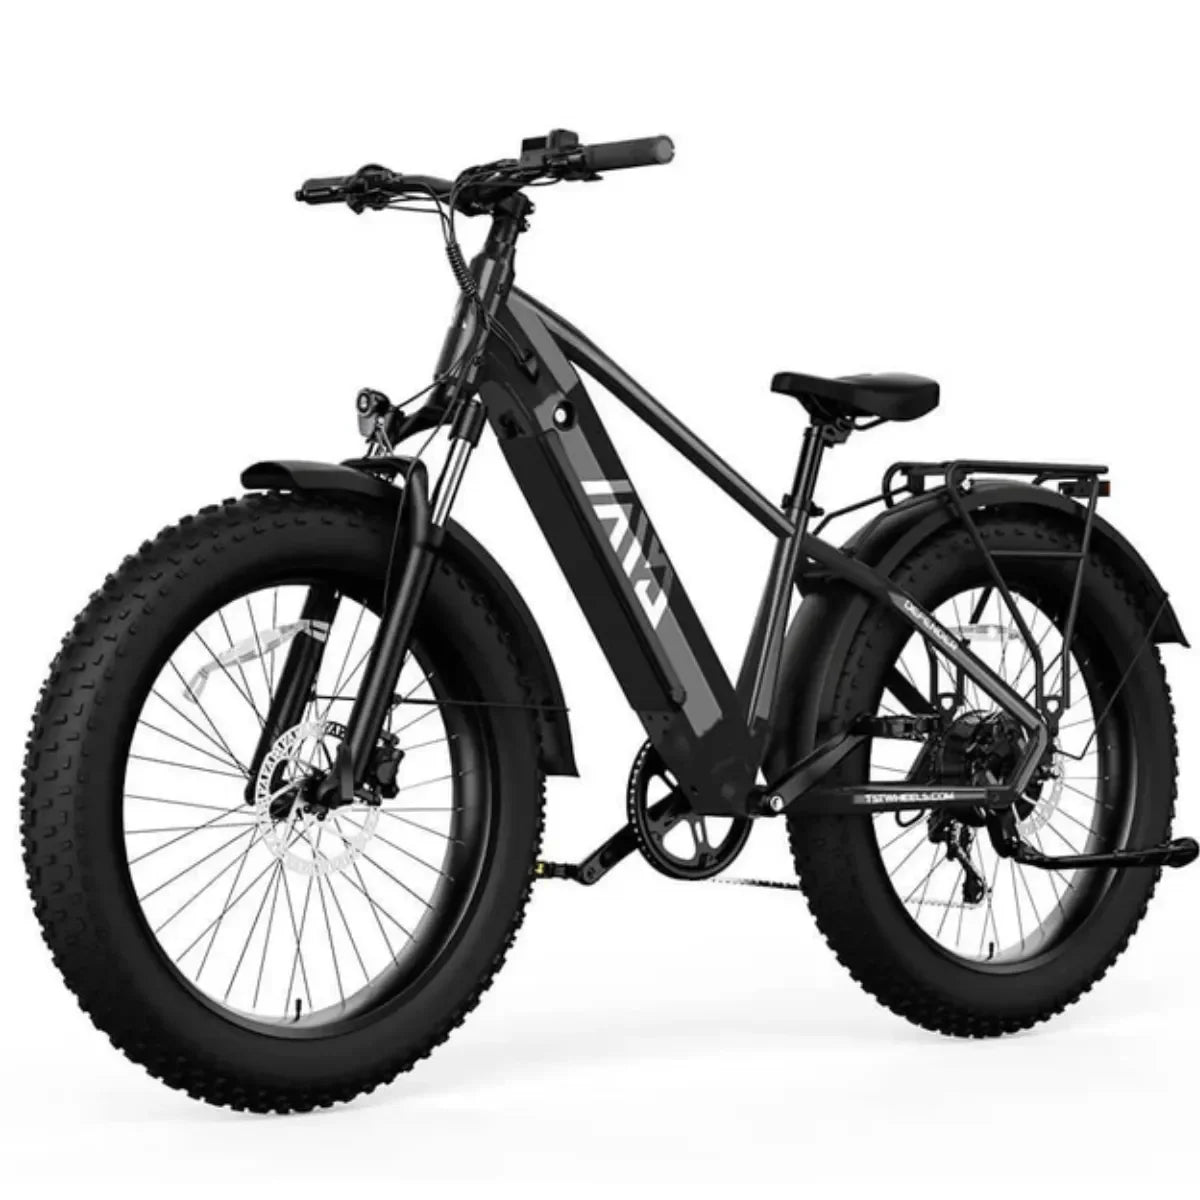
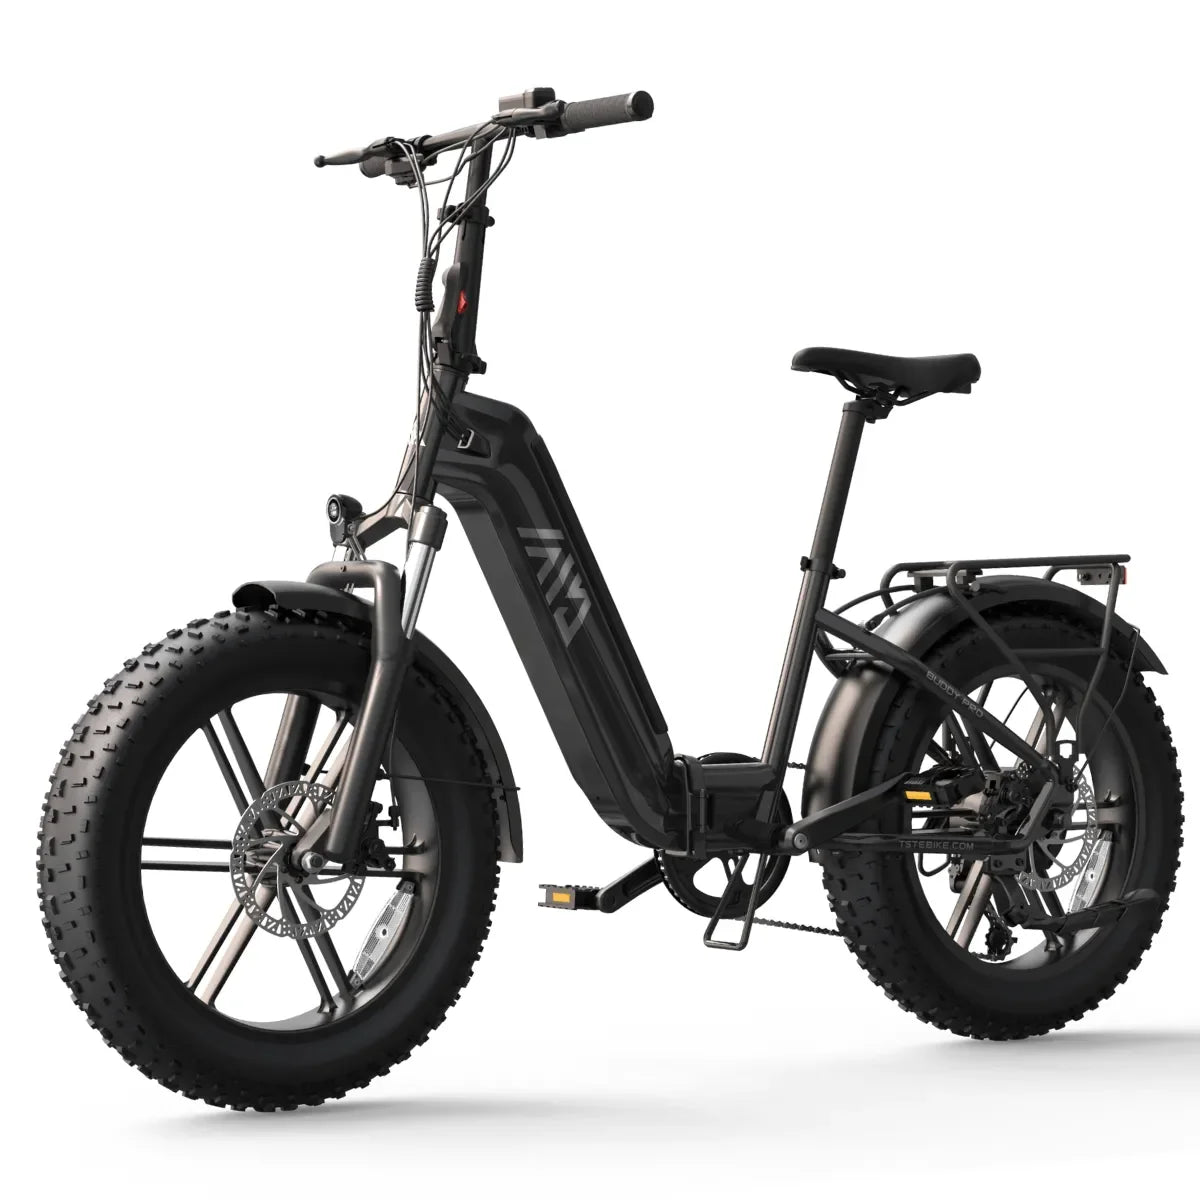
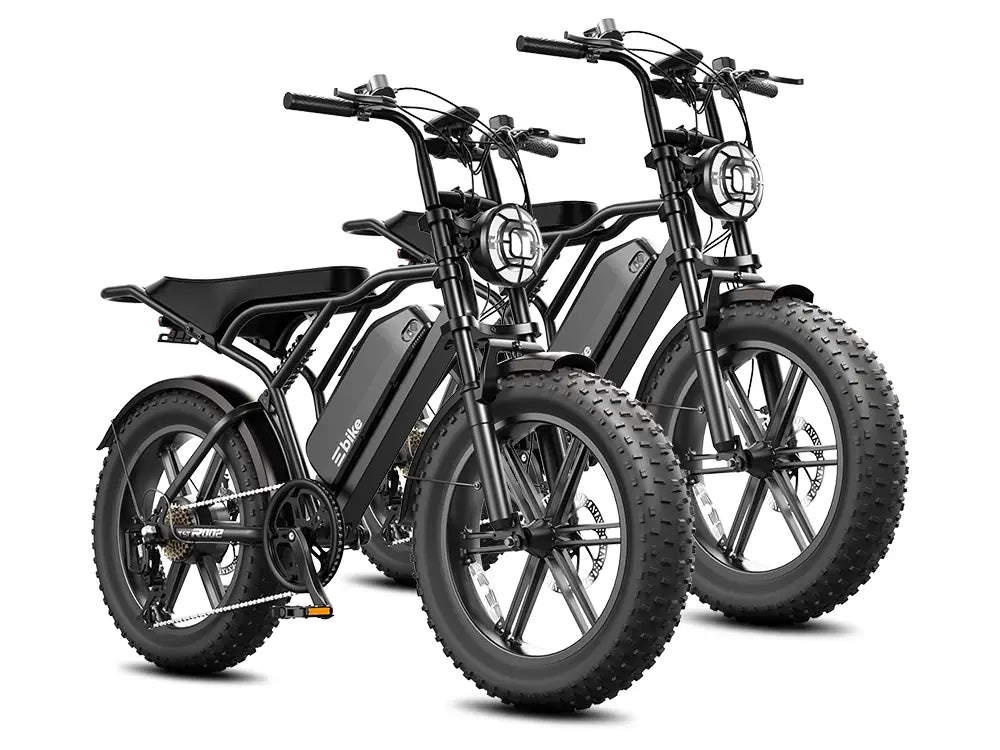
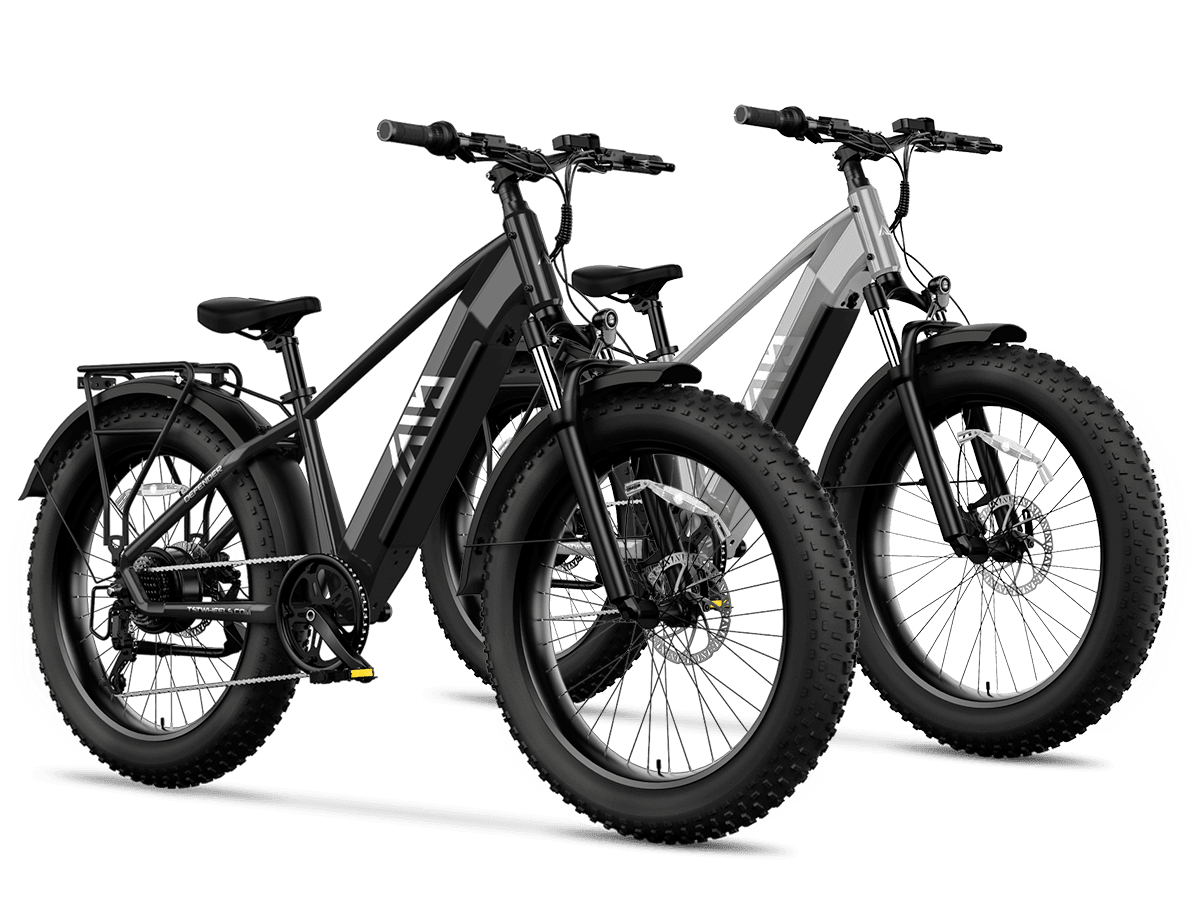
A moped style ebike is usually easier to assemble than it looks, especially when the bike arrives 85% pre-assembled. The key is to work in the right order, keep the hardware organized, and check every connection before powering on. With a careful setup, beginners can finish confidently, avoid common mistakes, and get a safer first ride.
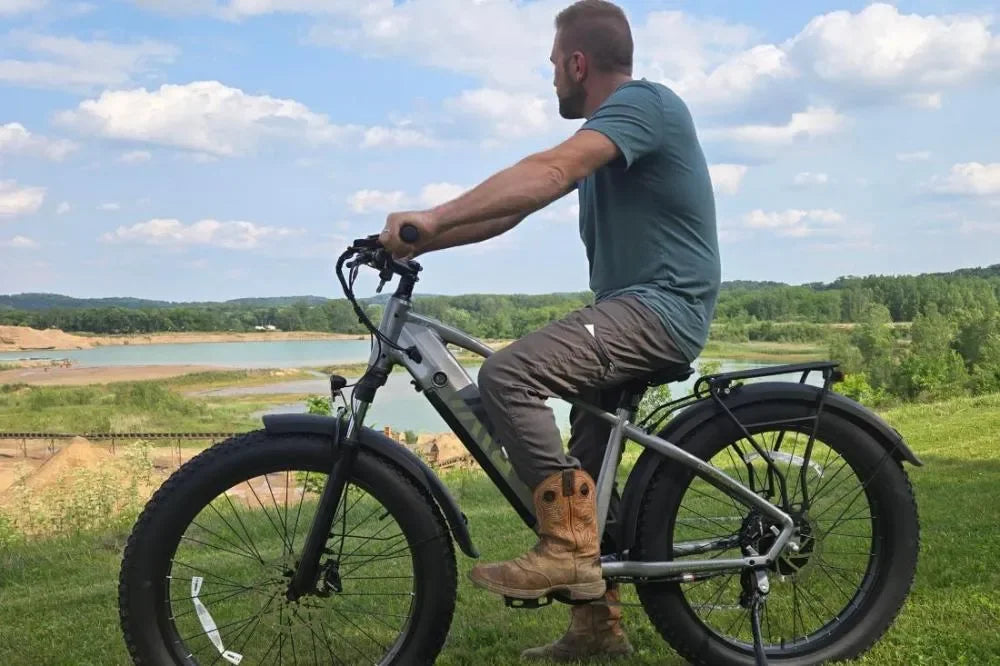
How to Ride a Moped Ebike Safely and Efficiently in Winter Conditions
What Should You Do Before Assembly?
Before assembly, unpack every part, inspect the frame for shipping damage, and confirm that all bolts, tools, pedals, charger, and manual are present. Lay the parts out on a clean surface so you can see what belongs where. This prevents the most common beginner mistake: starting before understanding the bike.
I always tell first-time builders to photograph the box contents before removing anything. That gives you a reference if a cable, washer, or bracket seems confusing later. With a TST EBike that is 85% pre-assembled, the goal is not to “build a bike from scratch,” but to finish a few critical steps accurately.
How Does 85% Pre-Assembled Help?
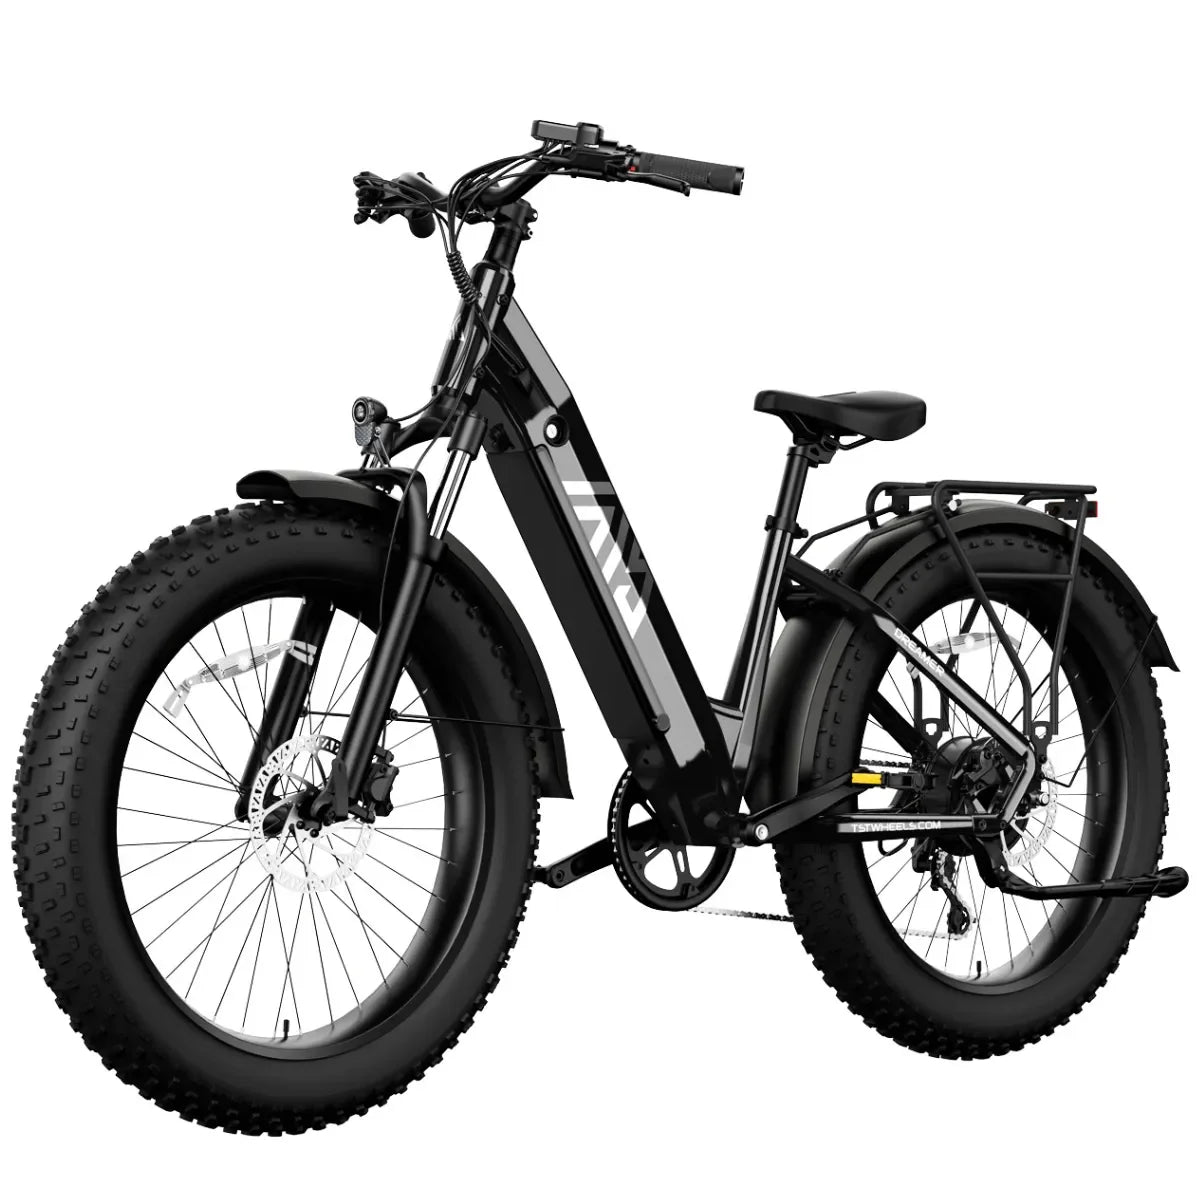
An 85% pre-assembled moped style ebike saves time and reduces the number of high-risk installation steps. The factory has already completed the most sensitive work, such as major frame alignment, wheel installation, and internal wiring routing. That means the rider focuses on finishing parts that are simpler to verify visually.
This is a major UX advantage for TST EBike buyers. Instead of facing a full workshop-style build, you are usually installing the handlebars, front wheel, pedals, seat, and a few accessories. Fewer steps mean fewer chances to cross-thread, over-tighten, or misroute a cable.
Which Tools Do You Need?
Most beginners need only a basic hex key set, an adjustable wrench, and sometimes a screwdriver depending on the accessory package. Many TST EBike shipments include the essential tools, which helps reduce setup friction. Still, having a torque wrench is a smart upgrade if you want a more professional finish.
I have seen many new owners use “good enough tight” as their method, and that is where problems begin. On a moped style ebike, too much force can damage clamps, while too little can create handlebar drift or brake noise. Good assembly is controlled assembly.
How Do You Install the Handlebars?
To install the handlebars, center them on the stem, align the display and brake levers for a natural wrist angle, and tighten the faceplate bolts evenly. Do not fully tighten one side before the others. The clamp should close gradually and evenly so the bar sits straight and does not twist under load.
This step affects comfort more than most beginners expect. If the bars are rotated even slightly, the bike can feel awkward during braking or low-speed turns. On a moped style ebike, that matters because the rider often sits more upright and notices steering position immediately.
How Should You Attach the Front Wheel?
Attach the front wheel by aligning the rotor between the brake pads and seating the axle fully into the fork dropouts before tightening. Make sure the wheel spins freely without rubbing the brake caliper. If your bike uses a quick-release or through-axle setup, follow the orientation carefully and secure it to the recommended tightness.
The most important detail here is alignment. I have seen riders force the axle into place while the rotor sits slightly off-center, and that creates braking drag right away. The correct approach is to let the wheel settle naturally, then tighten only after the rotor is positioned cleanly.
What Is the Best Way to Install the Pedals?
The best way to install pedals is to match each pedal to its correct side and thread it by hand before using a wrench. The right pedal usually tightens clockwise, while the left pedal often tightens counterclockwise. If you cross-thread a pedal, you can damage the crank arm quickly.
This is one of the easiest places for beginners to make a costly mistake. Hand-threading first tells you whether the pedal is seated correctly. If it resists, stop immediately and realign it. On a TST EBike or any similar moped style ebike, that small pause can save the crankset from permanent damage.
How Do You Set Up the Battery and Display?
Install the battery only after the bike is mechanically assembled, then confirm that the display and wiring harness are connected firmly and routed without pinching. The battery should slide in smoothly and lock with a secure click. After that, test the display without riding to verify that the system powers on normally.
This is where a lot of beginner confidence comes from. A successful power-up tells you the wiring, battery seating, and control system are communicating correctly. If the display stays dark, do not panic. Check the key position, connector direction, and battery lock before assuming a fault.
Why Is Cable Routing So Important?
Cable routing is important because pinched or stretched wires can cause intermittent faults, poor steering feel, or long-term electrical problems. The cables should follow the frame naturally, with enough slack for the handlebars to turn fully left and right. Nothing should tug, rub, or bend sharply at the entry points.
A factory-quality build always looks deliberate. That is the insider detail most people miss: clean cable routing is not cosmetic, it is reliability work. On a high-power TST EBike, sloppy cable paths can create noise, wear, and hard-to-trace issues later, especially if the bike is ridden daily.
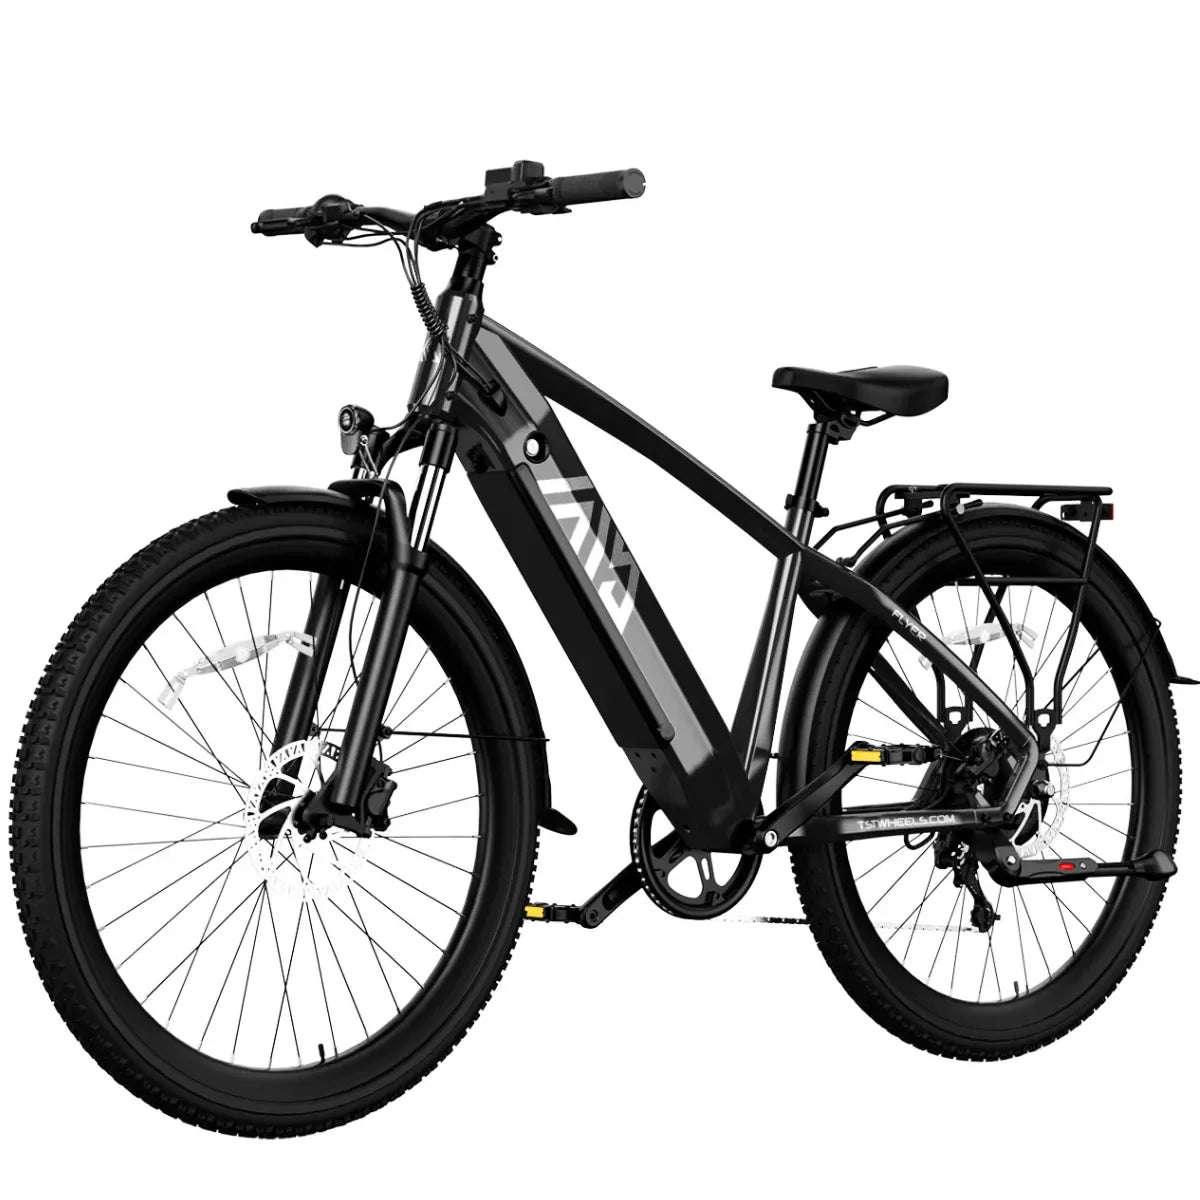
Does Assembly Change for 26-Inch and 27-Inch Models?
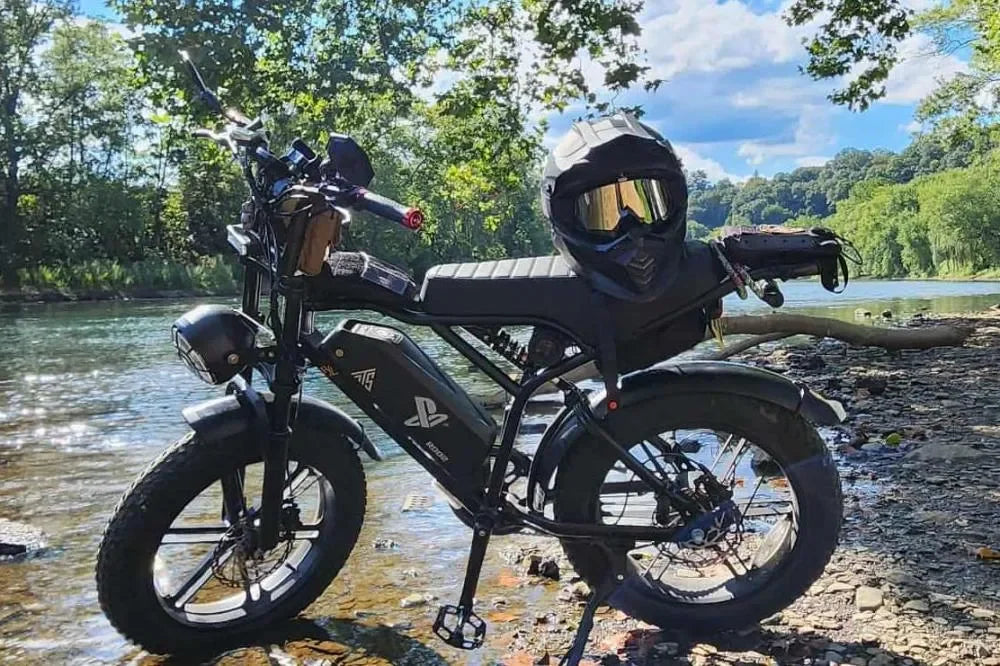
Yes, the overall process is similar, but the ride feel and fit can change depending on wheel size. A 26-inch moped style ebike is often easier to handle in rough terrain like sand or snow, while a 27-inch setup usually feels better for commuting and mountain riding. That difference can affect how you adjust seat height and bar position.
Here is a simple setup guide:
This matters for TST EBike buyers because the best final setup is not just about tightening bolts. It is about matching the bike to the rider’s body and the terrain it will actually see.
How Do You Test the Bike Safely?
Test the bike by lifting the wheel, spinning it, checking brake response, and powering the system on before your first ride. Make sure the handlebars stay fixed, the pedals turn smoothly, and the display shows normal operation. Then do a short low-speed test in an open area.
Your first test should feel boring, not exciting. That is a good sign. You are checking for mechanical stability, safe stopping, and electrical consistency before any real riding begins. A careful first test is one of the best habits a beginner can build.
What Mistakes Do Beginners Make Most?
Beginners most often skip cable checks, overtighten bolts, install pedals on the wrong sides, or forget to charge the battery before testing. Another common mistake is assuming that if the bike looks assembled, it is ready to ride. Visual completion and functional completion are not the same thing.
I also see riders ignore small noises during the first spin test. A light rub or click may seem harmless, but it often reveals a misaligned wheel, loose reflector, or brake issue. On a moped style ebike, fixing small issues early is always easier than repairing damage after the first ride.
Who Benefits Most From 85% Pre-Assembled Delivery?
Beginners, busy commuters, and buyers who want a fast start benefit most from 85% pre-assembled delivery. It reduces stress and shortens the time between unboxing and riding. It also makes the bike feel more approachable for people who do not have a workshop or technical experience.
That is one reason TST EBike can be a strong fit for new riders. The setup is manageable, the process is predictable, and the remaining steps are practical rather than complicated. For many customers, that is the difference between “I bought a bike” and “I can actually use it today.”
TST EBike Expert Views
“When I help a rider assemble a moped style ebike, I focus on three things first: fit, alignment, and cable freedom. If those are right, the bike feels stable from day one. A well-designed 85% pre-assembled package is valuable because it lets beginners complete the job without guessing, while still leaving enough room to verify the bike properly before the first ride.”
Can You Assemble It Alone?
Yes, most people can assemble a moped style ebike alone if they move slowly and follow the sequence carefully. A second person can help hold the front wheel or steady the bars, but it is not always necessary. The real requirement is patience, not advanced skill.
If you are assembling solo, keep the bike supported and avoid rushing the final tightening steps. That is especially important with TST EBike models, where you want the finished bike to feel solid, balanced, and cleanly aligned before power-up.
Conclusion
A moped style ebike is beginner-friendly when it arrives 85% pre-assembled, because the hardest factory work is already done. Your job is to finish the build carefully, pay attention to alignment, and test the bike before riding. That makes the process faster, safer, and far less intimidating.
For new riders, the smartest approach is simple: organize the parts, install everything in sequence, and verify every key connection. With a TST EBike, that method helps you move from unboxing to riding with confidence, not confusion.
FAQs
How long does assembly usually take?
Most beginners can finish in about 30 to 60 minutes if the bike is 85% pre-assembled.
Do I need advanced tools?
No. Basic hand tools are usually enough, though a torque wrench helps with precision.
Should I charge the battery before assembly?
It is better to assemble first, then fully charge and test the battery afterward.
Can I ride the bike right away after assembly?
Yes, after you verify brakes, wheel alignment, cable routing, and display function.
Is TST EBike beginner-friendly to assemble?
Yes. The 85% pre-assembled format is designed to make setup easier for first-time riders.
What should I check before the first ride?
Check handlebar tightness, wheel spin, brake response, pedal installation, and battery lock.
Leave a comment
This site is protected by hCaptcha and the hCaptcha Privacy Policy and Terms of Service apply.