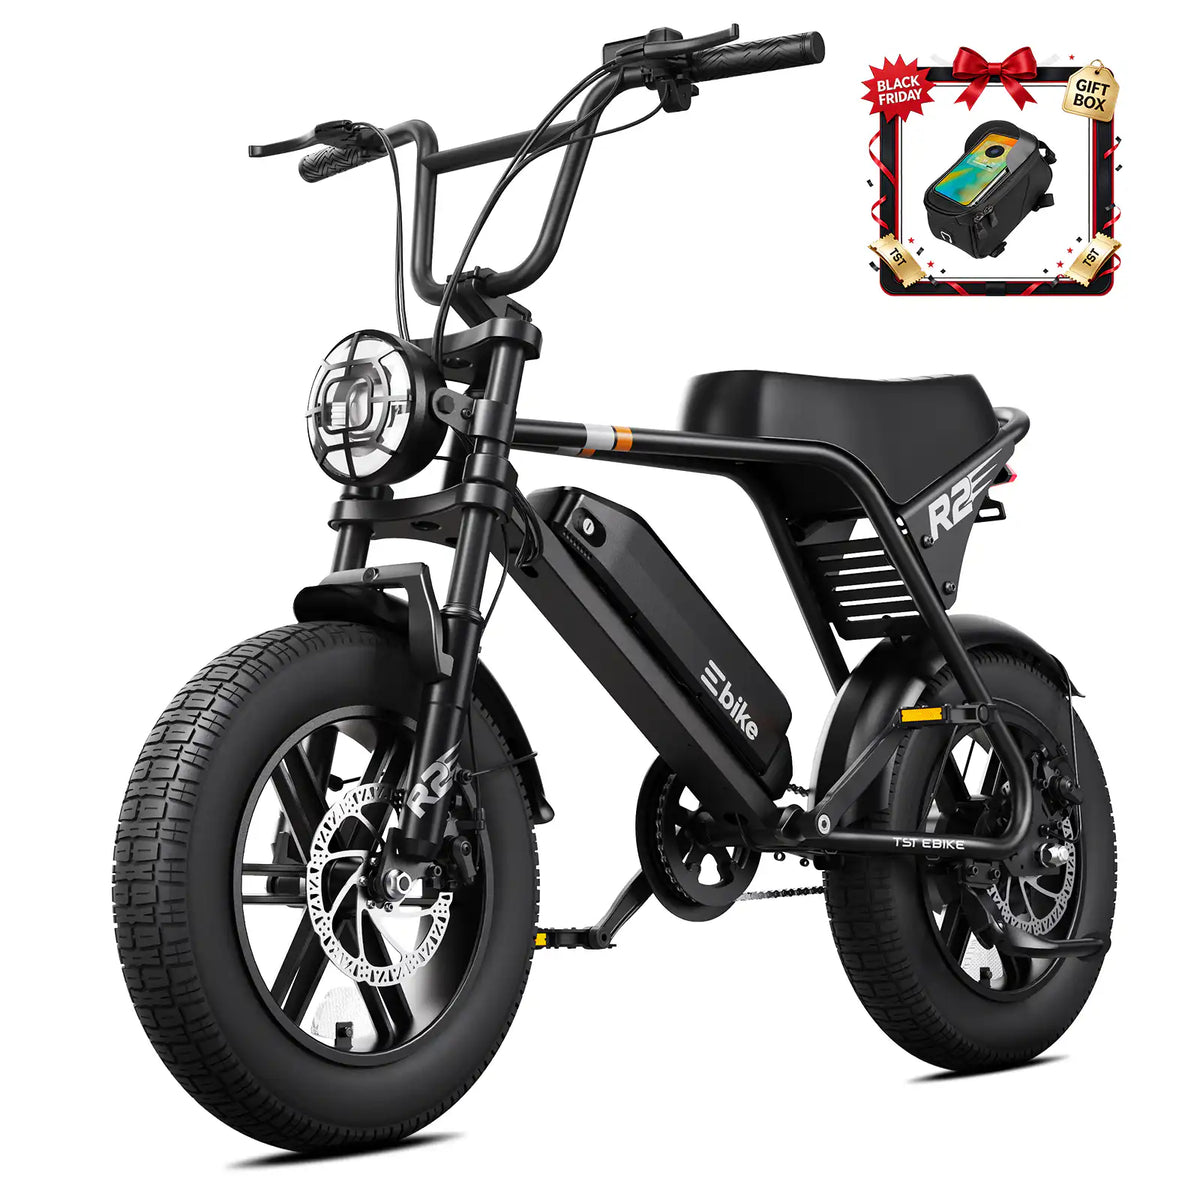
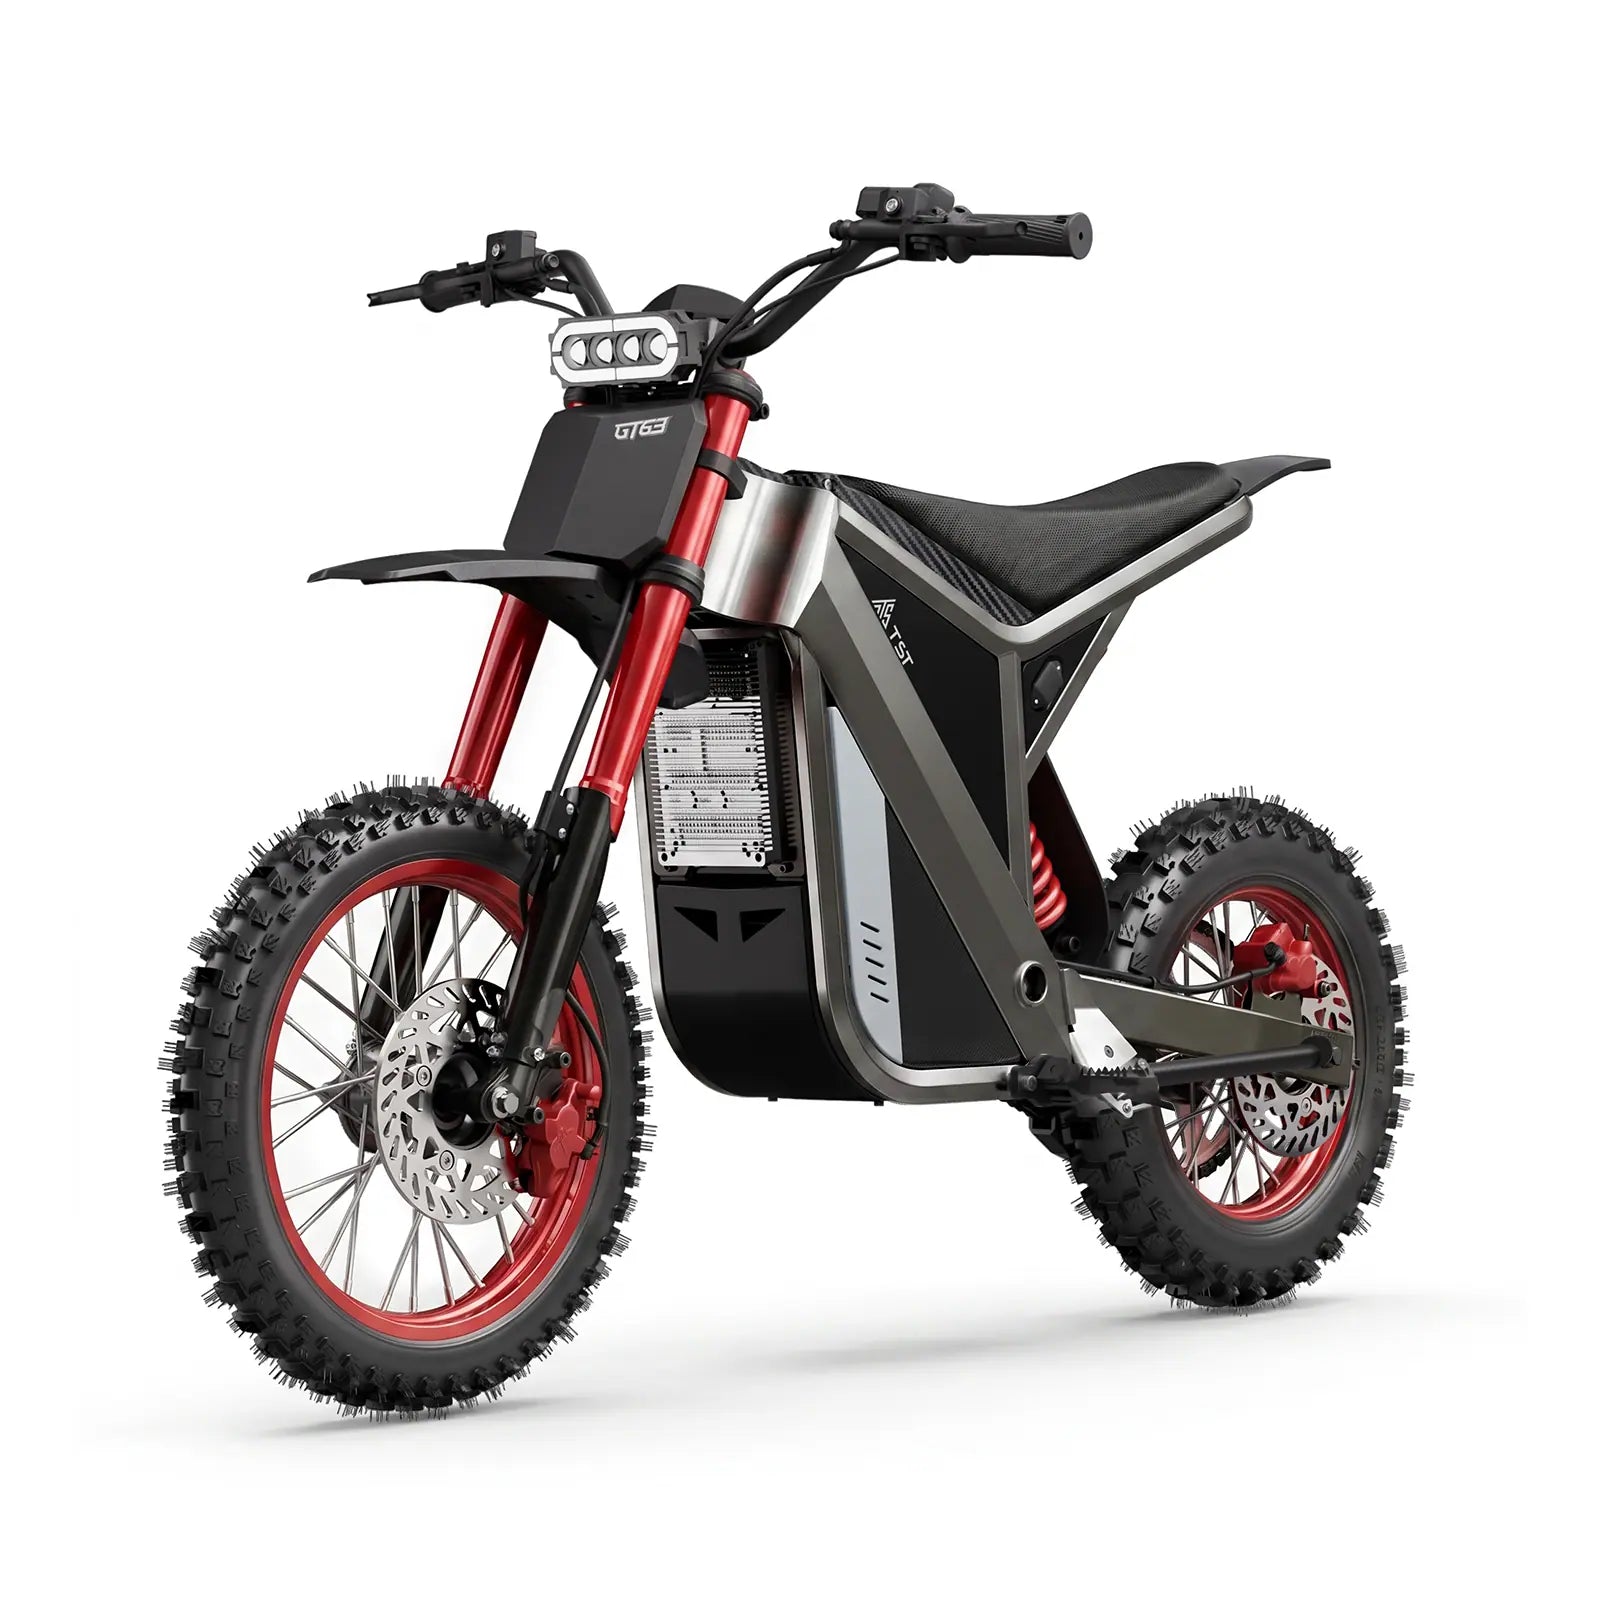

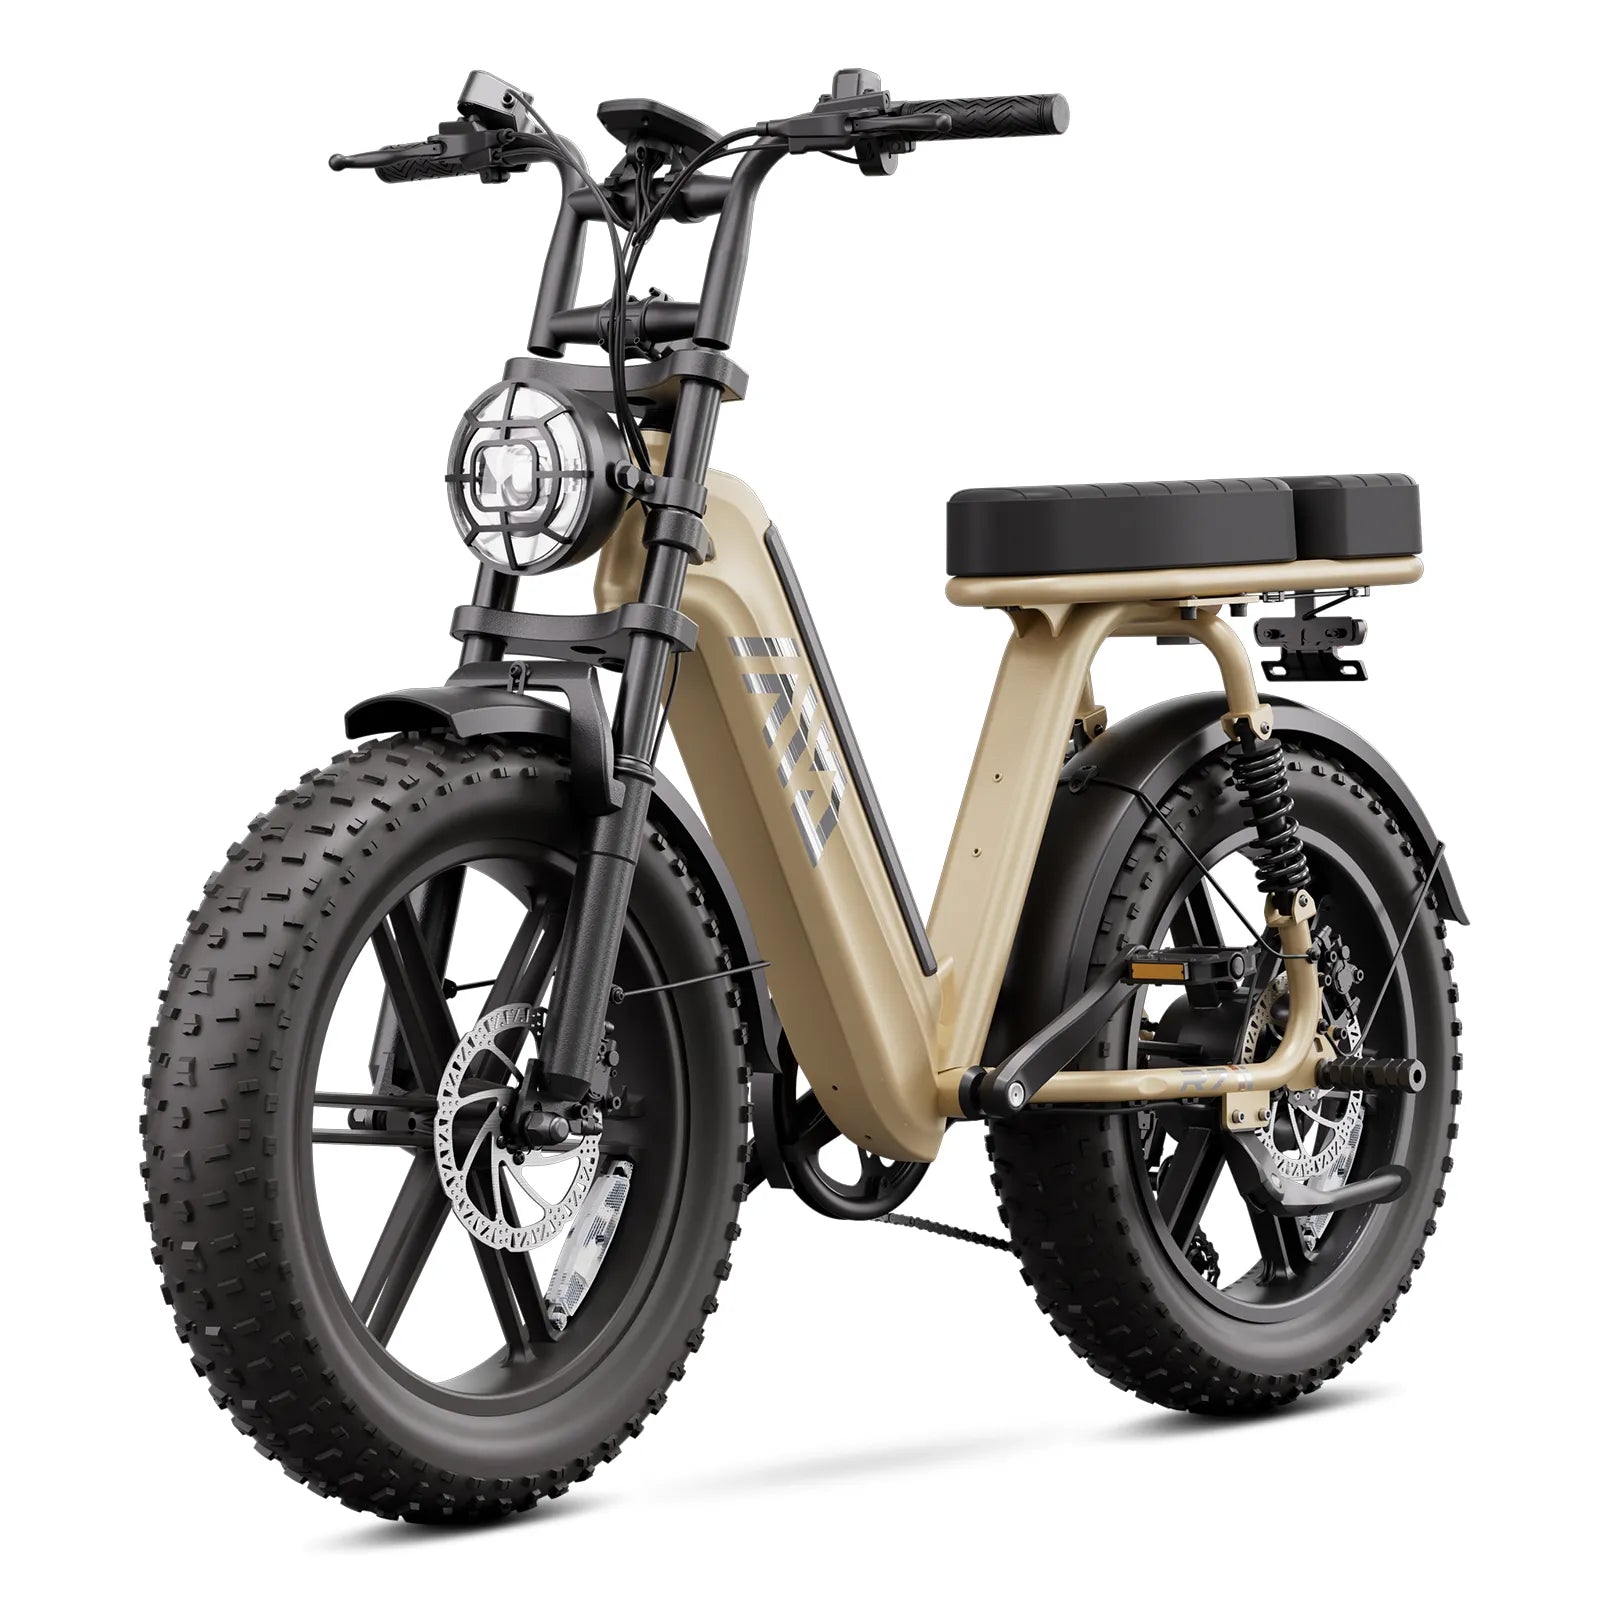
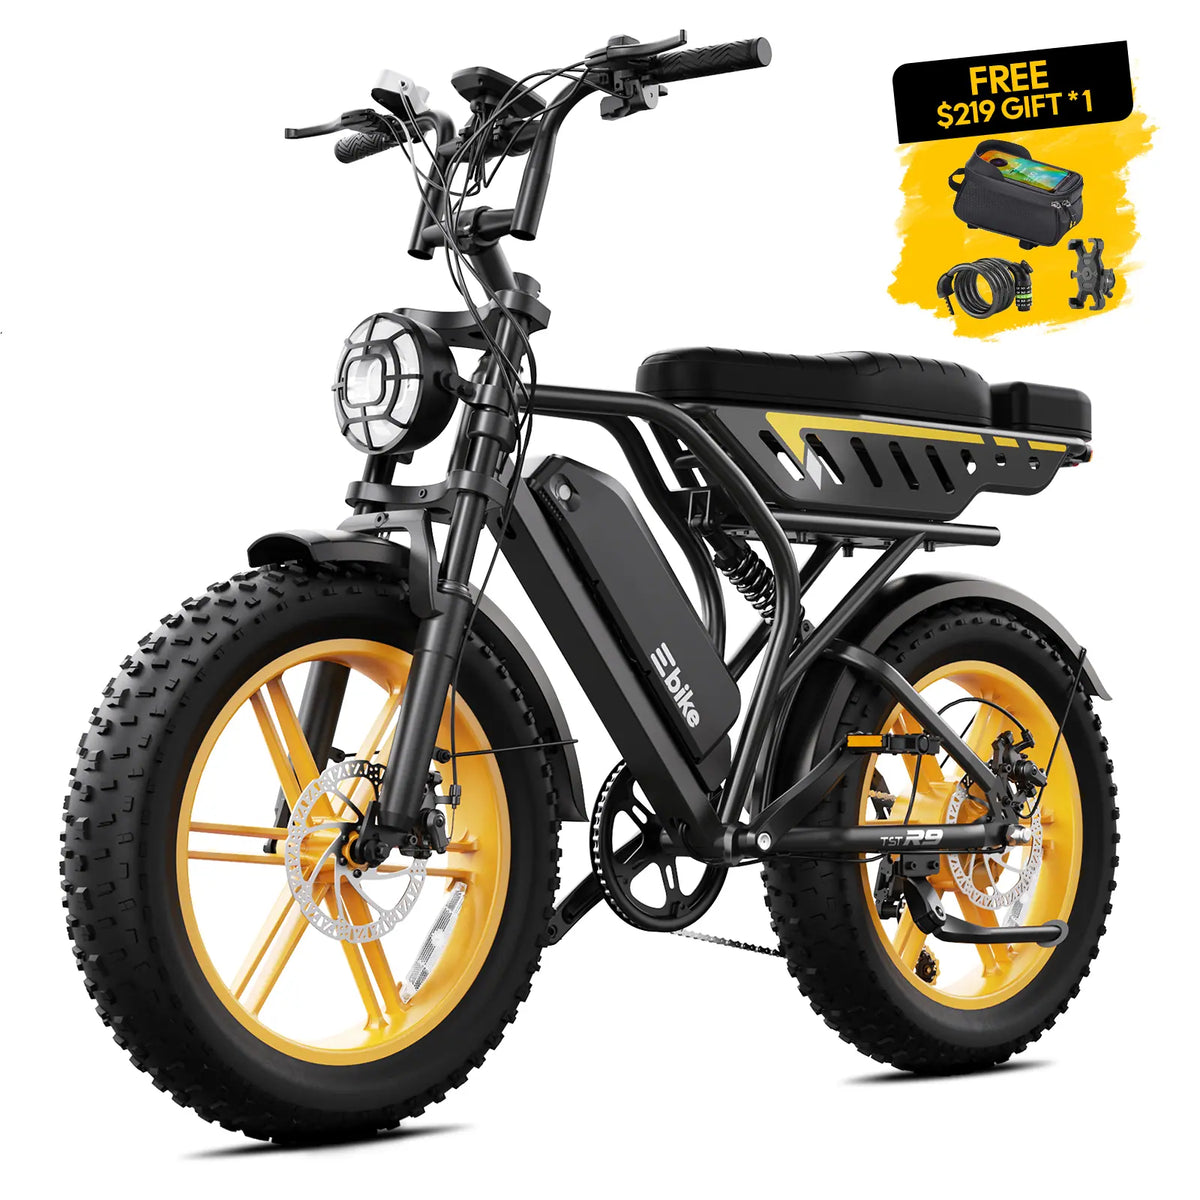

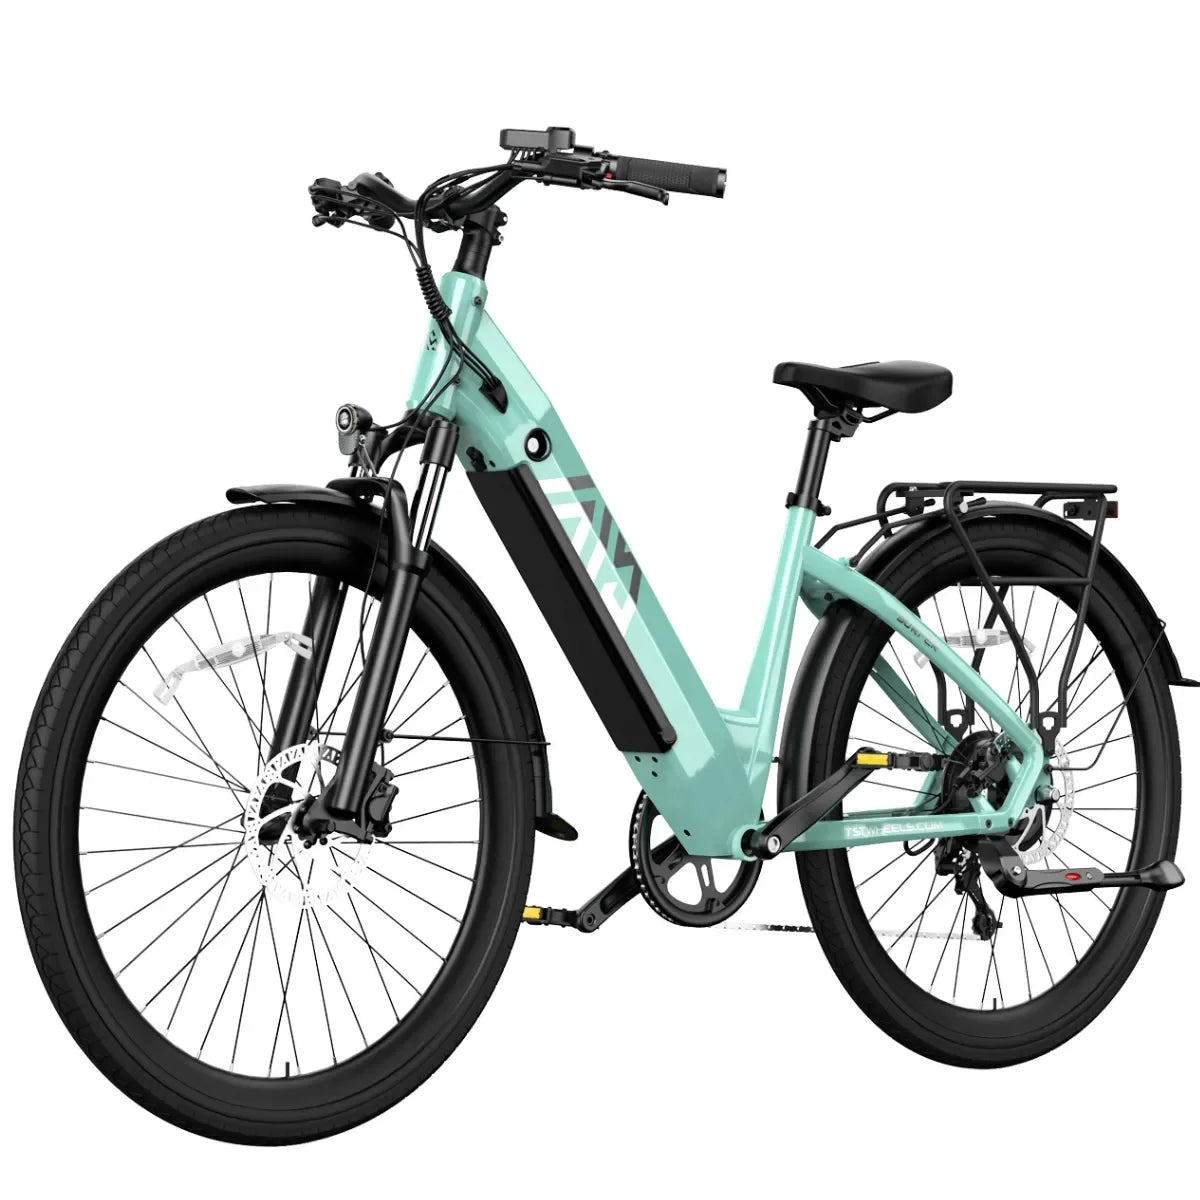
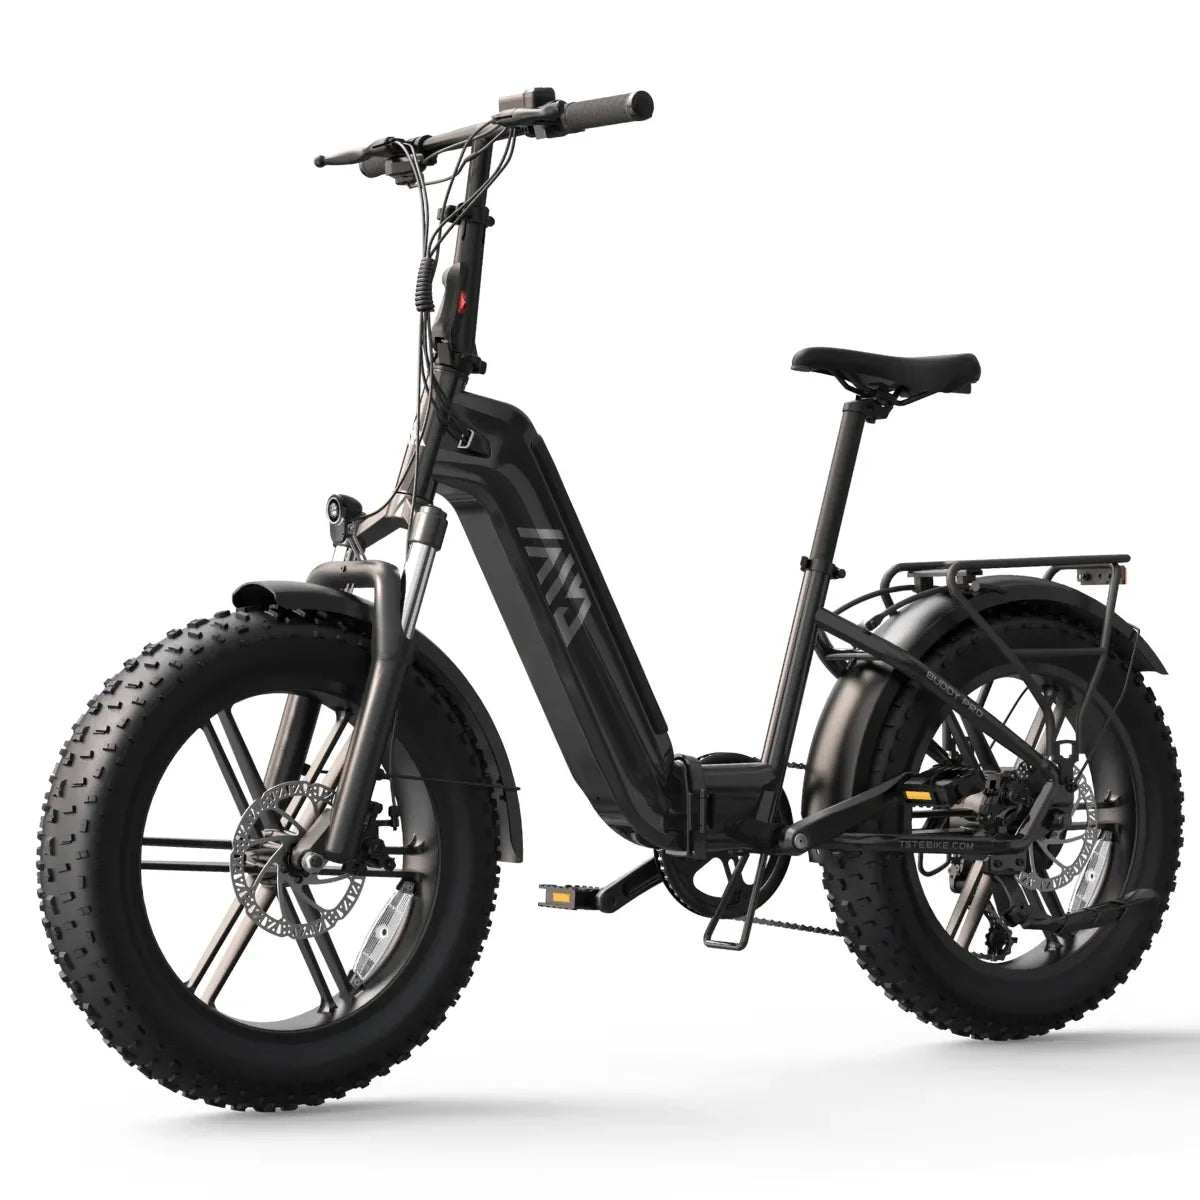
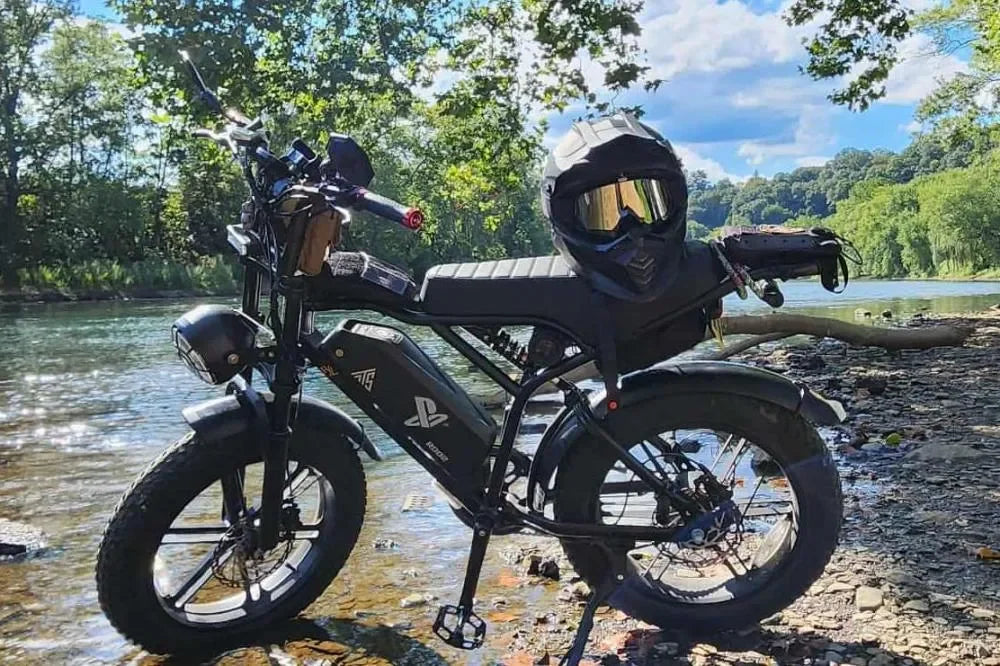

An e-bike rear rack fits only when its approved mounting system, dimensions, hardware and load limits match the exact bicycle. The installed rack must also leave the wheel, brakes, suspension, battery and cables working as intended. Matching the advertised wheel size is not enough.
Begin with the job you need the rack to do: carry panniers, support a trunk bag, hold a basket or replace an original rack. Then check the interfaces that connect that load to the bike. A higher carrying-capacity rating cannot compensate for an unsuitable mounting point.
This guide covers cargo racks mounted on the bicycle, not car racks used to transport an e-bike. It includes fender compatibility because racks and fenders often compete for the same space and attachment points.
Map the Interfaces Before Comparing Racks
Identify the bike’s exact model, generation, frame size and battery configuration. Do the same for the rack and any required adapter kit. Note replacement tires, brake changes and existing accessories rather than assuming the bike still matches its original specification.
Take a side-view photograph and a rear-view photograph of the actual bike. Use them to mark mounting points, moving components and access routes.
Side-view interface map
Read the cargo-supporting structure in this order:
Cargo and rack deck → rack legs and supports → approved attachment points → bicycle structure.
Alongside that structure, mark five areas that must remain clear:
-
Tire and fender operating space.
-
Suspension components and their movement.
-
Brake, axle and motor-cable area.
-
Battery extraction path and connector access.
-
Pannier position, heel clearance and retention points.
Highlight a conflict wherever the proposed installation requires an unapproved attachment point, contacts a moving component, pinches a cable or blocks required access.
This is a checking framework, not a dimensioned drawing or an approved installation for a particular TST model.
Rear-view interface map
Check the space between the rack legs, tire width, fender width and clearance beside the brake assembly. The side view alone can hide a lateral conflict.
The measurements help expose a mismatch. They do not establish that an unidentified threaded hole is approved to support cargo.
“Universal” describes a range—not an unconditional fit
Biktrix’s Universal Rear Rack listing specifies suitability for frames with accommodations for racks and provides compatibility information. The word “universal” does not eliminate those requirements.
Similarly, Old Man Mountain’s Divide installation instructions distinguish eyelet, thru-axle and quick-release mounting arrangements. Each has its own hardware and installation sequence.
Before ordering, identify which arrangement applies to your bike. If none is documented, do not invent one.
Follow the Load From the Bag Into the Bike
The load path is the route by which cargo forces pass through the rack, its supports and fasteners into the bicycle. Every part of that route needs an appropriate, approved interface.
A rack’s carrying-capacity label describes the rack under specified conditions. It does not independently establish what a frame mount, axle adapter or bicycle can carry.
Check what each attachment point is for
A hole used for a fender should not be assumed to be a cargo-rack mount. Confirm its permitted use in the bike documentation or with the manufacturer.
For an axle-mounted system, confirm the exact axle interface. Old Man Mountain’s Divide instructions require checking the replacement thru-axle against the original, including thread pitch, shaft length and the required spacer arrangement.
Those instructions do not establish compatibility with a nutted rear-hub-motor axle. If your bike uses a different axle system, obtain explicit confirmation of the appropriate mounting kit.
Clamp-mounted and seatpost-mounted racks also need approval for the actual component dimensions, material and mounting location. A clamp is not a general substitute for a missing mount.
Full suspension changes the fit question
A rack can clear the tire while the bike is stationary and still interfere during suspension movement. Check whether its upper and lower attachments are on parts that move relative to one another.
Use a mounting arrangement supported for the bike’s suspension design. Where dynamic clearance is uncertain, have an authorized service provider or qualified bicycle mechanic verify it using the applicable procedure.
Do not dismantle a shock, restrict suspension movement or change the bike’s structure to make a rack fit.
Evaluate the Rack and Fender Together
Tire size affects more than the height of the rack deck. It also affects lateral clearance, fender curvature and the space available beneath frame bridges.
Record the tire’s size marking and measure its actual inflated width at the pressure specified for your setup. Velo Orange’s fender guidance recommends measuring the inflated tire rather than relying solely on its advertised width.
Three different dimensions matter:
-
Fender width: whether the blade covers the tire while leaving adequate side clearance.
-
Tire-to-fender gap: the operating space between the rotating tire and the fender.
-
Frame clearance: whether the fender and required gap fit between the stays and beneath bridges.
A wider fender does not guarantee enough radial clearance. A correct nominal wheel diameter does not guarantee enough frame space.
Use the exact fender’s fit guide and installation instructions. Do not transfer a road-bike fender guideline to a wide-tire e-bike, or borrow another manufacturer’s minimum gap as a universal specification.
Shared mounts change the hardware arrangement
A rack and fender may use the same attachment point. That changes the fastener stack—the brackets, washers and spacers through which the bolt passes.
Before combining them, verify:
-
Whether sharing the mount is permitted.
-
The required bracket order.
-
The specified fastener diameter, thread pitch and length.
-
Any approved spacers or dedicated adapters.
-
The applicable tightening instructions.
Portland Design Works’ fit guide describes separate rack and fender eyelets as preferable and gives a particular shared-mount arrangement for its products. That arrangement is not blanket approval to reproduce it on another bike.
Do not choose a longer bolt by guesswork or improvise a bracket to clear a brake.
Preserve access, not just visible space
Check the intended rack, fender and luggage as one assembly. Confirm that it preserves:
-
Brake operation and approved hose or cable routing.
-
Wheel removal through the documented service procedure.
-
Battery unlocking, removal and replacement.
-
Motor-cable routing and connector access.
-
Necessary light and reflector visibility.
-
Pedaling clearance around the bags.
Some approved axle-mounted racks require additional steps during wheel service. That can be an acceptable trade-off when documented; trapping a component without an approved service procedure is different.
If you are installing a front-and-rear fender set, check front steering and fork movement separately. Rear-rack fit does not establish front-fender compatibility.
Apply Every Load Limit Separately
Physical fit and carrying capacity are different checks.
Verify the bike’s total-load definition, any rear-cargo or mounting-point limit, the rack rating for the selected mounting method, and the limit of the attached basket or bag. Every applicable limit must be satisfied.
Old Man Mountain’s Divide instructions state that an appropriate axle or quick-release fit-kit installation increases the rack’s capacity relative to its eyelet-mounted arrangement. This illustrates why the installation method matters; it does not raise the bicycle’s own limits.
Before calculating cargo allowance, confirm what each number includes. Depending on the documentation, a limit may refer to contents, rider plus cargo, or complete system weight. The rack and other accessories may count toward particular limits.
Do not subtract the rider’s weight from an unexplained “maximum load” figure. Ask the manufacturer to clarify the definition first.
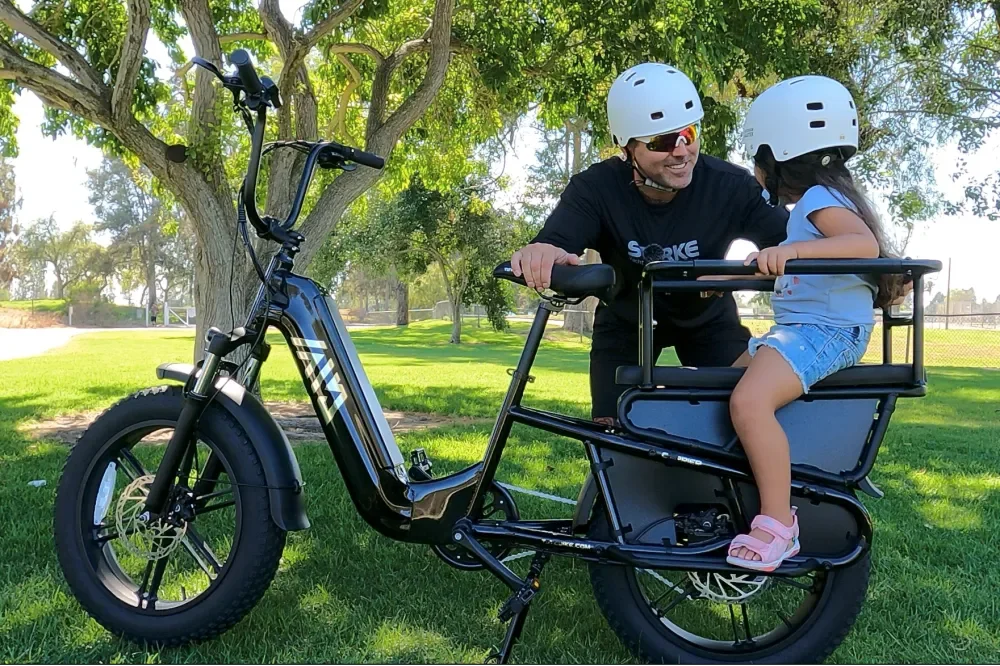
Passenger and child-seat use require a separate approval check. A cargo rating alone does not establish that a rack, bicycle or accessory is suitable for carrying a person.
Move From Verified Fit to the Correct Accessory
For a TST bike, start with its exact model documentation and then identify the intended accessory in the current collection or model-specific listing.
The R002 Fender Set is a model-named TST accessory. Before ordering, confirm the applicable R002 generation, supplied hardware and installation requirements—especially if the tires, rack or other parts have changed.
Do not transfer compatibility to another TST model because the wheel sizes appear similar. An original rack supplied with a bike also does not establish that a differently designed replacement will fit.
A useful support request includes:
-
Exact bike model, generation and configuration.
-
Tire size markings and any relevant modifications.
-
Accessory name and mounting-kit version.
-
Clear side and rear photographs.
-
Intended cargo and attachment method.
-
Questions about approved mounts, hardware, clearance and load definitions.
Use torque values only from the applicable bike, rack or accessory instructions. Bolt diameter alone does not establish the correct torque. If instructions conflict, resolve the conflict with the manufacturers before installation.
CPSC’s micromobility guidance emphasizes following manufacturer directions, checking weight limits and inspecting the device for damage. Accessory selection should preserve those operating conditions rather than create new interference.
Make the final decision in three stages: approved attachment, verified clearance and compliant loading. A missing measurement calls for measurement. Missing mounting approval calls for manufacturer support. Contact with a wheel, brake, cable or moving suspension component calls for stopping—not a test ride.

Leave a comment
This site is protected by hCaptcha and the hCaptcha Privacy Policy and Terms of Service apply.