
To corner safely on loose gravel, enter slower than you think, keep your body upright while letting the bike lean, and run slightly lower tire pressure to grow the contact patch without folding the sidewall. Focus on smooth inputs: trail brake before the apex, look through the turn, and let the rear drift gently while correcting with counter-steer instead of panic braking.
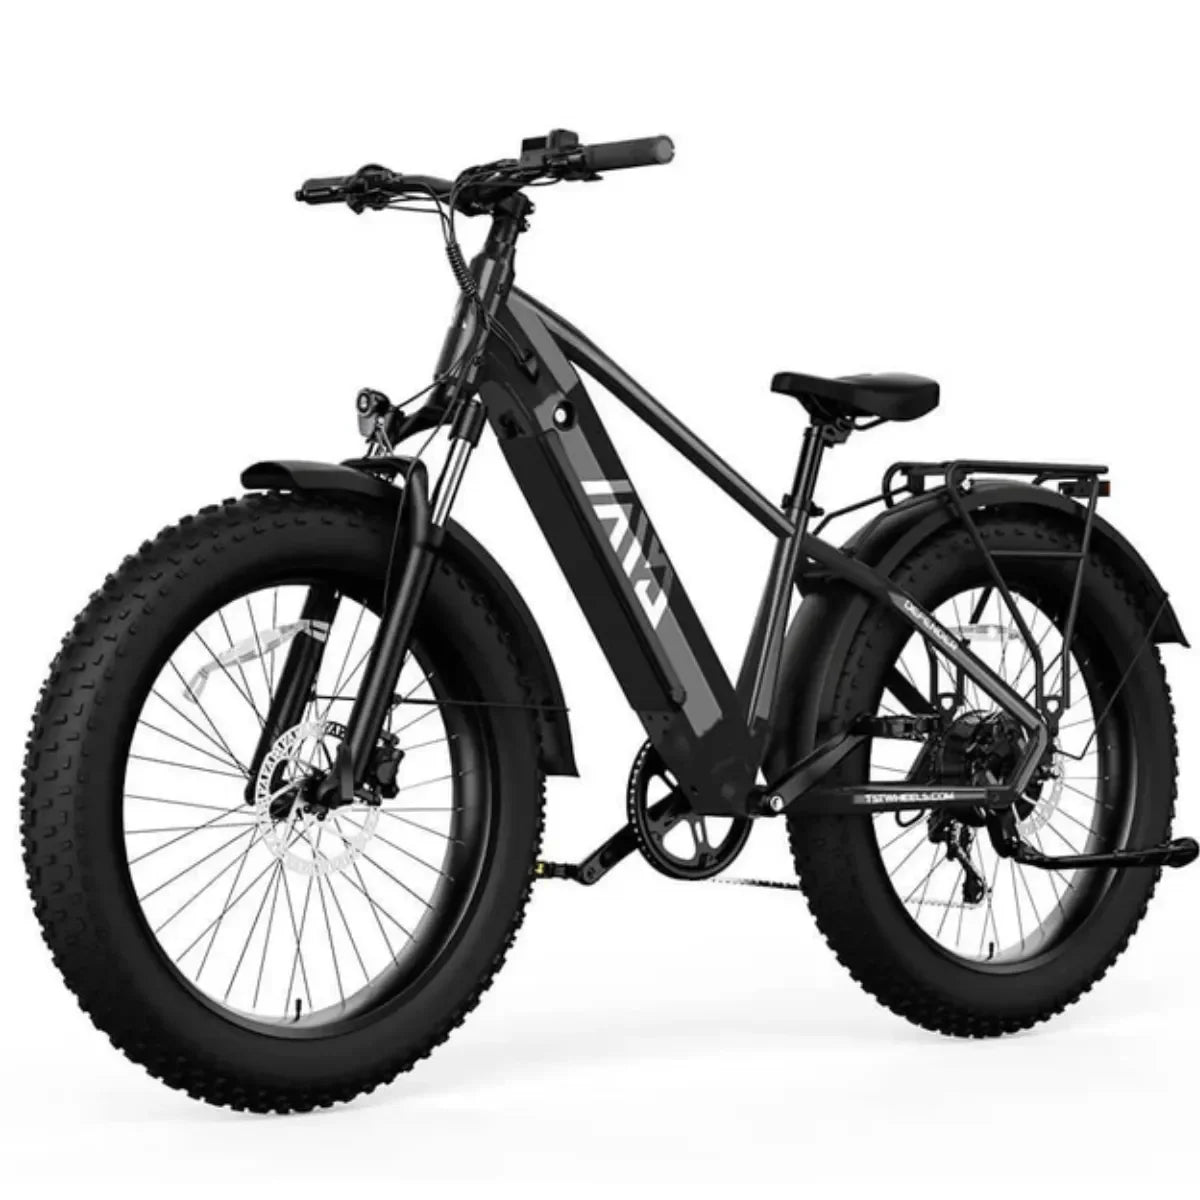
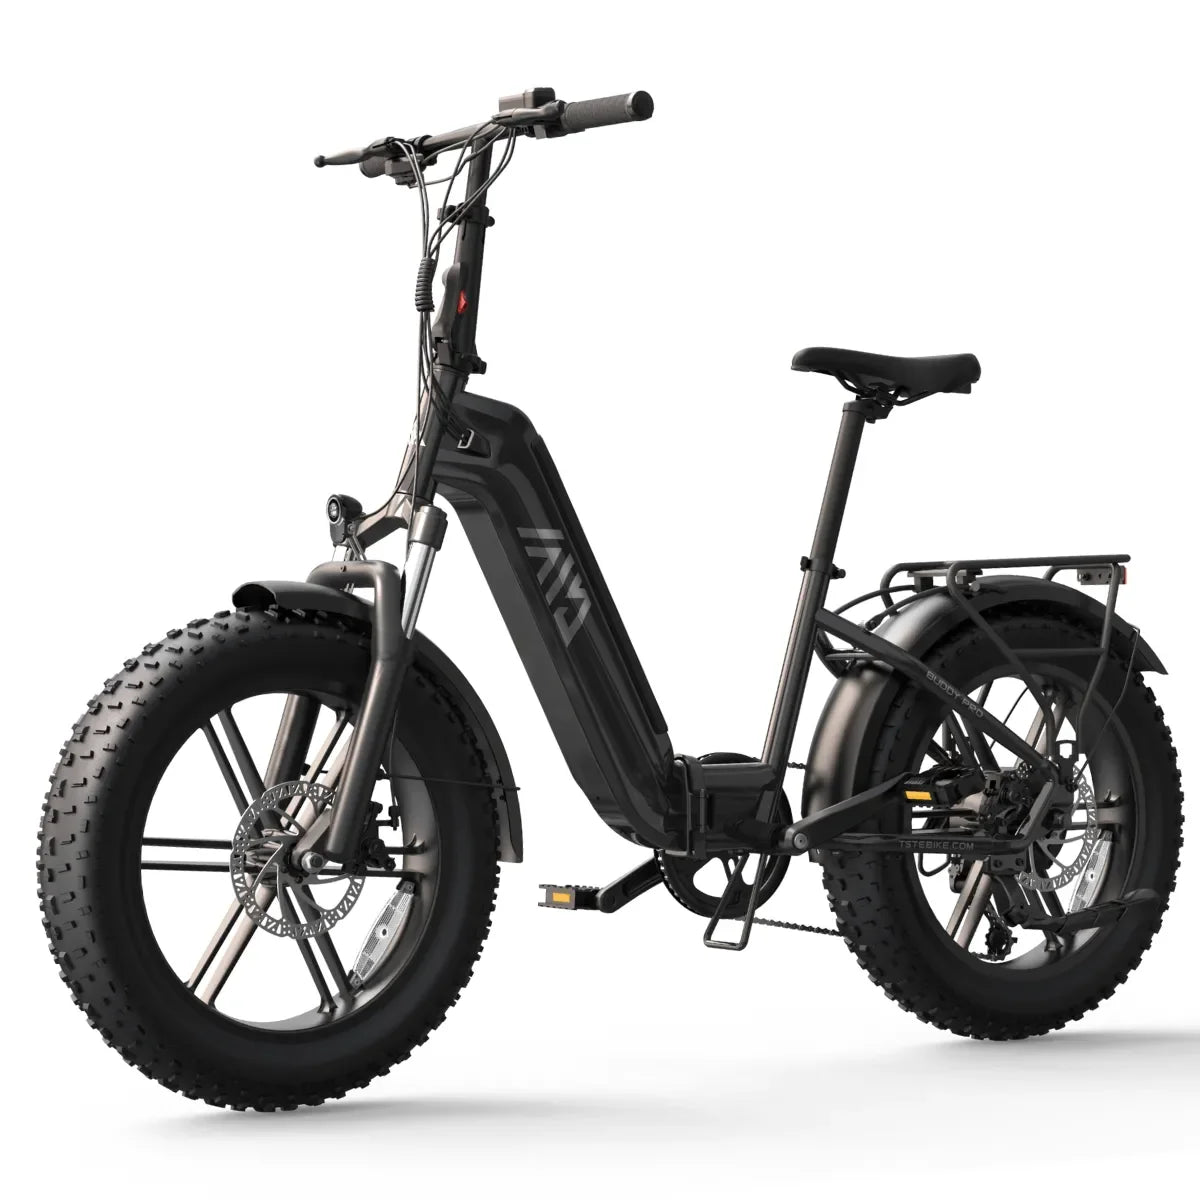
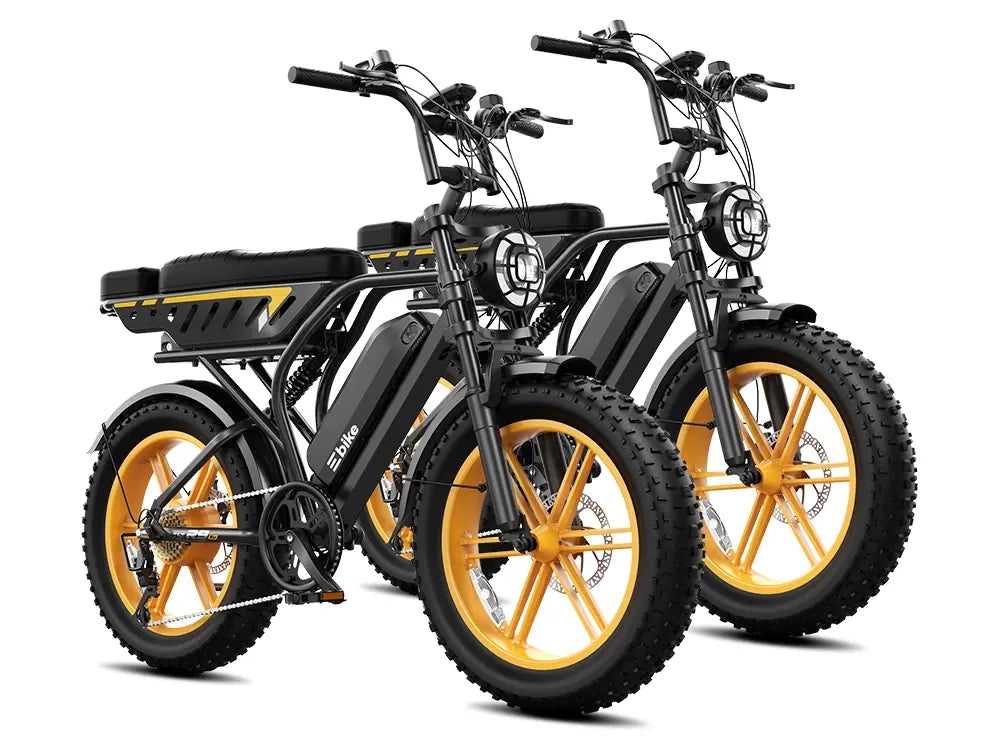
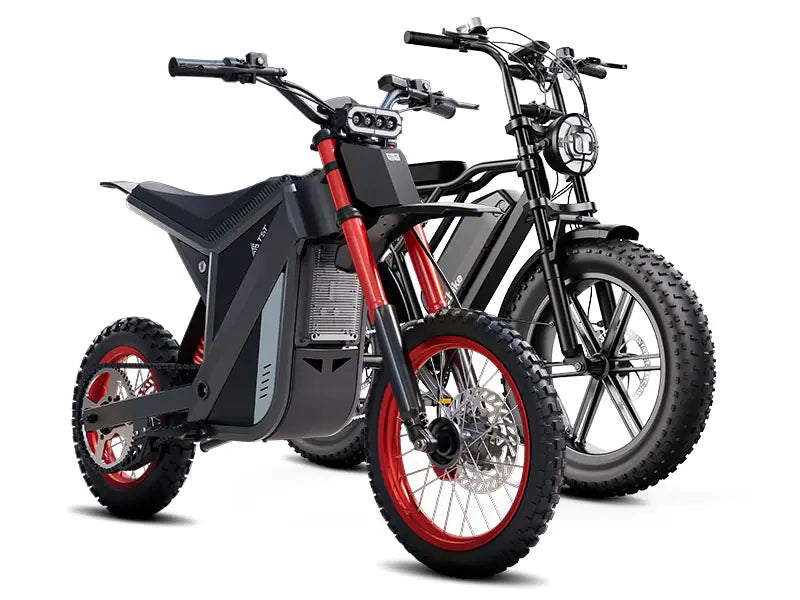
the all terrain fat tire ebike guide
What is really happening when you corner on loose gravel?
On loose gravel, the tire is riding on rolling marbles that constantly shift under load, so grip comes more from “plowing” and interlocking than from clean friction. The instant you lean, lateral forces try to push the gravel out from under the contact patch. If your body inputs are jerky or your tire pressure is wrong, the whole patch lets go at once instead of smearing predictably.
From an engineering standpoint, low PSI fat tires behave like soft rubber bulldozer tracks. The center tread rolls over the gravel, while the sidewall lugs work like mini blades, digging into the top few centimeters to resist side slip. Get the pressure too high and the tire rides “on top” of the loose layer; too low and the carcass folds, delaying feedback and making recovery sluggish.
How should you set low tire pressure for loose gravel cornering?
For typical 4‑inch fat ebike tires on rural U.S. gravel, a practical range is about 10–18 PSI depending on rider weight and load. Lighter riders and unloaded TST EBike setups can trend toward the lower end, while heavier riders or cargo builds should add 2–3 PSI to preserve sidewall support. The goal is a clear, wide footprint that still feels crisp in quick direction changes.
I adjust in 1 PSI steps and use the “thumb and roll” test: squeeze the sidewall and then roll the bike with the front brake lightly engaged. If the tire squirms sideways before it rolls, it is too soft for committed cornering. If it feels skittish and chatters across the gravel, pressure is too high. When it feels like a soft but solid rubber pad, you are close to ideal.
Tire pressure targets for loose gravel
I also factor speed: if a route has repeated, faster sweepers, I bias pressure 1–2 PSI higher than I would for slow technical bends. That keeps the tire from overheating and rolling on the rim when you load it hard in a long radius turn.
How does a 3-step low-PSI cornering SOP work on gravel?
When I coach riders on TST EBike demos, I break low-PSI gravel cornering into a simple three-step SOP: set, lean, and release. Step one (set) happens before the gravel bite point: you brake straight, choose your line, shift your weight slightly to the outside pedal, and get the ebike settled at a safe entry speed. This is where most crashes are actually prevented.
Step two (lean) is where the low PSI and fat sidewalls start working for you. Keep your torso more upright while pushing the bike underneath you, loading that outer sidewall tread into the gravel. Your eyes stay locked on the exit, not on the front wheel. Step three (release) is the controlled drift: as the rear starts to step out slightly, you relax your arms, add gentle counter-steer, and feed in a whisper of throttle to pull the bike back in line.
How can you use fat-tire sidewalls to “bite” into loose gravel?
On a properly set fat tire, the sidewall lugs only fully engage when you are leaned and loaded. I actively “aim” for that moment: entering the turn, I push hard into the outside pedal and slightly toward the handlebar, compressing the tire so the side blocks deform into the gravel. You can feel this as a soft, progressive resistance rather than a hard edge.
The trick is to treat the sidewall as your main cornering tool, not just the center tread. With low PSI, the carcass wraps around individual stones; those side knobs create multiple micro-contact points that share the lateral load. If you try to corner upright with just steering input, you never get those lugs working, and the bike feels vague and prone to sudden washouts.
How should your body position shift for low-speed “weight drift” in gravel turns?
At low speed on loose gravel, I ride “bike low, body tall.” Your hips stay slightly to the outside of the turn, your chest upright, and your inside arm relaxed so the bike can lean more than your body. This separates your mass from the lean angle, giving you more freedom to catch small slides without overreacting.
Think of your center of gravity as a hanging weight above the contact patch. By moving it out over the outer pedal and slightly back, you reduce the risk of the front washing first. I also keep my knees loose and slightly open; that way the bike can wriggle underneath without transmitting every twitch into my upper body. Calm upper body equals predictable micro-adjustments.
What is the precise 3-step SOP to correct a low-speed gravel corner slide?
When the bike starts to drift mid-corner, I run a simple three-step correction SOP: feel, breathe, correct. First, feel: notice which end is breaking loose—front or rear—and avoid any sudden squeeze of the brakes. Second, breathe: a quick exhale drops tension in your arms and lets the bars move. Stiff arms turn small slides into full lowsides.
Third, correct: for a rear slide, keep your eyes on the exit, slightly open the steering and add very gentle throttle to pull the rear back into line. For a front slide, immediately reduce lean by pushing the bike slightly more upright and easing off the front brake if you are still on it. On a fat-tire ebike at low PSI, slides usually start soft; if you stay relaxed, you can often “surf” them back to grip.
Three-step gravel slide correction sequence
I train this slowly on a safe dirt lot first: deliberately provoking tiny rear slides with rear brake only, then practicing calmly straightening the bars and rolling on a hint of power to stand the bike up.
Why is front brake timing critical on loose gravel corners?
The front brake is still your main stopping power, but on gravel it must be used earlier and softer. I do my significant front braking before I lean the ebike, when the tire is straight, so all the grip is devoted to deceleration instead of trying to split between braking and turning. Once leaned, I rely more on rear brake modulation and motor control.
If I need to adjust mid-corner, I use a light “trailing” front brake—just enough to settle the fork and load the tire, not enough to lock it. A fat gravel tire at low PSI gives very clear feedback: you feel the knobs starting to skate before they let go. The moment I sense that light chatter, I ease off a few percent rather than releasing fully, which prevents the front from standing up abruptly.
How can you choose the safest line on rural U.S. gravel roads?
On American country gravel roads, the loose marbles usually pile in the center and outer edges, while the car tracks are slightly swept and more compact. I aim my ebike to ride just inside a car track entering the turn, then cut gently toward the inside where the gravel is thinner, avoiding the deepest piles at the very edge.
I plan an “outside–middle–outside” line: wide entry for vision and margin, smooth arc toward a shallow apex, then drifting back out with the bike still under control, not at the last second. I am always scanning for washboard ridges, fresh grading lines, and hidden potholes—hitting any of these at lean with low PSI can spike forces into the sidewall and cause a sudden, deep compression that upsets the bike.
How does ebike weight and geometry change gravel cornering technique?
High-power ebikes like those from TST EBike are heavier than analog mountain bikes, so the tire contact patch is under more load for the same PSI. This increases baseline grip but also increases inertia; once the rear steps out, it can swing wider if you are sloppy with the throttle. I treat the motor more like a finely tuned carburetor than an on/off switch.
Geometry also changes how you manage weight transfer. Slack head angles and longer wheelbases add stability but require more deliberate body movement to initiate lean. On these frames, I exaggerate my outside pedal load and pre-load the bars a split second before the turn, which creates a smooth roll into the corner instead of a sudden flop. That keeps the sidewall engagement predictable, especially at lower pressures.
Which training drills build confidence for low-PSI gravel cornering?
I like to break practice into three drills: figure-eight, slow spiral, and controlled skid. For the figure-eight, I set two cones about 10–12 meters apart and ride alternating loops at walking pace, focusing purely on outside-pedal weighting and calm vision. This quickly reveals whether your tire pressure is too high or too low by how the bike feels at maximum lean.
The slow spiral is a tightening circle at low speed, gradually increasing lean while keeping your head level and eyes ahead. Here, you learn exactly when the sidewall starts to flex and the side lugs bite. The controlled skid drill is done with lots of run-out: using rear brake only to provoke gentle slides and practicing your three-step correction SOP before you ever do it on a real downhill corner.
TST EBike Expert Views
“When we tune TST EBike demo fleets for loose gravel rides, we do not chase the absolute lowest PSI. We aim for the PSI where the sidewall still ‘speaks’ to the rider. If the tire folds silently, beginners get surprised when grip finally breaks. A slightly firmer setup that talks to you early is safer than a marshmallow setup that waits and then lets go all at once.”
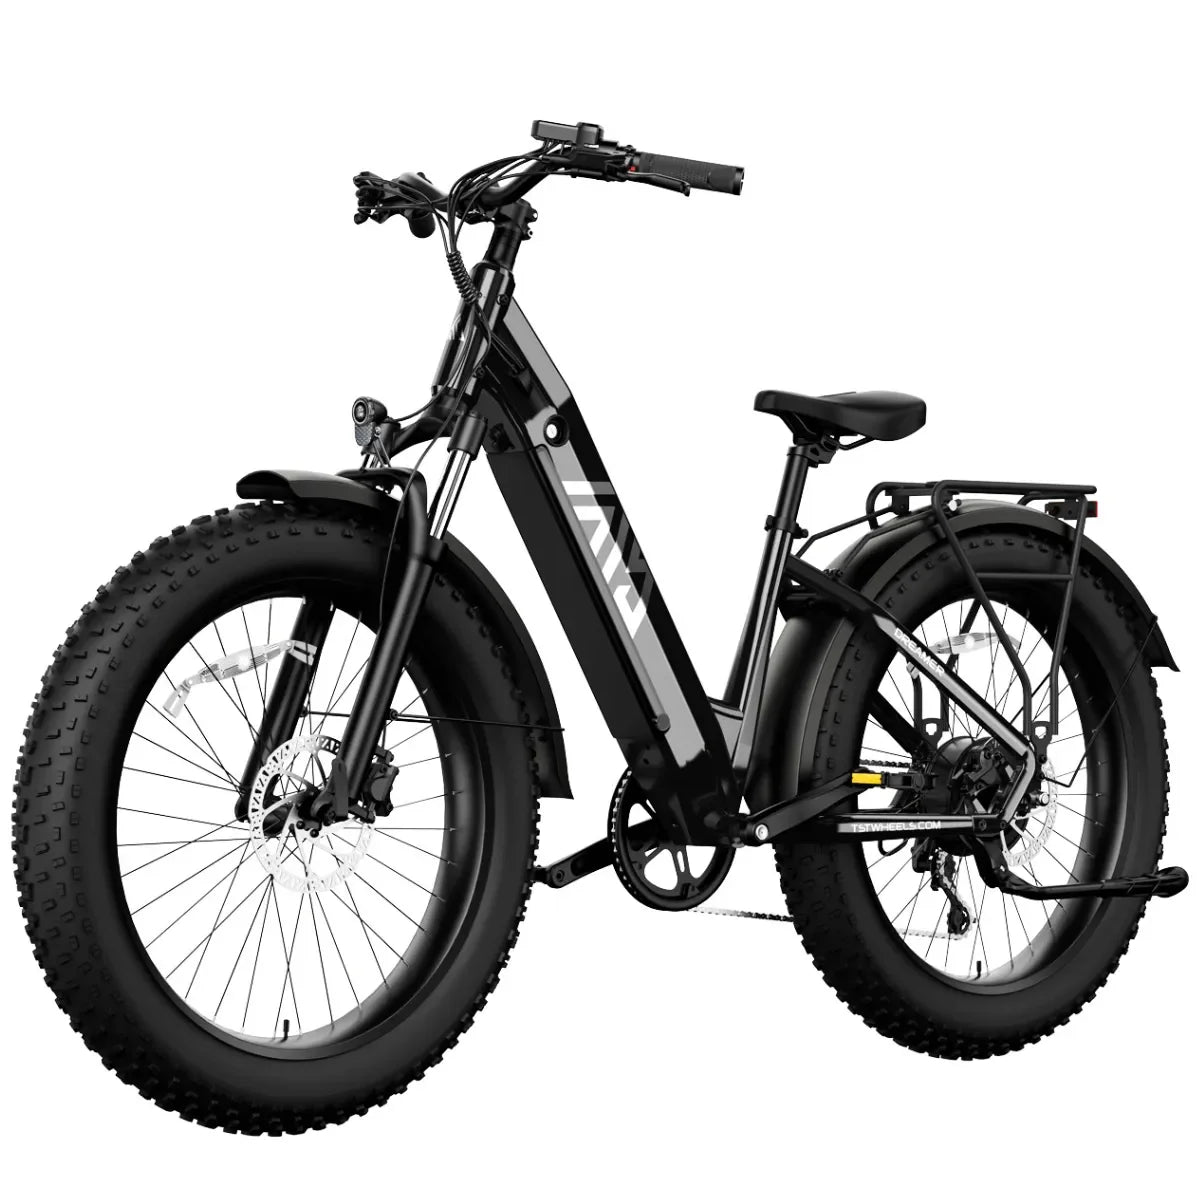
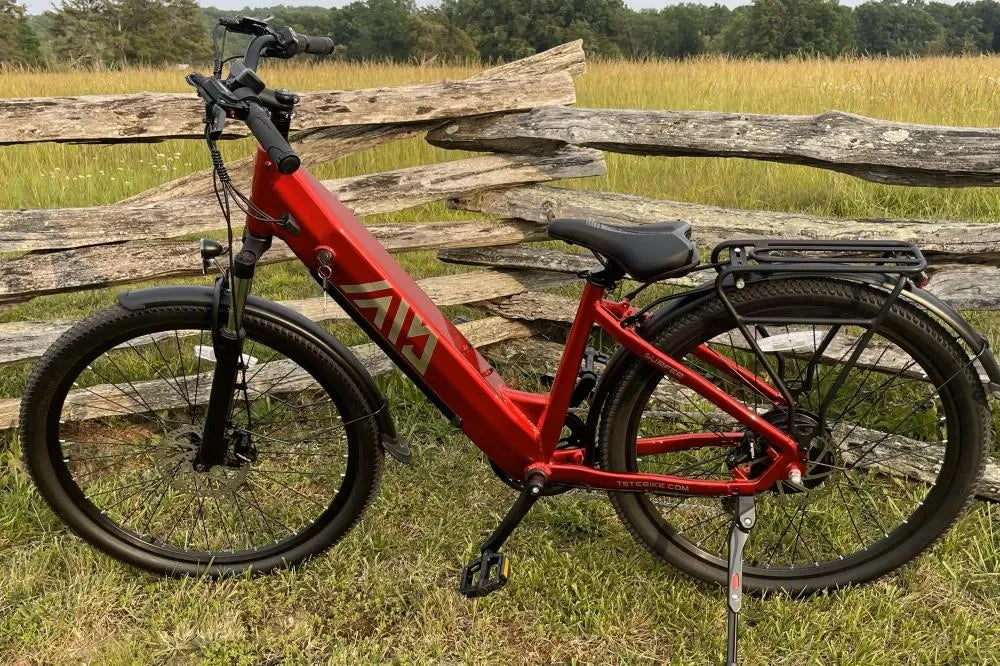
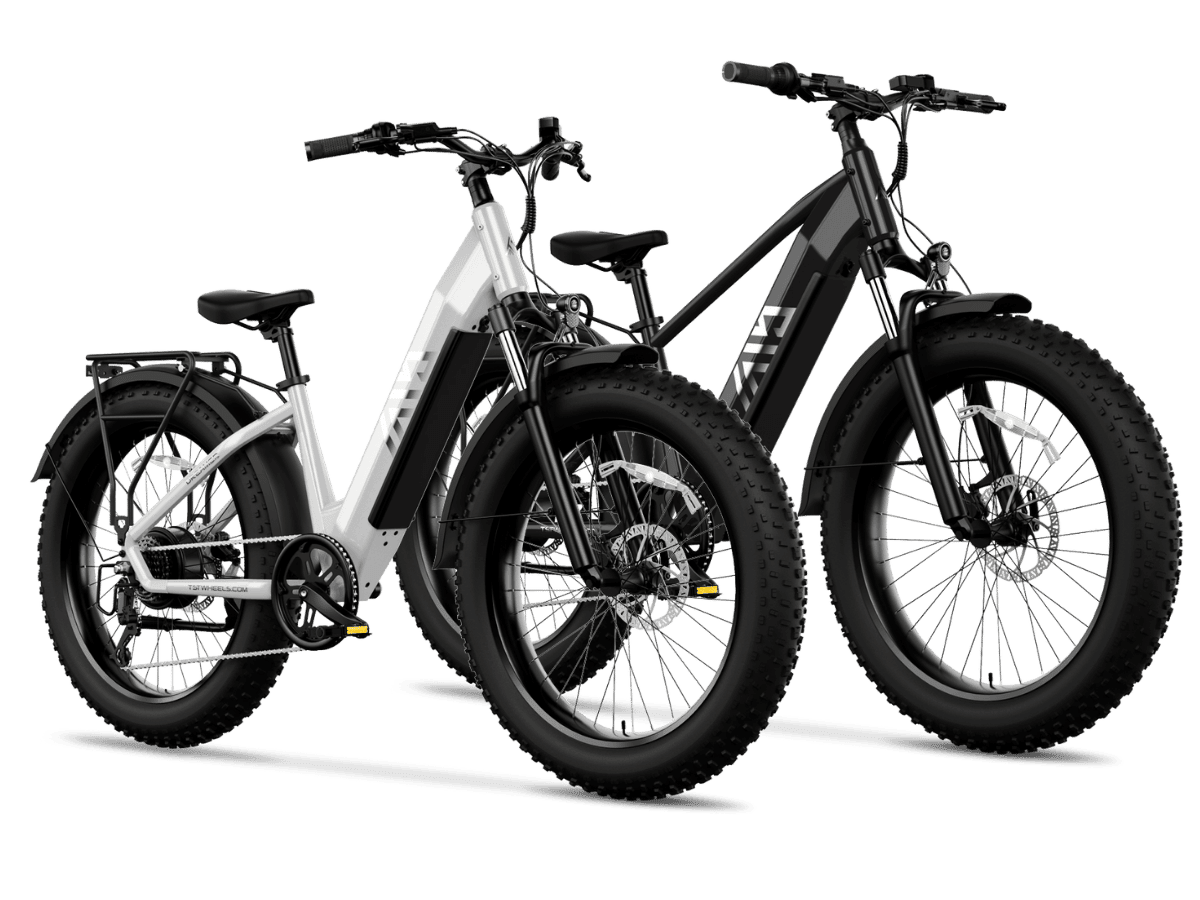
Are 26-inch and 27-inch TST EBike models different on gravel?
The 26-inch TST EBike fat-tire platforms excel when gravel transitions into deeper loose surfaces like sand patches, construction debris, or early-season snow, because the shorter diameter and wider profile float more and dig a wider trench in the loose layer. I run them at the lower PSI end and let the big footprint do the work.
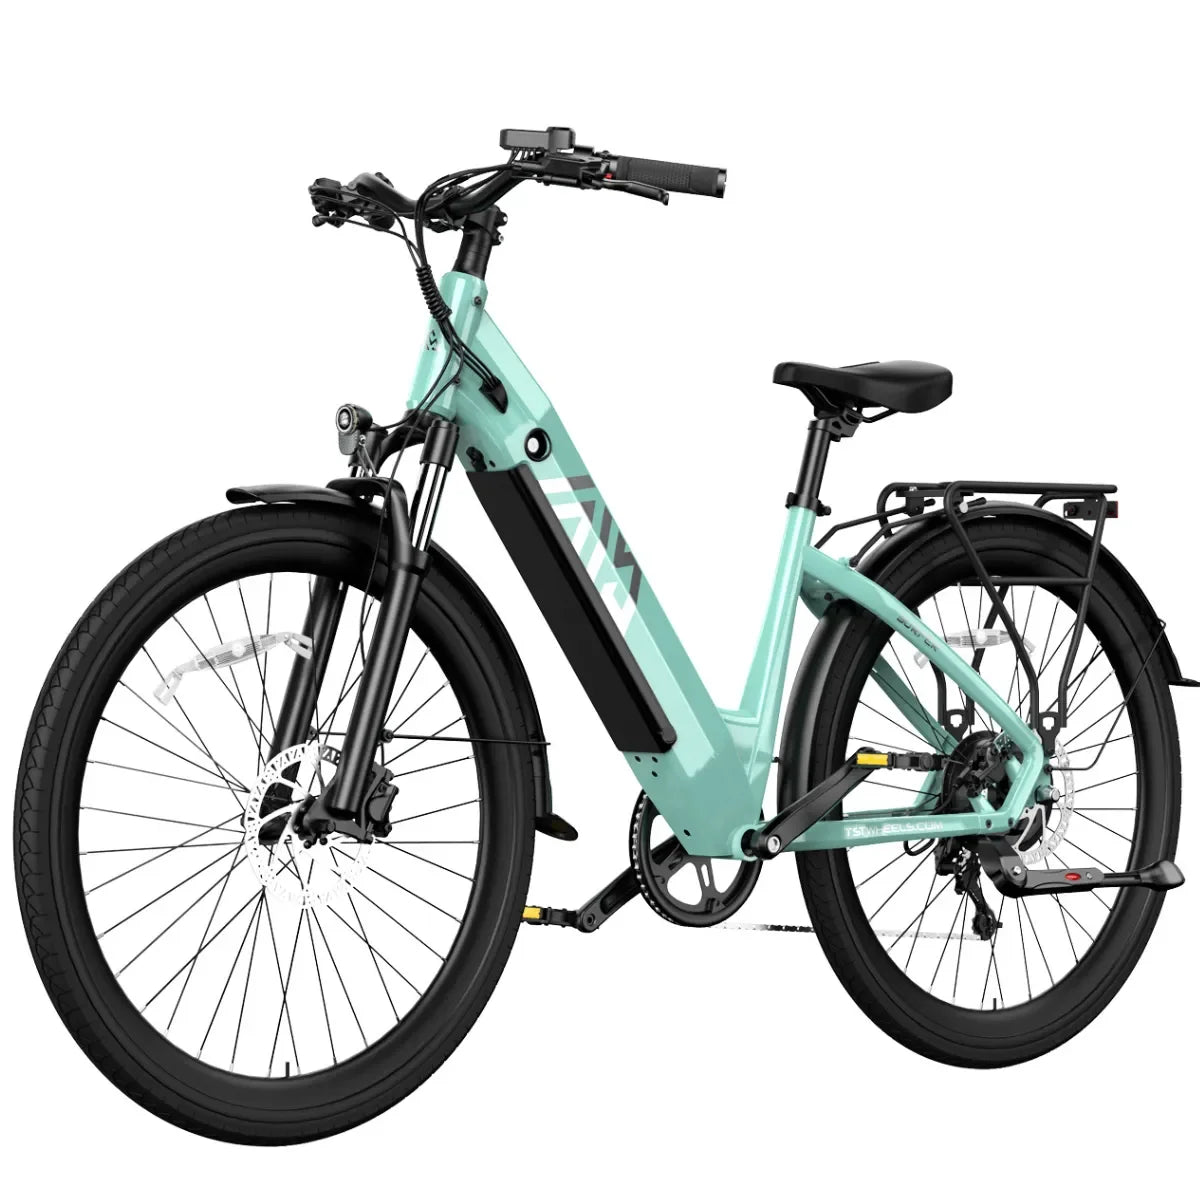
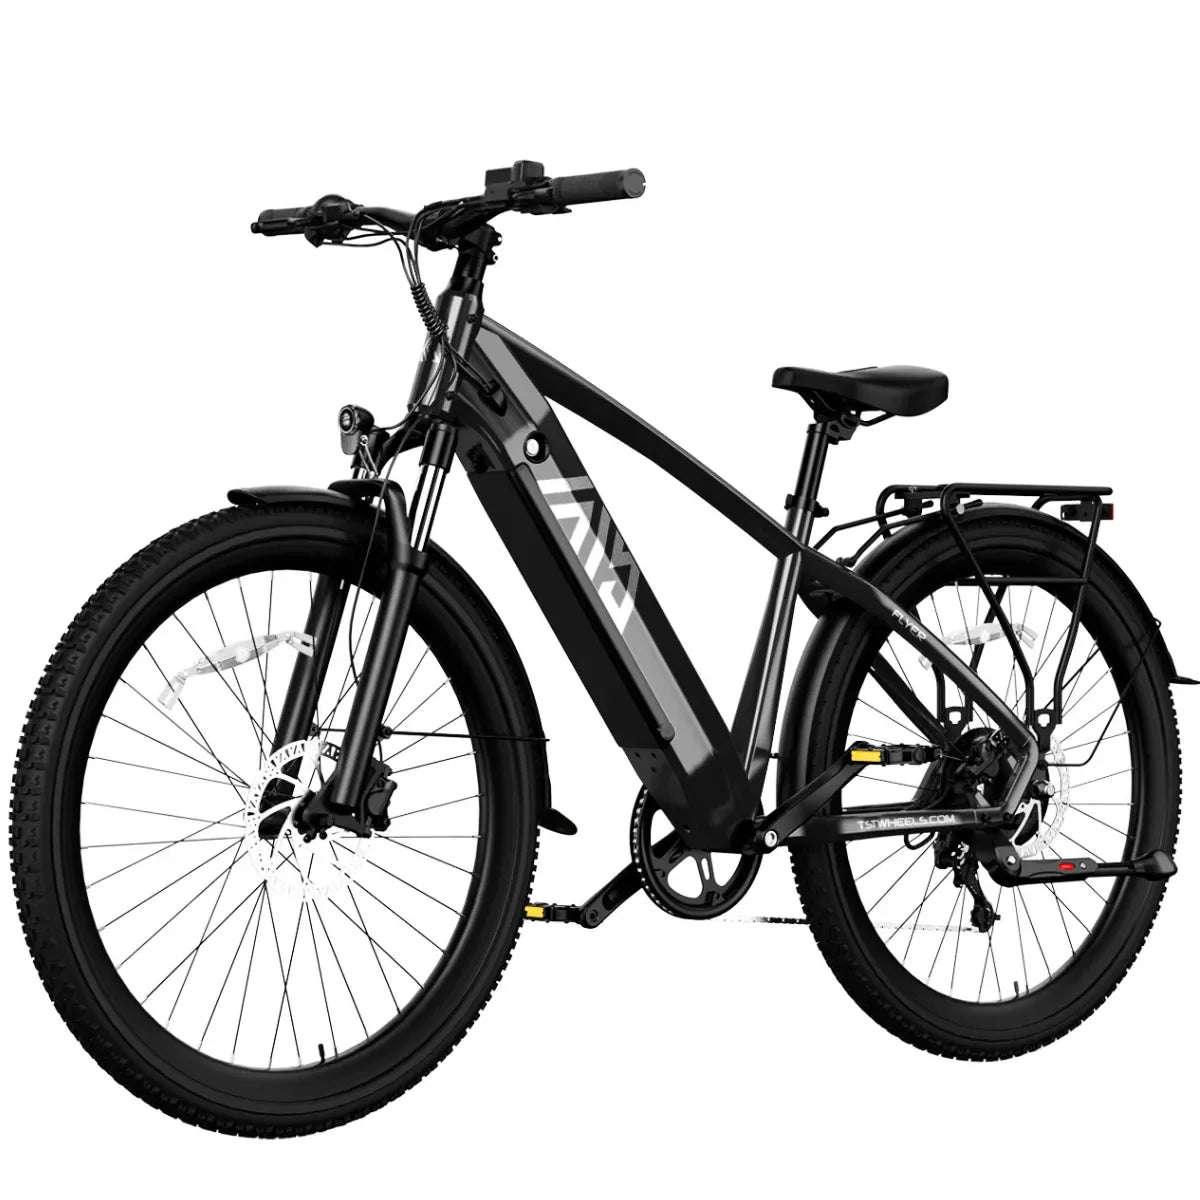
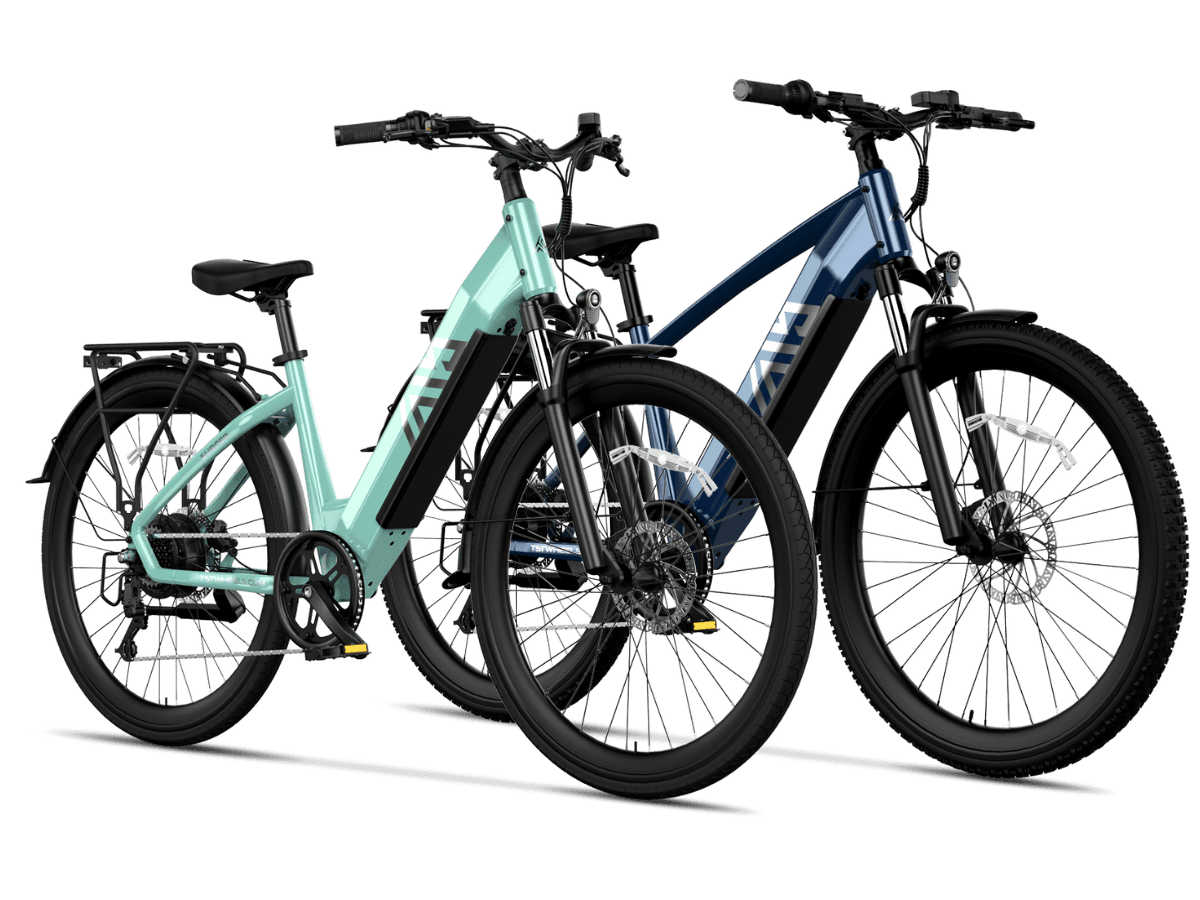
The 27-inch models, aimed more at commuting and mixed-surface mountain biking, feel quicker and more precise on packed gravel and hardpan. For these, I keep PSI a bit higher for crisp steering and less sidewall twist. The technique remains the same—outside pedal weight, bike lean, calm inputs—but the 27-inch wheel gives a slightly longer, calmer contact patch which many riders find confidence-inspiring on longer, faster sweepers.
Is there a final safety checklist before attacking loose gravel corners?
Before committing to loose gravel corners, I run a quick checklist: tire pressure set in my target range, lever reach adjusted for two-finger braking, and assist mode set one step lower than usual to prevent surprise surges mid-corner. I also confirm that my front and rear brakes are bedded and balanced; mismatched bite adds drama when traction is limited.
Visually, I scan the road for mixed surfaces: patches of deeper gravel, mud, or fresh grading. I commit to a slower first run through any unfamiliar section, letting my tires “map” the surface. Once I know where the consistent grip is, I can progressively increase lean and speed, always leaving a margin for an unexpected soft patch or oncoming traffic.
Conclusion: How can you apply low-PSI techniques to ride safer today?
If you want immediate gains, start by optimizing tire pressure, then refining your three-step cornering SOP and body position. Treat PSI as a tuning tool, not a fixed spec; find the range where your fat tires feel both planted and communicative on your local gravel. Combine that with disciplined line choice and smooth braking, and you convert sketchy rural curves into predictable, controllable fun.
Your ebike—especially a well-set-up TST EBike—already has the geometry, power, and tire volume to handle loose gravel safely. What transforms the experience is your technique: loading the sidewalls instead of fighting them, accepting small slides instead of panicking, and practicing corrections in a safe space before you need them at speed. These habits turn low-PSI cornering from a gamble into a skill you can trust.
FAQs
Can I run the same low PSI on pavement and gravel?
No. The PSI that feels perfect on gravel will often be too low on pavement, causing sluggish handling, extra heat, and higher pinch-flat risk. Re-adjust when switching surfaces.
Do I always need fat tires for safe gravel cornering?
Not always, but fat tires widen the safe envelope and forgive more mistakes. Standard-width tires can work if you accept lower speed and commit to very smooth, conservative inputs.
Will lowering PSI damage my rims or tires?
It can if you go too low for your weight and terrain, especially on sharp rocks. Listen for rim strikes and watch for sidewall bulges; if you notice either, add 1–2 PSI immediately.
Is front or rear brake more important on loose gravel?
The front still does most of the real slowing, but it must be used earlier and more gently. The rear brake becomes your fine-tuning tool for line and attitude midway through the corner.
Can motor power help stabilize a gravel slide?
Yes, a smooth, small roll-on of power can pull the bike straight after a rear slide. Sudden bursts of torque, however, will extend the slide or cause a spin; use the motor like a scalpel, not a hammer.
Leave a comment
This site is protected by hCaptcha and the hCaptcha Privacy Policy and Terms of Service apply.