

Riding an e‑bike below 32°F in snow can slash usable range by 30–50% if the lithium cells are allowed to chill to ambient. By pre‑warming the pack indoors, adding a snug neoprene thermal sleeve, and avoiding charging below freezing, you can keep the battery chemistry active, cut voltage sag, and prevent sudden “range collapse” in deep‑winter riding.
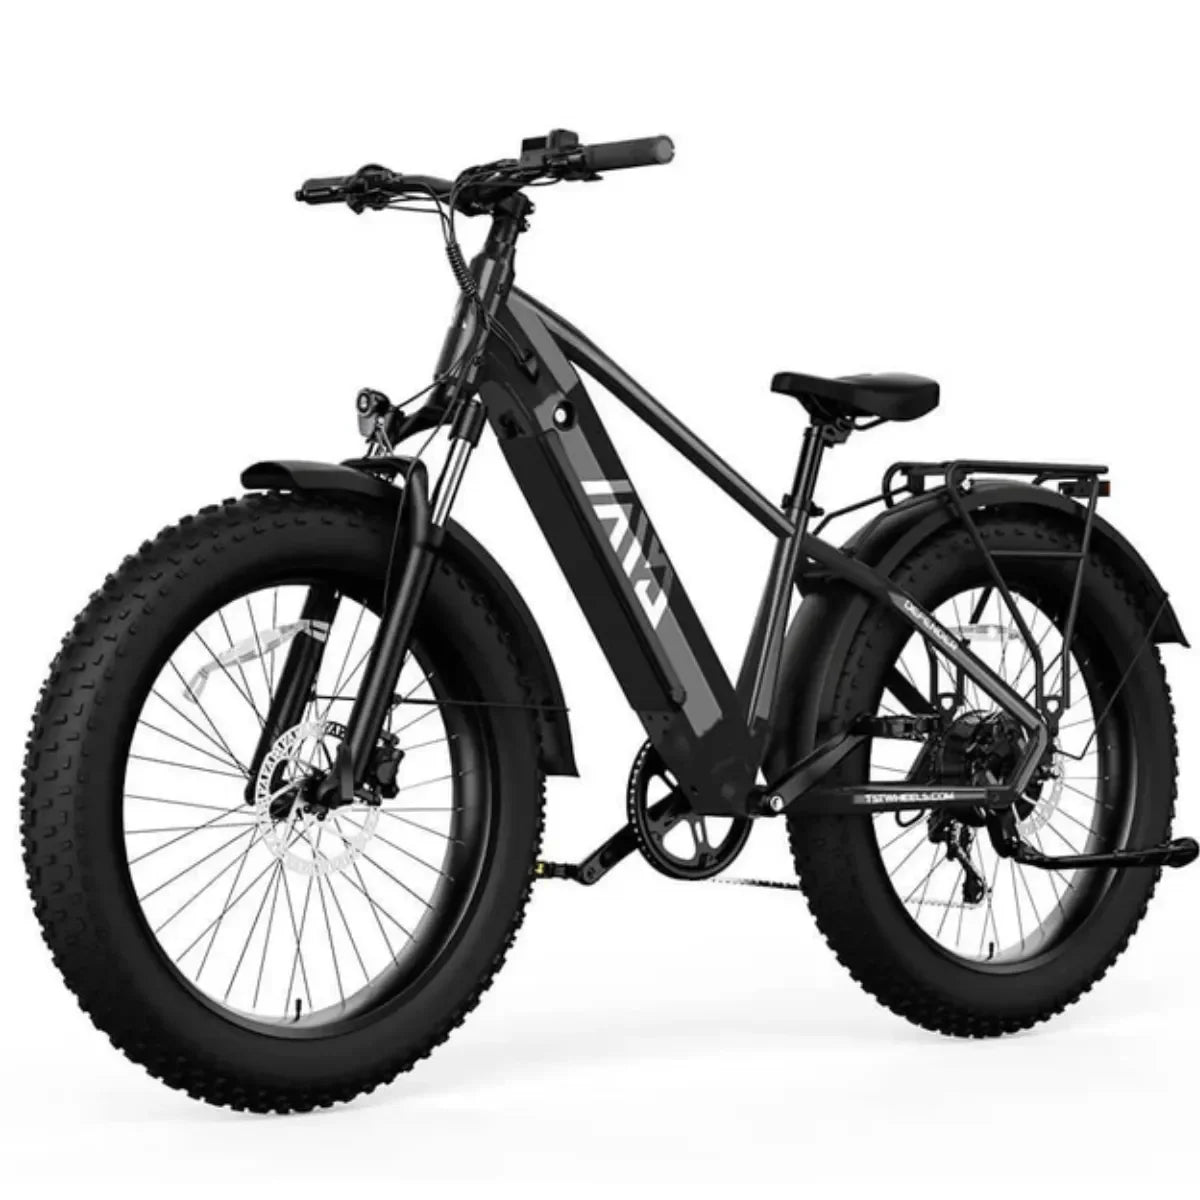
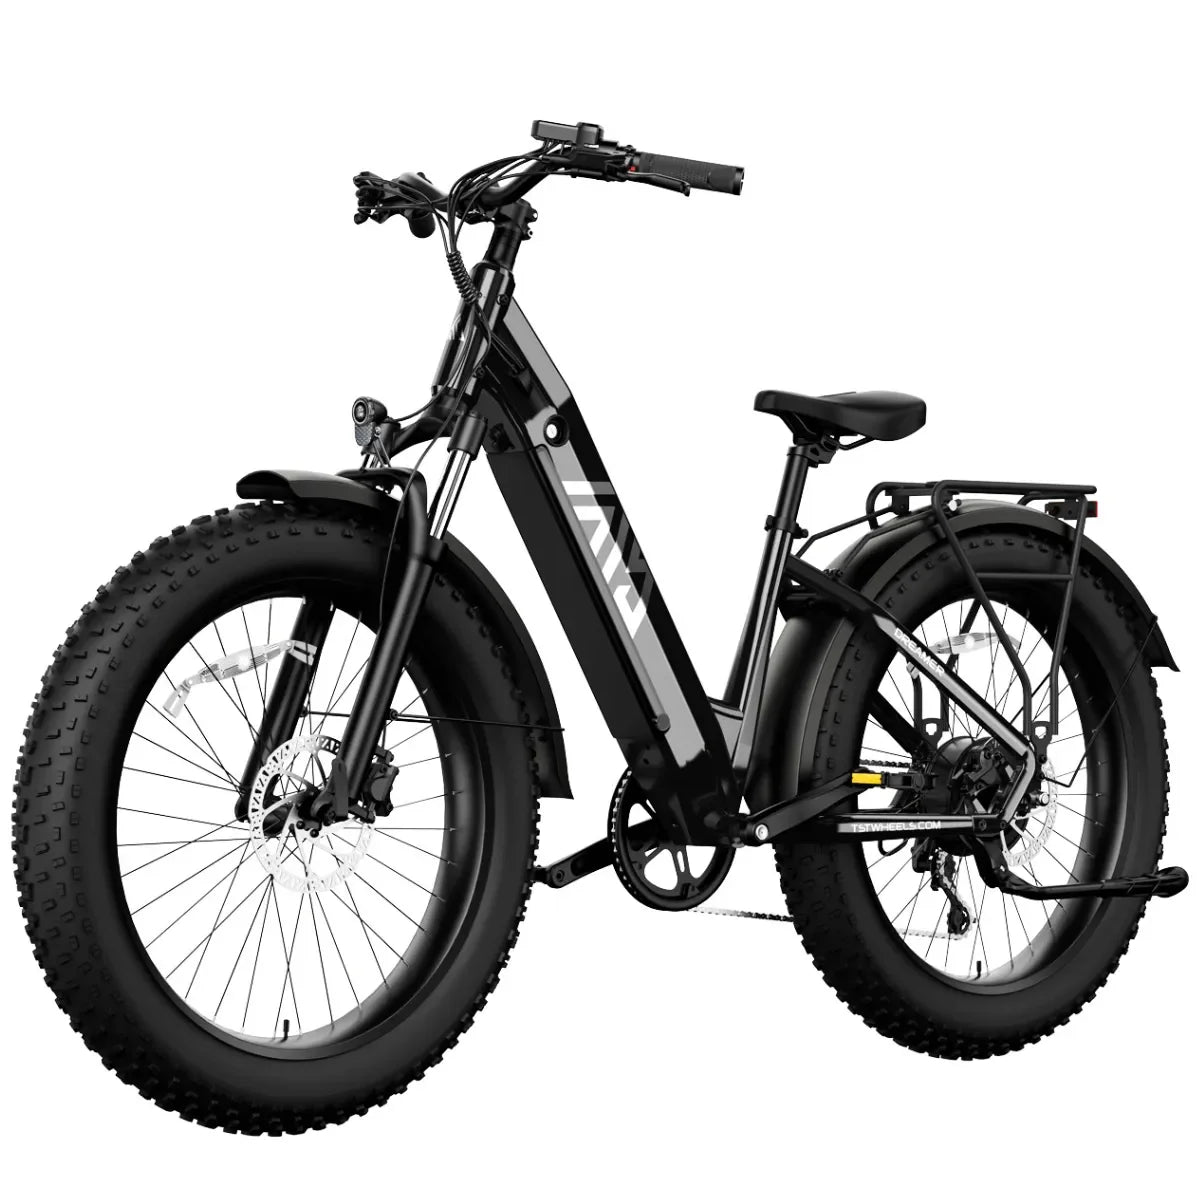
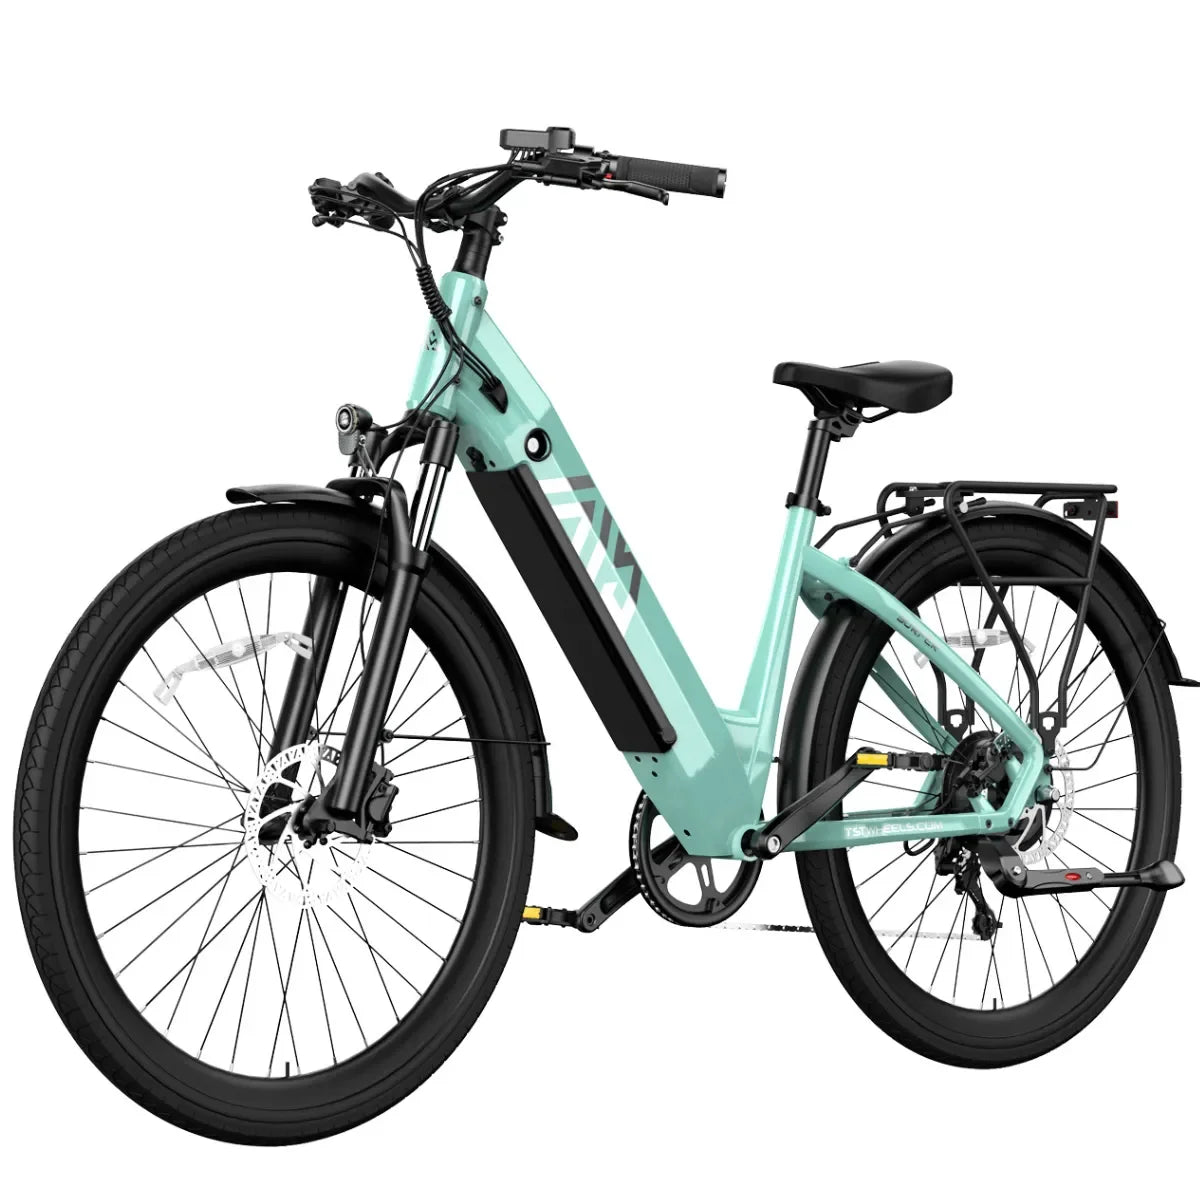
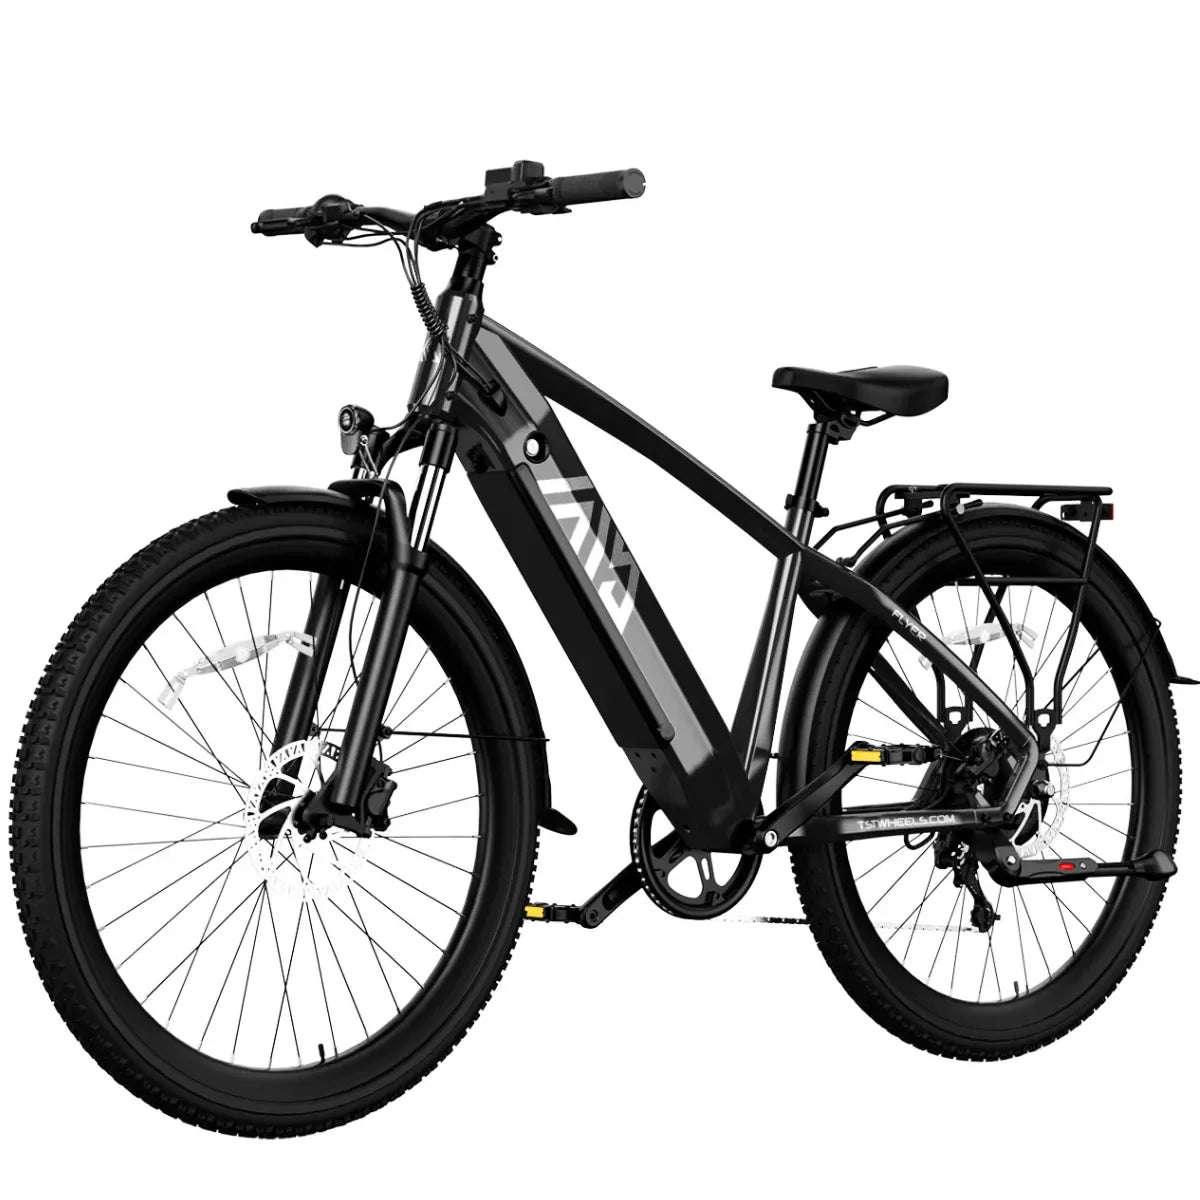
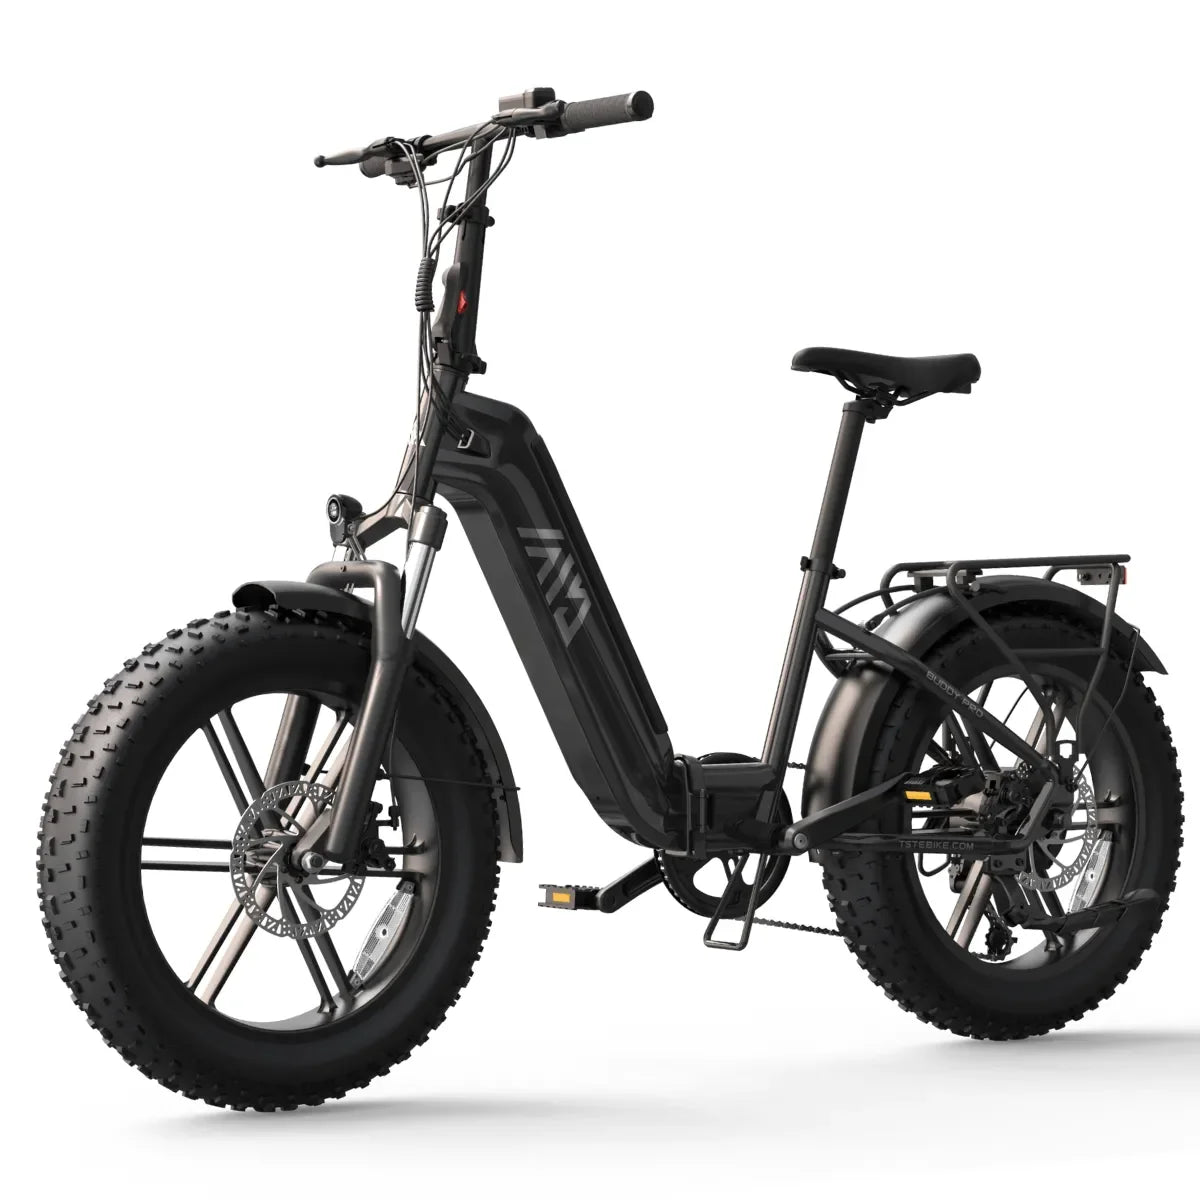
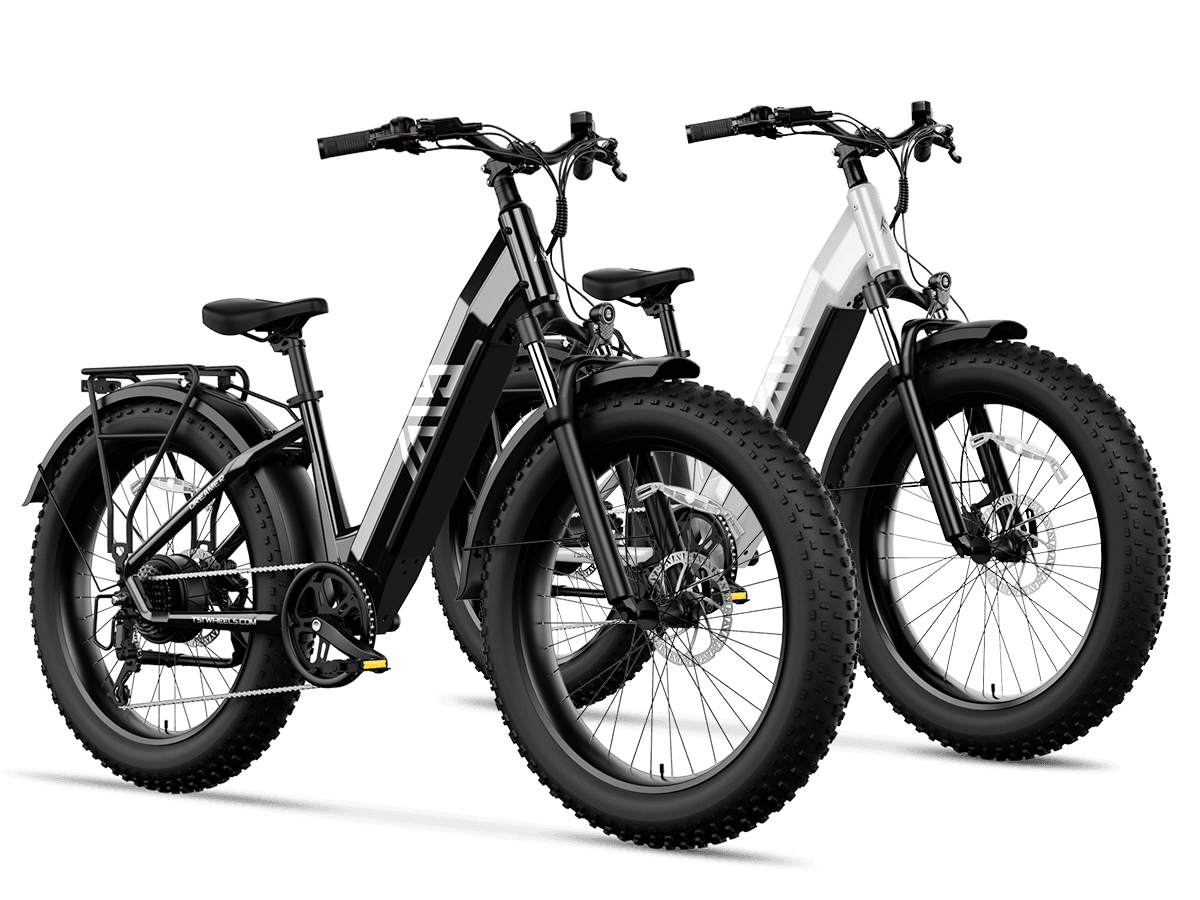
the all terrain fat tire ebike guide
How does sub‑zero temperature really hurt lithium e‑bike batteries?
In real winter use, the damage is not that the pack “freezes solid”, but that ion mobility inside each cell drops sharply as the electrolyte thickens. At 32°F, typical lithium‑ion packs deliver only about 70–80% of their rated capacity; at around 0°F, effective range can fall toward 50–60% as internal resistance and voltage sag rise dramatically.
From the engineering side, I see three direct effects at 32°F and below:
-
Electrolyte viscosity rises
The liquid electrolyte behaves more like a thick syrup, so lithium ions move slower between anode and cathode. -
Internal resistance increases
Higher resistance means more voltage drop under load, especially on hill climbs or in high assist modes. -
BMS protection margins shrink
The battery management system is calibrated to cut off at a safe low voltage; when cold‑induced sag hits, it reaches that cutoff earlier even though some capacity is still chemically available.
This is why riders describe a “sudden” drop from, say, 40% to an emergency cutoff in just a few minutes of hard effort in the cold. In my shop experience, that behavior is almost always temperature‑related, not a sign that the pack is “dead”.
What happens to discharge efficiency at 0°F vs 70°F?
At room‑temperature around 68–70°F, a healthy e‑bike pack can usually deliver close to its labeled watt‑hours at moderate discharge rates. At 0°F, expect roughly 40–50% less usable capacity under real‑world loads, with more pronounced voltage sag during acceleration and climbing.
A simplified view, using typical cylindrical Li‑ion cell behavior:
-
Around 70°F
-
Usable capacity: ~95–100% of nominal at moderate current
-
Internal resistance: low and stable
-
Voltage curve: flat for most of the discharge, then a predictable tail‑off
-
-
Around 0°F
-
Usable capacity: often 50–60% of nominal under the same load
-
Internal resistance: significantly higher, so more heat is generated inside the cell itself
-
Voltage curve: steeper decline and earlier low‑voltage cutoffs at high power draw
-
That self‑heating under load is exactly what we want to trap using a neoprene (氯丁橡胶) cover, instead of letting the pack radiate that heat straight into the snow‑cooled airstream.
Low‑temperature discharge efficiency chart: 0°F vs 70°F
Below is an approximate conceptual chart for riders and mechanics. It assumes the same battery and rider, cruising at the same power draw.
In other words, if your TST EBike normally gives you 40 miles at 70°F, the same route at 0°F without insulation may shrink to something like 20–24 miles before the BMS steps in.
Why is a neoprene battery cover the simplest “heater” for snow rides?
A neoprene sleeve works like a soft thermos around your down‑tube or frame‑integrated pack: it does not actively heat the battery, it simply locks in the heat the cells produce during discharge. With the pack pre‑warmed indoors, the cover slows cooling, keeping the core closer to its comfort zone for much longer.
From a factory engineer’s standpoint, that has three advantages over any DIY electronic heater:
-
Passive, fail‑safe thermal management
There is no extra wiring, no additional load on the pack, and no risk of hotspots from tape‑on heating pads. -
Uniform insulation around the housing
A snug neoprene sleeve conforms to the battery’s contour, reducing cold “bridges” where wind chill can bite. -
Protection from spray, ice, and chips
Quality sleeves also guard against road salt, frozen slush, and small gravel impacts that slowly damage housings and decals.
In sub‑zero test rides, we routinely see 10–20% better real‑world range from insulated packs vs bare housings at the same ambient temperature and rider weight, purely because the cells are staying warmer internally.
How should you correctly fit a neoprene thermal sleeve to an e‑bike battery?
To get real benefit, you need the sleeve working with the pack, not just wrapped loosely around cold plastic. Install the cover indoors when the battery is at room temperature, then take the whole bike into the cold so the trapped air and pack temperature start from a higher baseline.
A precise, workshop‑grade fitting process looks like this:
-
Pre‑warm and stabilize
-
Bring the battery (or the entire bike if the pack is non‑removable) into a 60–75°F environment for at least 2–3 hours.
-
Make sure the pack is dry before covering; trapped moisture will conduct heat away.
-
-
Fit from connector end first
-
Slide the neoprene sleeve from the cable/connector side to minimize strain on wires.
-
Align any cut‑outs with keys, charge ports, or mounting latches.
-
-
Eliminate air gaps
-
Smooth the neoprene so it lies flat against the housing, especially on the underside where spray hits.
-
Use the integrated Velcro straps (or additional hook‑and‑loop bands) to snug the cover without compressing the plastic.
-
-
Check latch and removal
-
Lock the pack into the frame and verify you can still remove it quickly with gloves on.
-
Never cover vents or designed expansion gaps.
-
I often tell riders: if you can rotate the cover around the battery with two fingers, it is too loose to be doing serious thermal work.
Which neoprene thickness, density, and design work best for sub‑zero snow tracks?
Not all neoprene is equal in cold performance. For hard winter ebike use, you want a closed‑cell neoprene around 4–5 mm thick, with good rebound and minimal water absorption. Thinner wetsuit‑style sleeves may be convenient, but they allow too much convective and conductive heat loss once wind and slush hit.
Some key design choices that matter in real riding:
-
Thickness: 4–5 mm sweet spot
-
Below ~3 mm: easy to fit, but little benefit below freezing.
-
Above ~6 mm: insulation improves, but mounting clearances and latch access become problematic.
-
-
Surface finish and lamination
-
A smooth outer knit helps shed slush and ice, while the inner surface should grip the battery shell without abrasive texture.
-
Double‑sided laminated neoprene typically lasts longer against road grit.
-
-
Coverage strategy
-
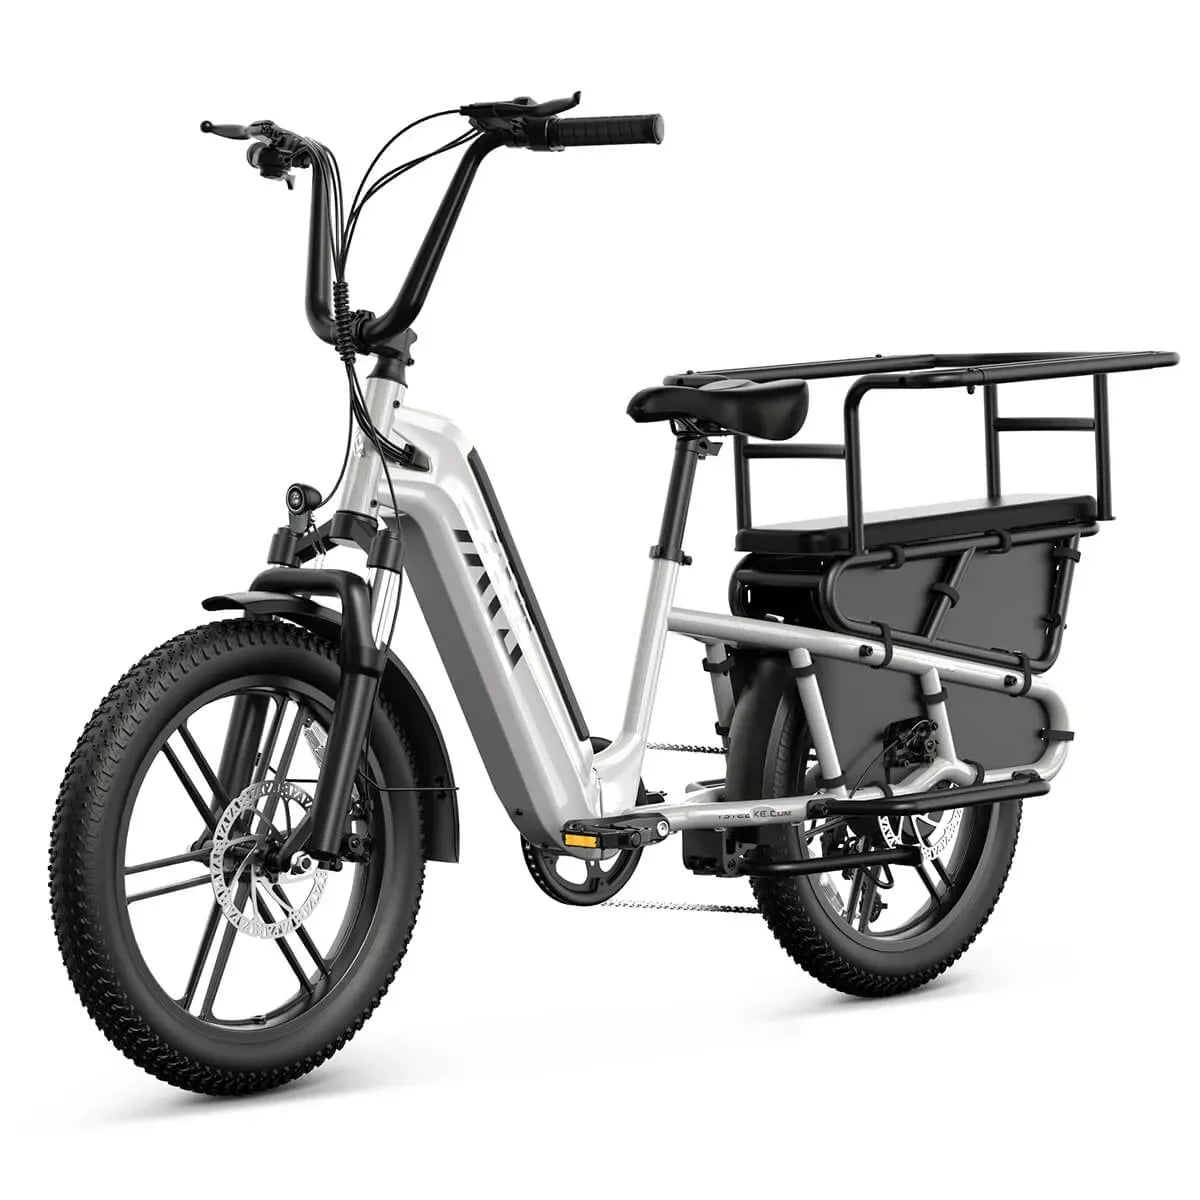
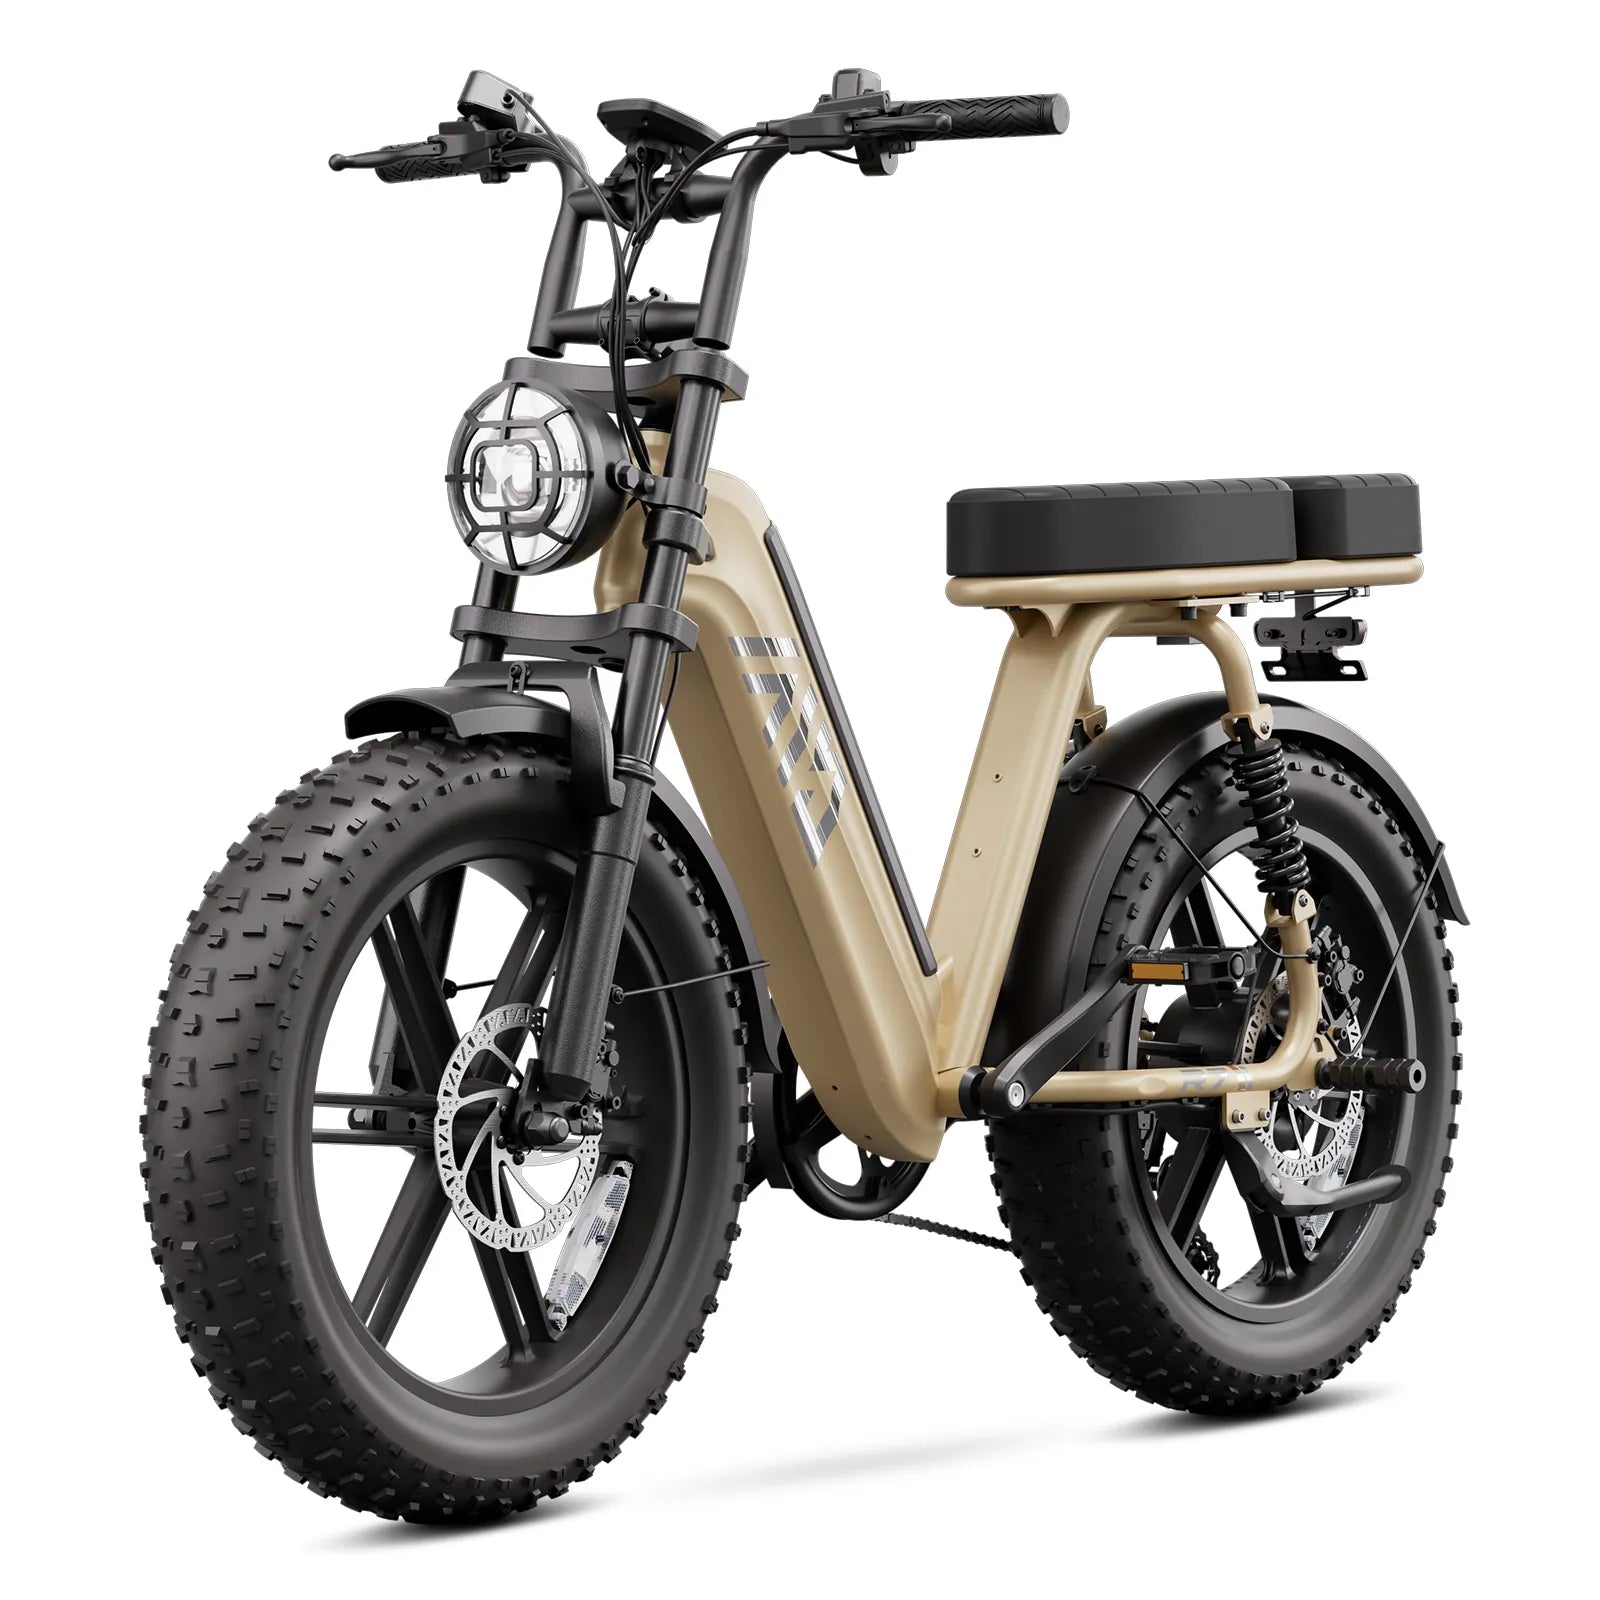
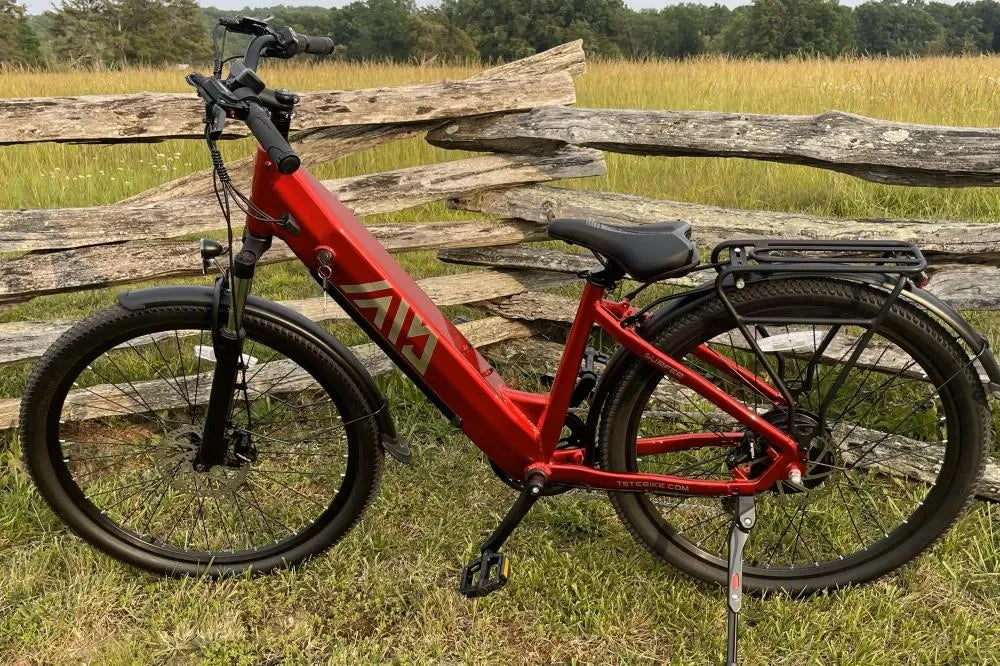
For down‑tube packs on bikes like TST EBike’s 26‑inch snow‑ready models, a full‑length wrap that covers both the front and underside of the pack is ideal.
-
For integrated frames, an intube‑specific cover that “hugs” the head‑tube area reduces the worst wind chill.
-
Many off‑the‑shelf sleeves are designed for mild European winters. For true sub‑zero snow tracks, I recommend riders in places like interior North America treat 4.5 mm, high‑density neoprene as the practical minimum.
How can you combine neoprene insulation with smart charging and storage to prevent range collapse?
Thermal insulation is only one leg of the tripod; charging and storage habits have just as much impact on winter performance. You should never charge an e‑bike battery when its cell temperature is below freezing, even if the BMS allows it, because lithium plating can occur on the anode and permanently reduce capacity.
A robust cold‑weather routine that we use with TST EBike customers looks like this:
-
Store smart between rides
-
Keep the battery indoors around 60–70°F.
-
For overnight, leave it around 40–70% state of charge unless you know you need full range at dawn.
-
-
Pre‑ride prep
-
Top off to 90–100% indoors right before departure on very cold days.
-
Install the neoprene cover while the battery is still warm, then mount it on the bike.
-
-
Post‑ride cool‑down
-
After a hard snow ride, the battery core may be significantly warmer than the shell.
-
Let the pack rest at indoor temperature for 30–60 minutes before plugging into the charger.
-
Think of it as treating the pack like a high‑performance athlete: warm up before the effort, protect it from wind chill during the work, and allow a controlled cool‑down before “feeding” it again.
What bike‑level setup factors help your battery stay warmer in snow?
Your frame geometry, fender setup, and even cable routing influence how fast the pack cools in real snow tracks. A down‑tube battery sitting behind a wide front tire without fenders gets blasted by slush and ice‑water, which conducts heat away much faster than dry cold air.
On winter builds we do for riders using TST EBike platforms, a few practical setup tweaks help:
-
Full‑coverage fenders
-
Front fender should extend low enough to shield the battery zone from direct spray, not just your shoes.
-
Rear fender keeps salty slush off wiring and connectors near the pack.
-
-
Frame bag or downtube fairing
-
A simple triangular frame bag in front of an external battery adds another dead‑air layer, especially effective in crosswinds.
-
Avoid blocking motor cooling vents in the process.
-
-
Cable and connector shielding
-
Use dielectric grease sparingly on exposed contacts and bushings.
-
Add small neoprene boots around high‑risk connectors so freeze‑thaw cycles do not creep into the pack.
-
The goal is to make the battery area feel, from the cell’s perspective, more like a cloudy autumn day than a direct blast of January sleet.
How does snow riding style impact cold‑weather battery drain and voltage sag?
Your riding style can make a 20–30% difference in effective winter range even with the same bike and battery. Aggressive throttle use, high assist settings, and stop‑start acceleration all demand high peak currents, which magnify voltage sag in cold cells and trigger early cutoffs.
To keep the pack in its comfort zone:
-
Use lower assist levels on flats
Smooth, low‑assist cruising draws less current, so voltage sag is reduced and the pack has more time to self‑heat internally. -
Spin up hills instead of mashing
Dropping a gear and increasing cadence lowers current per pedal stroke, avoiding the worst spikes. -
Avoid hard bursts on near‑empty batteries
At low state of charge, cold‑induced sag is at its worst. Be extra gentle on the last 20% in sub‑zero conditions.
As a rule of thumb I give winter commuters: in deep cold, ride like the battery is one size smaller than it really is, and your real‑world range will feel much more predictable.
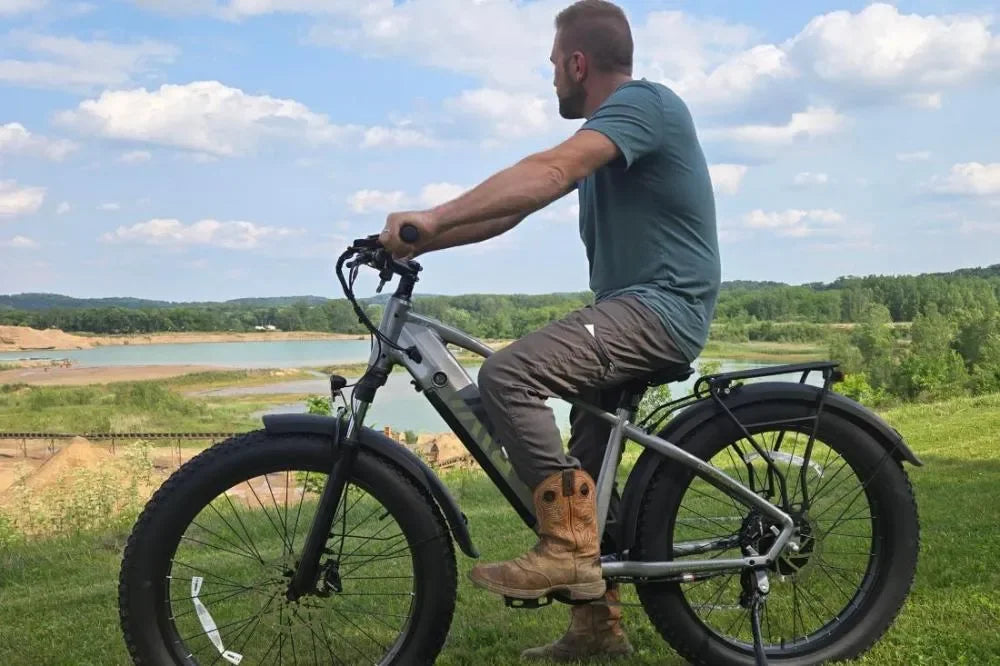
Are 26‑inch vs 27‑inch e‑bike setups different for snow‑track battery performance?
Wheel size itself does not change battery chemistry, but it changes how the whole system loads the pack. The 26‑inch, fat‑tire setups that TST EBike offers for snow and sand create a larger contact patch and can run lower pressures, which increases mechanical drag and therefore continuous power draw from the battery.
In practice, that means:
-
26‑inch fat‑tire snow builds
-
Better flotation in deep snow, more stable on icy ruts.
-
Higher rolling resistance, so watt‑hours per mile rise, accelerating winter range loss if you ride the same speed as summer.
-
-
27‑inch commuter and mountain builds
-
Narrower tires, higher pressures, and lower drag at a given speed.
-
Less power draw at cruising pace, but often used at higher average speeds in open roads, which can offset the drag savings.
-
If you ride both a 26‑inch snow‑optimized TST EBike and a 27‑inch commuter, you will often notice that the snow bike “eats” watt‑hours more quickly in fresh powder—but its frame, tires, and battery positioning can also keep the pack slightly more sheltered from true wind chill than a bare, narrow‑tire city frame.
Winter configuration table: snow vs commuting setups
Choosing between them is not just about traction; it is also about how you plan to manage your battery’s workload and temperature envelope across a full winter season.
TST EBike Expert Views
“When we design TST EBike systems for harsh winters, we don’t just spec a bigger battery and hope for the best. We test packs in cold chambers, then ride them on real snow tracks here in California’s mountains. That’s where we learned that a properly sized 4–5 mm neoprene cover, combined with smart charging and 26‑inch snow tires, delivers more reliable range than simply oversizing watt‑hours on paper.”
TST EBike’s development process has been guided by direct rider feedback since 2017, so our cold‑weather recommendations—like pre‑warming the pack, insulating it correctly, and pairing it with the right wheel size—come from thousands of winter miles, not just lab curves. When customers follow this playbook, we consistently see fewer “my battery died suddenly in the cold” complaints and more successful four‑season commuters and trail riders.
Is there a safe DIY way to add extra insulation beyond a neoprene sleeve?
Riders in extreme climates sometimes ask if they can “double up” on insulation, for example by layering foam, cloth wraps, or even homemade hoods over the stock neoprene sleeve. You can, but you must respect two boundaries: do not interfere with mechanical mounting and do not trap excessive heat in milder weather.
Safe, technician‑approved DIY tweaks include:
-
Adding a thin closed‑cell foam strip on the frame side only
This reduces conductive heat loss into the metal down‑tube without enlarging the overall battery profile too much. -
Using a frame bag as a secondary shell
Placing the neoprene‑covered battery inside a semi‑rigid triangle bag creates another still‑air layer, very effective below 0°F, especially on fully external packs. -
Removable winter‑only pieces
Any extra wrap beyond the core neoprene sleeve should be designed for easy removal as soon as spring temperatures return, to avoid overheating in shoulder seasons.
What you should not do is seal the battery into an airtight DIY plastic cocoon that can trap condensation; freeze‑thaw moisture cycles are as dangerous to long‑term reliability as the cold itself.
Can you get “too much” insulation or cause overheating in milder weather?
Insulation is not always good; in late winter and spring, a thick, non‑breathing wrap can hold the pack above its ideal temperature during long climbs or high‑power assist. Lithium‑ion cells dislike hot, stagnant environments even more than they dislike short exposures to cold.
A pragmatic seasonal rule we follow in the TST EBike service network:
-
Below ~32°F:
-
Use full neoprene coverage, consider additional frame‑bag shielding for long rides.
-
-
Between ~32°F and 50°F:
-
Use the neoprene sleeve alone, no extra foam wraps unless riding at low average speeds.
-
-
Above ~50°F:
-
Consider switching to a thinner cover or removing insulation entirely for long, high‑power rides.
-
Monitoring by touch is surprisingly effective: if the battery casing feels uncomfortably warm to your hand after a long climb on a cool day, lean toward less insulation once the deep‑freeze months are over.
Could you extend winter range more by changing riding plan than by changing hardware?
Your itinerary and ride planning have just as much leverage as any accessory. A 10‑mile commute directly into a headwind at full assist in sub‑zero conditions will punish any battery, while the same distance on sheltered streets at moderate assist may feel almost like autumn.
To squeeze the most snow‑track range out of your TST EBike in deep winter:
-
Break very long routes into two segments
Arrange a mid‑point indoor stop where you and the battery can both warm up, even for 10–15 minutes. -
Favor wind‑sheltered corridors
Neighborhood back‑streets and tree‑lined paths reduce wind chill on the pack compared with exposed arterials. -
Plan “eco” sections
Identify parts of your route where you can safely ride at lower assist or speed, preserving battery warmth and state of charge for hills and open stretches.
Over a full season, riders who combine smart planning with proper neoprene insulation routinely report that their “winter range penalty” shrinks from around 40–50% down toward 20–25%, which is about as good as current consumer‑grade lithium packs realistically get.
FAQs
Can I leave my neoprene battery cover on all year?
You can, but in warm seasons a thick cover may trap heat on long climbs; remove or thin it when average temperatures rise above about 50°F.
Will insulating my battery damage it or void the warranty?
A purpose‑built neoprene sleeve that does not block vents, ports, or mounting latches is generally safe and treated as an accessory, not a modification.
How do I know if my winter range loss is from age or just cold?
Compare your range on a similar route at around 60–70°F; if the pack is still weak in mild weather, aging or imbalance may be involved.
Is it safe to charge my e‑bike battery in an unheated garage in winter?
No, if the battery is below freezing, bring it indoors, let it warm to room temperature, and only then start charging.
Does a bigger battery always solve winter range problems?
Larger capacity helps, but without good insulation and charging habits, even big packs can “snow collapse” early under sub‑zero voltage sag.
Leave a comment
This site is protected by hCaptcha and the hCaptcha Privacy Policy and Terms of Service apply.