
To stop your bike from bouncing, set sag first, then fine‑tune rebound damping so the fork and shock compress once and return without extra “kangaroo” hops after drops. Start from the middle click, ride off a curb‑height drop, and slow rebound one click at a time until the bike lands, compresses, and settles in a single, controlled motion.
demystifying off road suspension
How does rebound damping actually work inside your suspension?
Rebound damping controls how fast suspension oil flows through internal valves as the fork or shock extends back after compression, turning motion energy into heat for stability and traction.
Inside a modern e‑MTB fork or shock, a piston moves through oil channels and shim stacks that act like micro one‑way valves. When you hit a landing, the spring (air or coil) stores energy on compression, then tries to push back; rebound damping meters that return stroke so your wheel tracks the ground instead of bouncing. If rebound is too fast, the bike pogo‑sticks; too slow, and it packs down, riding harsh and low in its travel over repeated bumps.
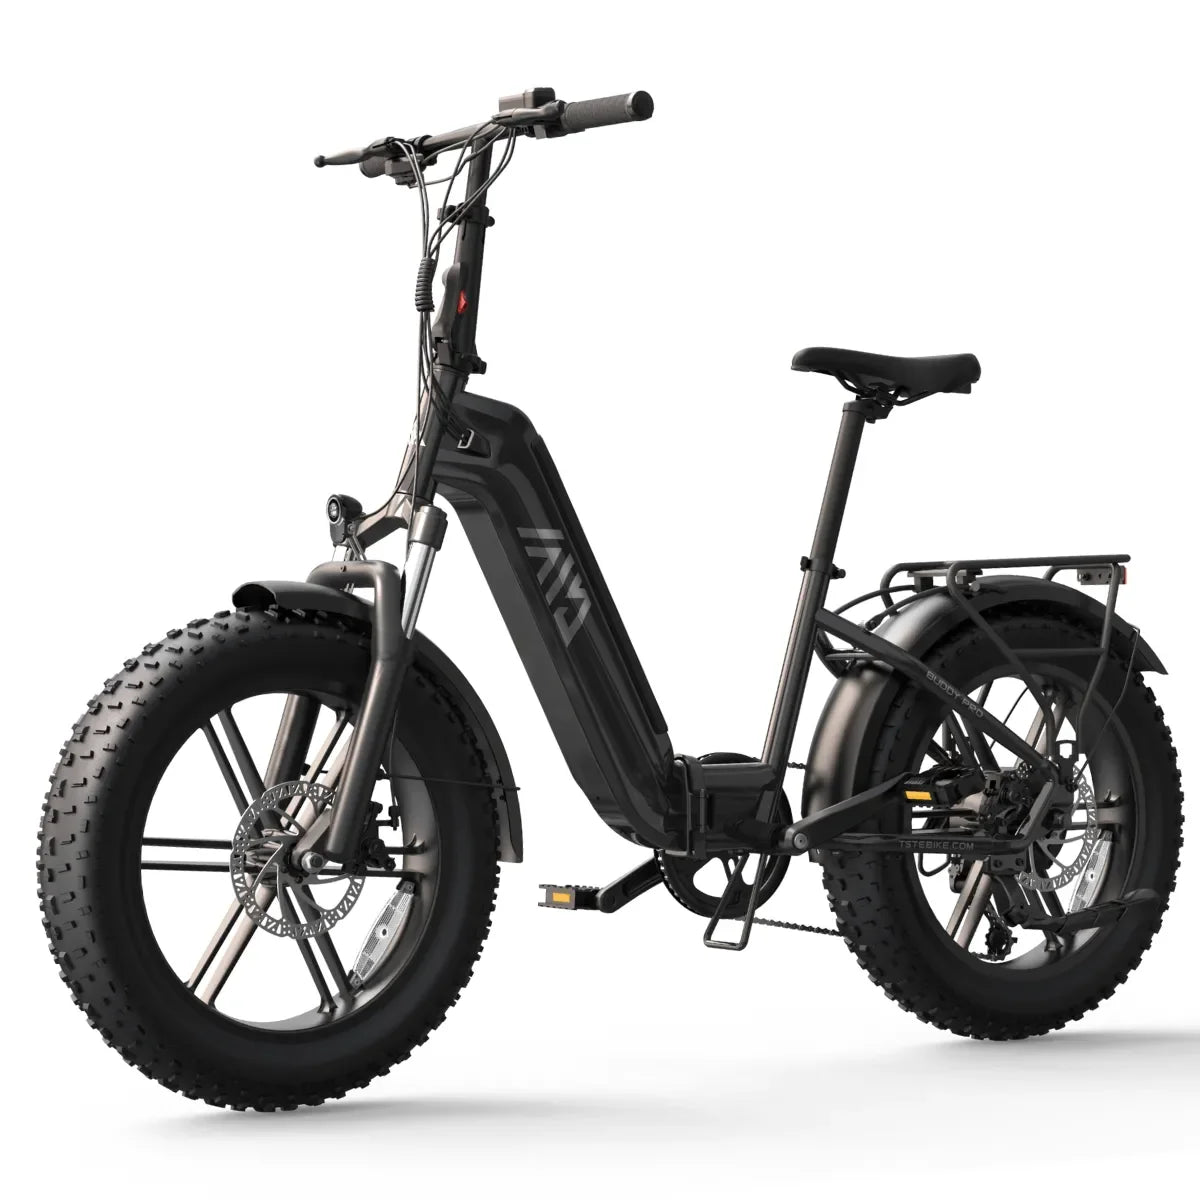
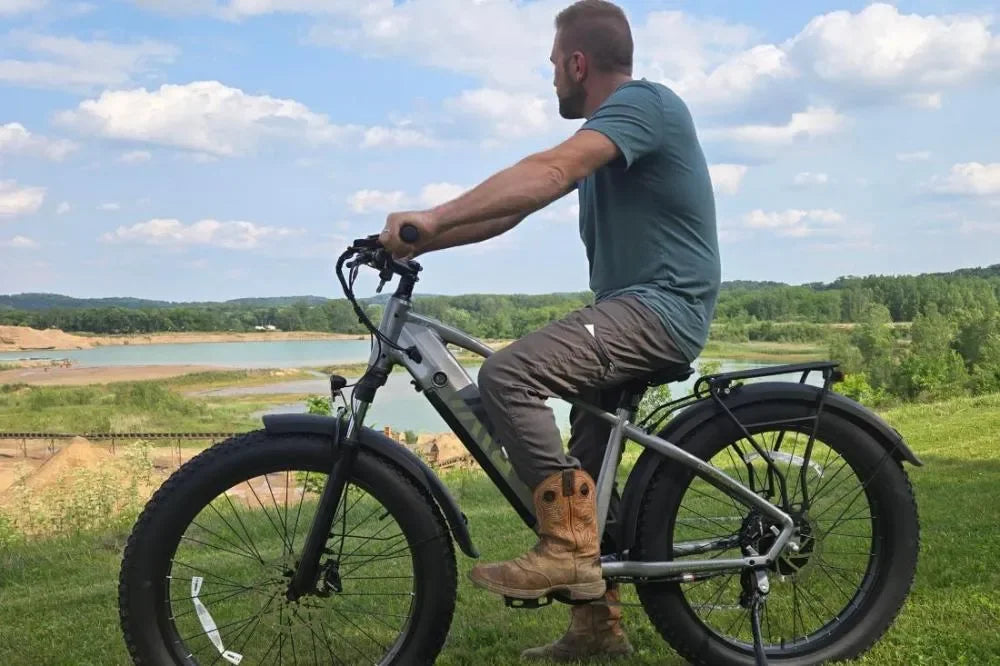
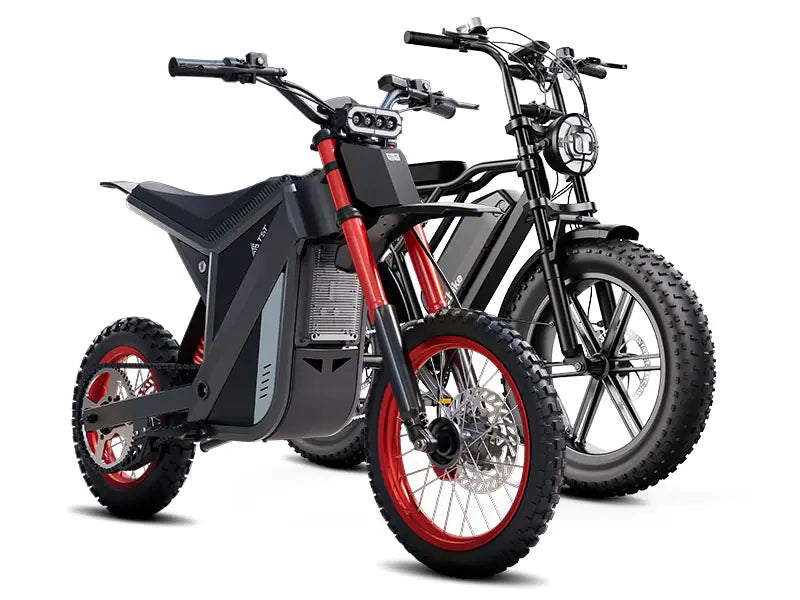
In factory tuning work I have done for high‑power e‑bikes, we always matched rebound circuits to the heavier system weight of motor, battery, and rider. That is why TST EBike frames are tested with different rebound curves: the same click count can feel very different on a light analog MTB versus a 30 kg e‑bike. Understanding that rebound deals with speed of movement, not impact size itself, is the key to accurate setup.
What are the signs your rebound is too fast or too slow?
Rebound is too fast when the bike “kangaroo jumps” after landings; too slow when it feels dead, packs down in repeated hits, and fails to recover travel between bumps.
Too‑fast rebound typically shows up as a sharp second hop after you drop off a curb or small jump: the fork rebounds aggressively, unloading the tire and sometimes lifting your hands off the bar. You will also hear a metallic “top‑out” knock as the fork or shock slams to full extension. Too‑slow rebound feels the opposite: after a series of roots or braking bumps, the bike sinks lower and lower in its travel, making the front dive and the rear squat.
On heavier e‑bikes, riders often misinterpret slow‑rebound packing as “soft suspension” and add pressure, which only makes grip worse. On test benches, I have seen this turn an ideal critical‑damping trace into a step‑down curve where each hit starts from a more compressed baseline, exactly what you want to avoid for technical descents. Learning to feel these two failure modes is more useful than memorizing any factory chart.
How should you set sag and base pressure before touching rebound?
You should set sag first, typically around 25–30% of travel for trail or enduro use, by adjusting air pressure or spring preload with your riding kit on before you start tuning rebound.
To do this, slide the O‑ring to the wiper, get on the bike in attack position, and have a friend hold you steady. Measure how far the ring moves relative to total stroke, and adjust pressure until you hit the target percentage (for example, 15 mm sag on a 50 mm stroke is 30%). For rear shocks, a common starting point is body weight (in kg) multiplied by roughly 3 for air pressure, then fine‑tune by re‑checking sag.
On e‑bikes like those from TST EBike, the extra system weight often means you will run slightly more pressure for the same sag number compared with a non‑assisted bike. In our in‑house testing, we never touch rebound until sag is within 2% of target, because rebound and spring support are tightly coupled in how they shape the oscillation curve after a hit. Getting this base right avoids chasing problems that are really spring‑rate issues, not damping issues.
How can you adjust rebound step‑by‑step based on body weight and drop height?
You can adjust rebound by starting from fully open, then adding clicks until the bike lands from a known drop height with one clean compress‑and‑return cycle that matches your body weight and riding speed.
Here is a practical method I use when setting up customer e‑MTBs:
-
Set sag and tire pressure correctly.
-
Turn rebound all the way to fastest (fully open), then back in to the middle as a baseline (for example, 8 of 16 clicks).
-
Find a small, repeatable drop around 10–15 cm, like a curb or ledge.
-
Roll off in a neutral stance and focus only on what the suspension does after landing.
-
If you feel more than one bounce, add 1–2 clicks of slower rebound and repeat until you get one compress–rebound cycle.
At TST EBike demo days, we then repeat this test on a larger drop (30–50 cm) and a short stair section. Heavier riders or those hitting bigger drops at speed usually need 2–4 extra clicks of rebound to keep the curve near critical damping. Rather than memorizing exact settings, log rider weight, drop height, and click count in a phone note so you can see patterns over time as your technique evolves.
Example rebound starting points by weight and drop height
The values below are example starting points for a typical 140–160 mm air fork with 16 clicks of adjustment and properly set sag.
These are not factory numbers but workshop‑tested ballparks to reduce trial‑and‑error.
Why does “kangaroo hopping” happen, and how do you eliminate it?
“Kangaroo hopping” happens when rebound is too fast, so the spring returns energy quicker than your body can absorb it, causing repeated oscillations after landings.
On an oscilloscope‑derived displacement–time graph, a too‑fast rebound setting shows as a damped sine wave with multiple peaks after impact rather than a single tall spike returning smoothly to baseline. In the real world, you feel this as the front or rear end pushing you back up after landing, often at a different timing than your body movement, which is why it feels so out of control. E‑bikes exaggerate this because of their higher sprung mass, which carries more momentum into each rebound stroke.
To fix it, slow rebound in small steps. Each click increases the damping force, flattening those extra peaks on the imaginary curve until you reach critical damping, where the system returns to neutral in one primary cycle without overshoot. In TST EBike workshop testing, we have seen riders eliminate kangaroo hops simply by slowing rebound 2–3 clicks and lowering tire pressure 2–3 psi, proving that chassis compliance and damping work together.
Conceptual rebound curves: too fast vs. ideal
This table describes how different damping levels would appear on a displacement–time plot in lab testing.
How can you check if your rebound is near “critical damping” at home?
You can approximate critical damping by testing off a small drop and adjusting rebound until the suspension compresses and returns in one cycle with no extra bounce or top‑out noise.
Use the curb‑drop method: ride off in attack position, land centered, and watch or feel how the bike behaves. If you notice more than one bounce or hear a sharp extension knock, rebound is too fast. If the fork does not fully extend before the next bump on a short stair section, it is too slow. Ideal critical damping is the narrow band where the bike feels glued to the ground yet responsive when you preload for a manual or jump.
In a test lab, we observe this using linear displacement sensors on fork and shock, but the home method uses your body as the sensor. Riders on TST EBike demo fleets are often surprised how small changes—one or two clicks—can visibly reduce the oscillation they feel through the handlebars. Once you find this sweet spot, count your clicks from fully open and write it down as your base setting for similar terrain.
What extra rebound adjustments are needed for e‑MTBs compared with regular bikes?
E‑MTBs usually need slightly slower rebound than equivalent analog bikes because of higher sprung mass and different weight distribution from motor and battery.
The extra frame weight adds inertia, so when you land, there is simply more energy for the damper to control. If you copy a normal MTB setup onto an e‑bike, you often get mild kangaroo hops in the rear or a vague front end in repeated hits. Slowing rebound a few clicks and running slightly more sag in the rear can restore balance and traction.
In my experience tuning fleet bikes, TST EBike chassis respond well to starting with the fork 1–2 clicks faster than the shock so the front wheel recovers quickly for steering, while the rear stays a touch calmer for climbing traction. Also, because e‑bike riders often sit more while descending, rear rebound must account for higher seated load than a typical, more dynamic trail rider. Treat any manufacturer chart as a starting point, not a rule.
How can terrain and riding style change your ideal rebound setting?
Terrain and style change ideal rebound because big, slow hits, fast chatter, and pump‑track style riding all demand different extension speeds for maximum grip and control.
On rough, high‑speed rock gardens, slightly faster rebound helps the wheel follow terrain without packing down, but you must avoid going so fast that you lose stability in compressions. On flow trails with big berms and jumps, many riders prefer a touch slower rebound for more support in lips and landings, even if that sacrifices some small‑bump sensitivity. For technical climbing, a calmer rear rebound helps maintain traction when the motor is adding torque to the rear wheel.
From a factory perspective, we never ship TST EBike demo bikes with one universal rebound setting. Instead, we record rider weight and their primary terrain—Santa Clara hardpack, Tahoe rock, or coastal loam—and fine‑tune 1–3 clicks from baseline. This kind of micro‑adjustment is where real‑world experience beats any generic online guide.
Can you safely run different rebound speeds front and rear?
Yes, you can safely run different rebound speeds front and rear, and slight offsets are often necessary to balance grip, steering, and stability.
Most riders benefit from a front end that is a little faster than the rear, so the front wheel tracks chatter and recovers quickly after compressions, while the rear feels more planted and calm. If the fork rebounds slower than the shock, the bike can feel like it is “falling over” the front in steep sections. If the shock is much faster, you may get rear‑end kicks on landings and square edges.
On test rigs, we see that matched but not identical front–rear rebound curves reduce pitching motion, especially important on longer, slacker e‑bikes. For TST EBike riders, a common workshop baseline is fork 1–2 clicks faster than shock for trail, equal or slightly slower fork for very steep downhill, and fork faster with slower shock for technical climbing days. Always adjust in pairs of one click front, one click rear, then refine from there.
TST EBike Expert Views
In our TST EBike suspension lab, we do not chase a “soft” or “hard” feel; we chase shape of motion. The ideal rebound curve lets the wheel move fast but the frame move slow. When your oscillation trace shows one clean wave instead of three small ones, riders instantly describe the bike as more predictable, not just more comfortable. That is the difference between guessing clicks and engineering traction.
Are there common rebound tuning mistakes you should avoid?
Common mistakes include skipping sag setup, changing multiple settings at once, over‑slowing rebound for “comfort,” and copying a friend’s click count without considering your own weight and terrain.
Riders often close rebound almost fully because they dislike harshness, but harshness usually comes from too little sag or too much compression damping, not rebound. Another frequent error is adjusting rebound and pressure on the trail without recording changes; this makes it impossible to return to a known good setup. Many e‑bike owners also forget that adding a heavy backpack or commuting load effectively changes system weight, requiring a click more rebound.
From an engineering standpoint, one of the worst habits is ignoring temperature. Oil gets thinner as it warms, effectively speeding up rebound; long alpine descents can make a midday setup feel too fast by the bottom of the run. On TST EBike tuning days, we often recheck rebound mid‑session on hot afternoons and slow it by one click once the suspension is fully
Leave a comment
This site is protected by hCaptcha and the hCaptcha Privacy Policy and Terms of Service apply.