
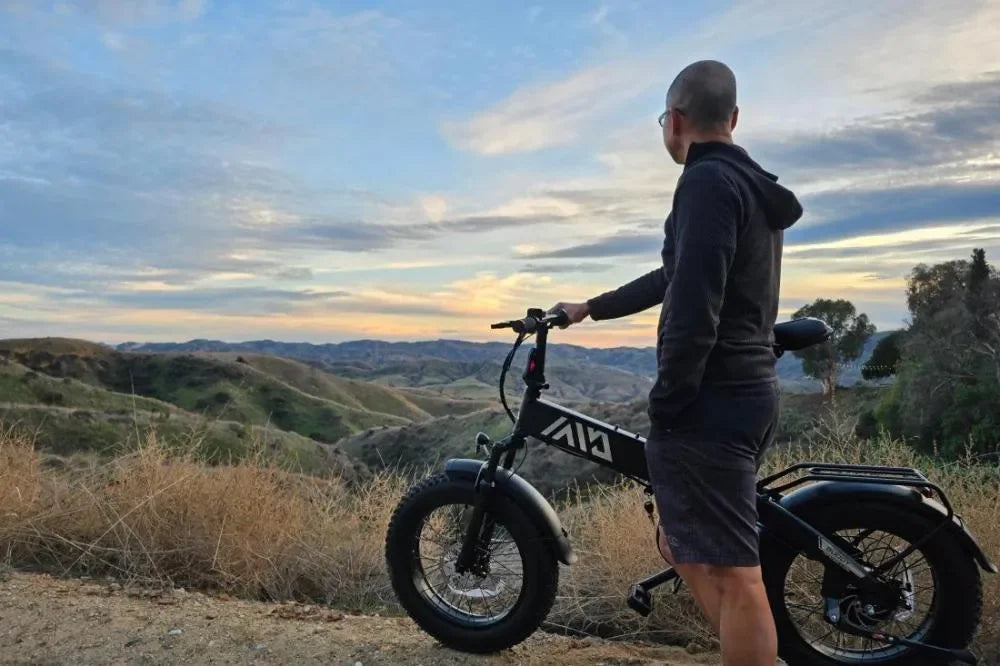
You can convert a vintage bike to an electric bike efficiently and cost‑effectively by choosing a compatible hub‑motor or mid‑drive conversion kit, matching the battery and controller, and installing everything with clean, safe wiring. A front‑hub or rear‑hub motor kit is often the easiest and most affordable path, while a mid‑drive gives a more “factory‑style” feel but requires more mechanical work. By keeping the bike’s original frame, drivetrain, and brakes largely intact, you can upgrade a classic ride into a practical, modern e‑bike without breaking the bank.
How do you choose the right e‑bike conversion kit for a vintage frame?
Choosing the right e‑bike conversion kit for a vintage bike starts with checking frame compatibility, dropout width, and wheel size. Most vintage frames accept 700c or 26‑inch wheels, so a front‑ or rear‑hub motor kit in that size fits without major fabrication. Rear‑hub motors plug into the rear dropout; mid‑drive systems bolt to the bottom bracket, which can be trickier on older threading standards. Make sure the kit’s motor, controller, and battery stay within legal Class 1–3 power limits so your vintage electric bike remains road‑legal.
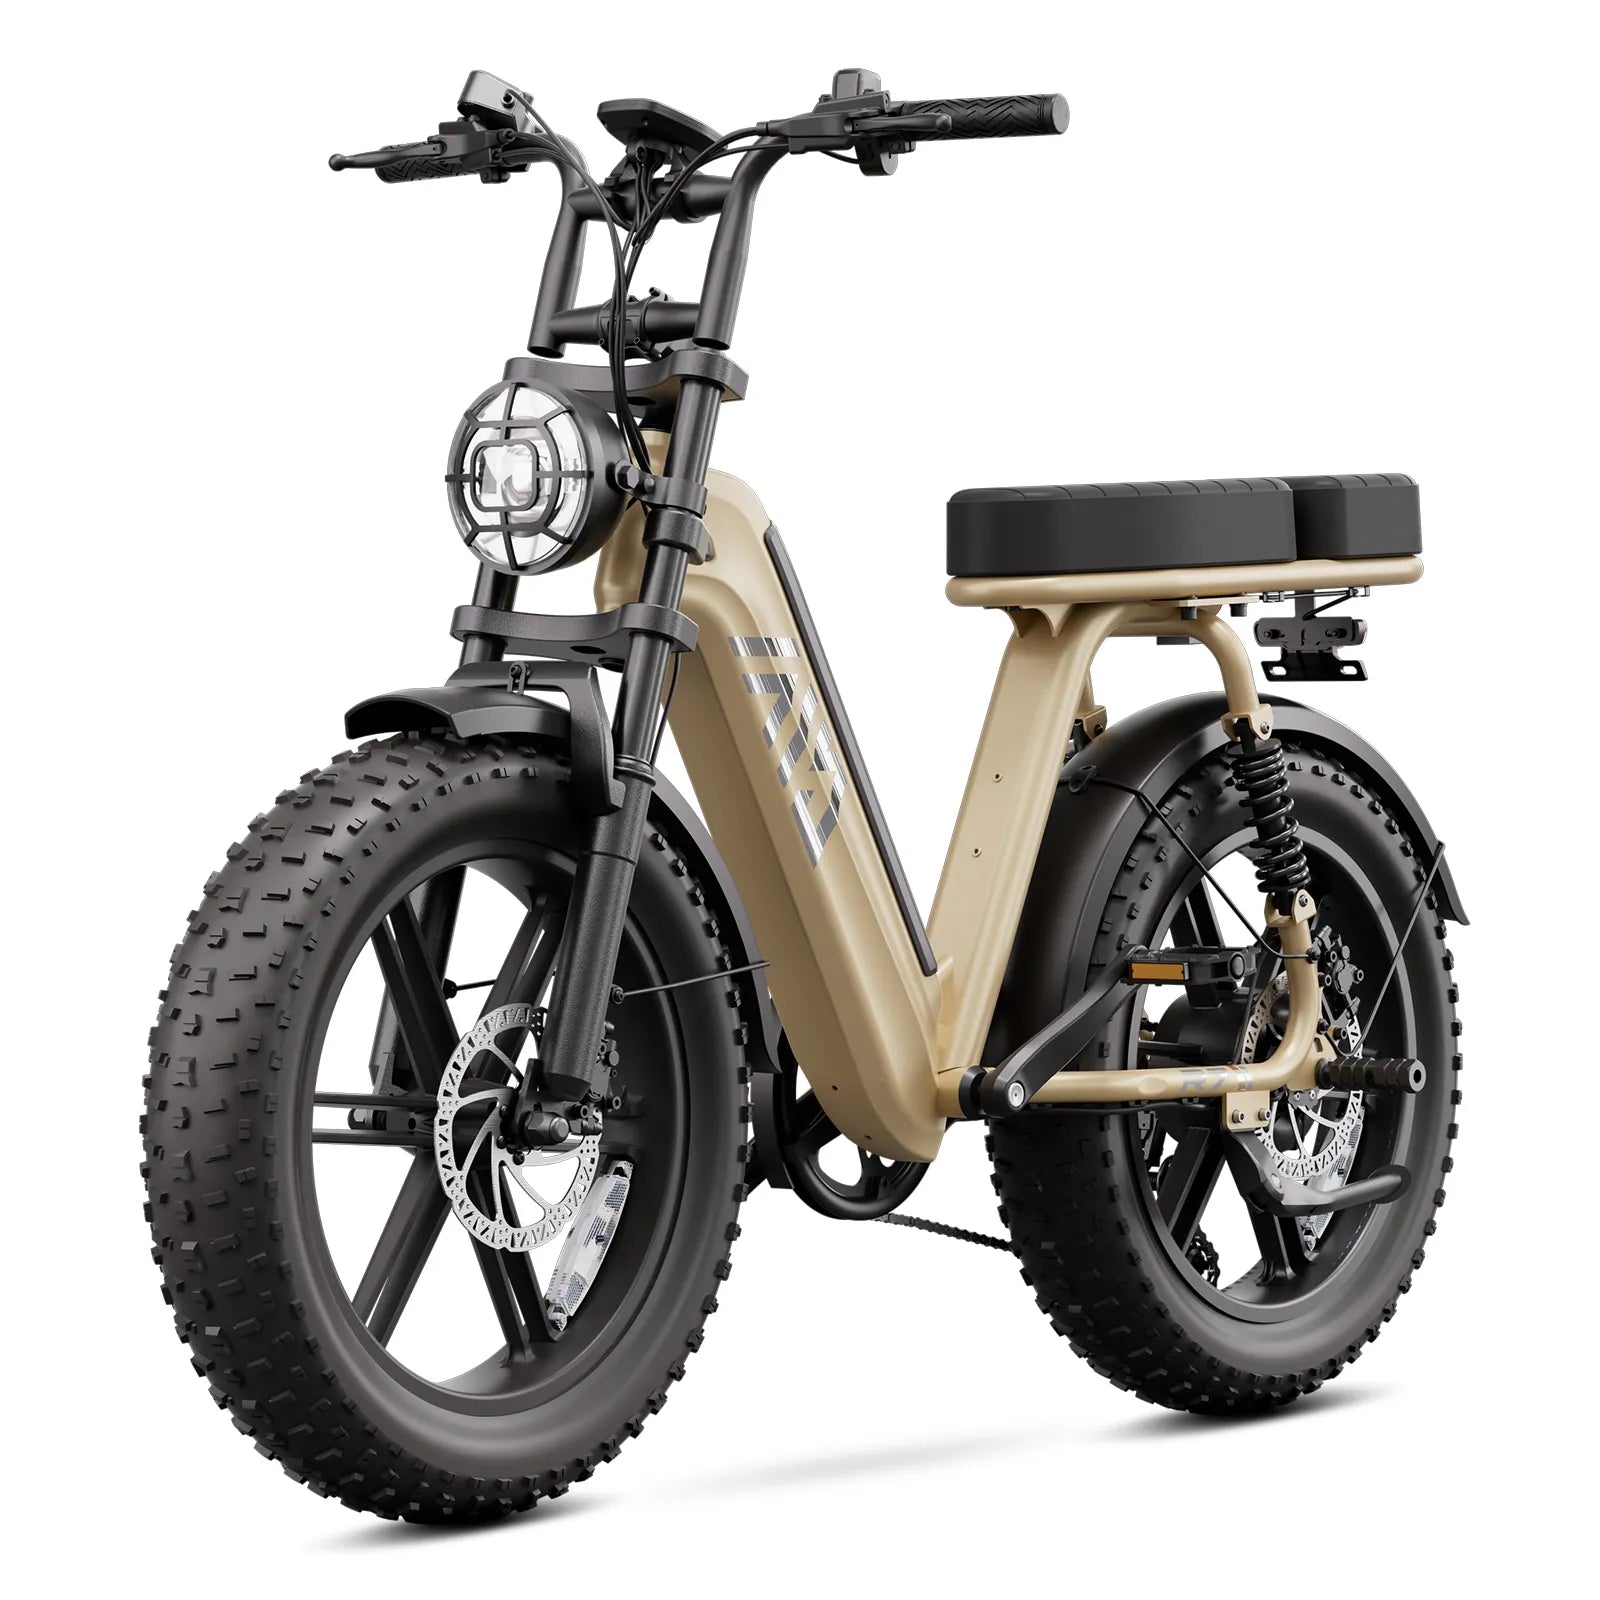
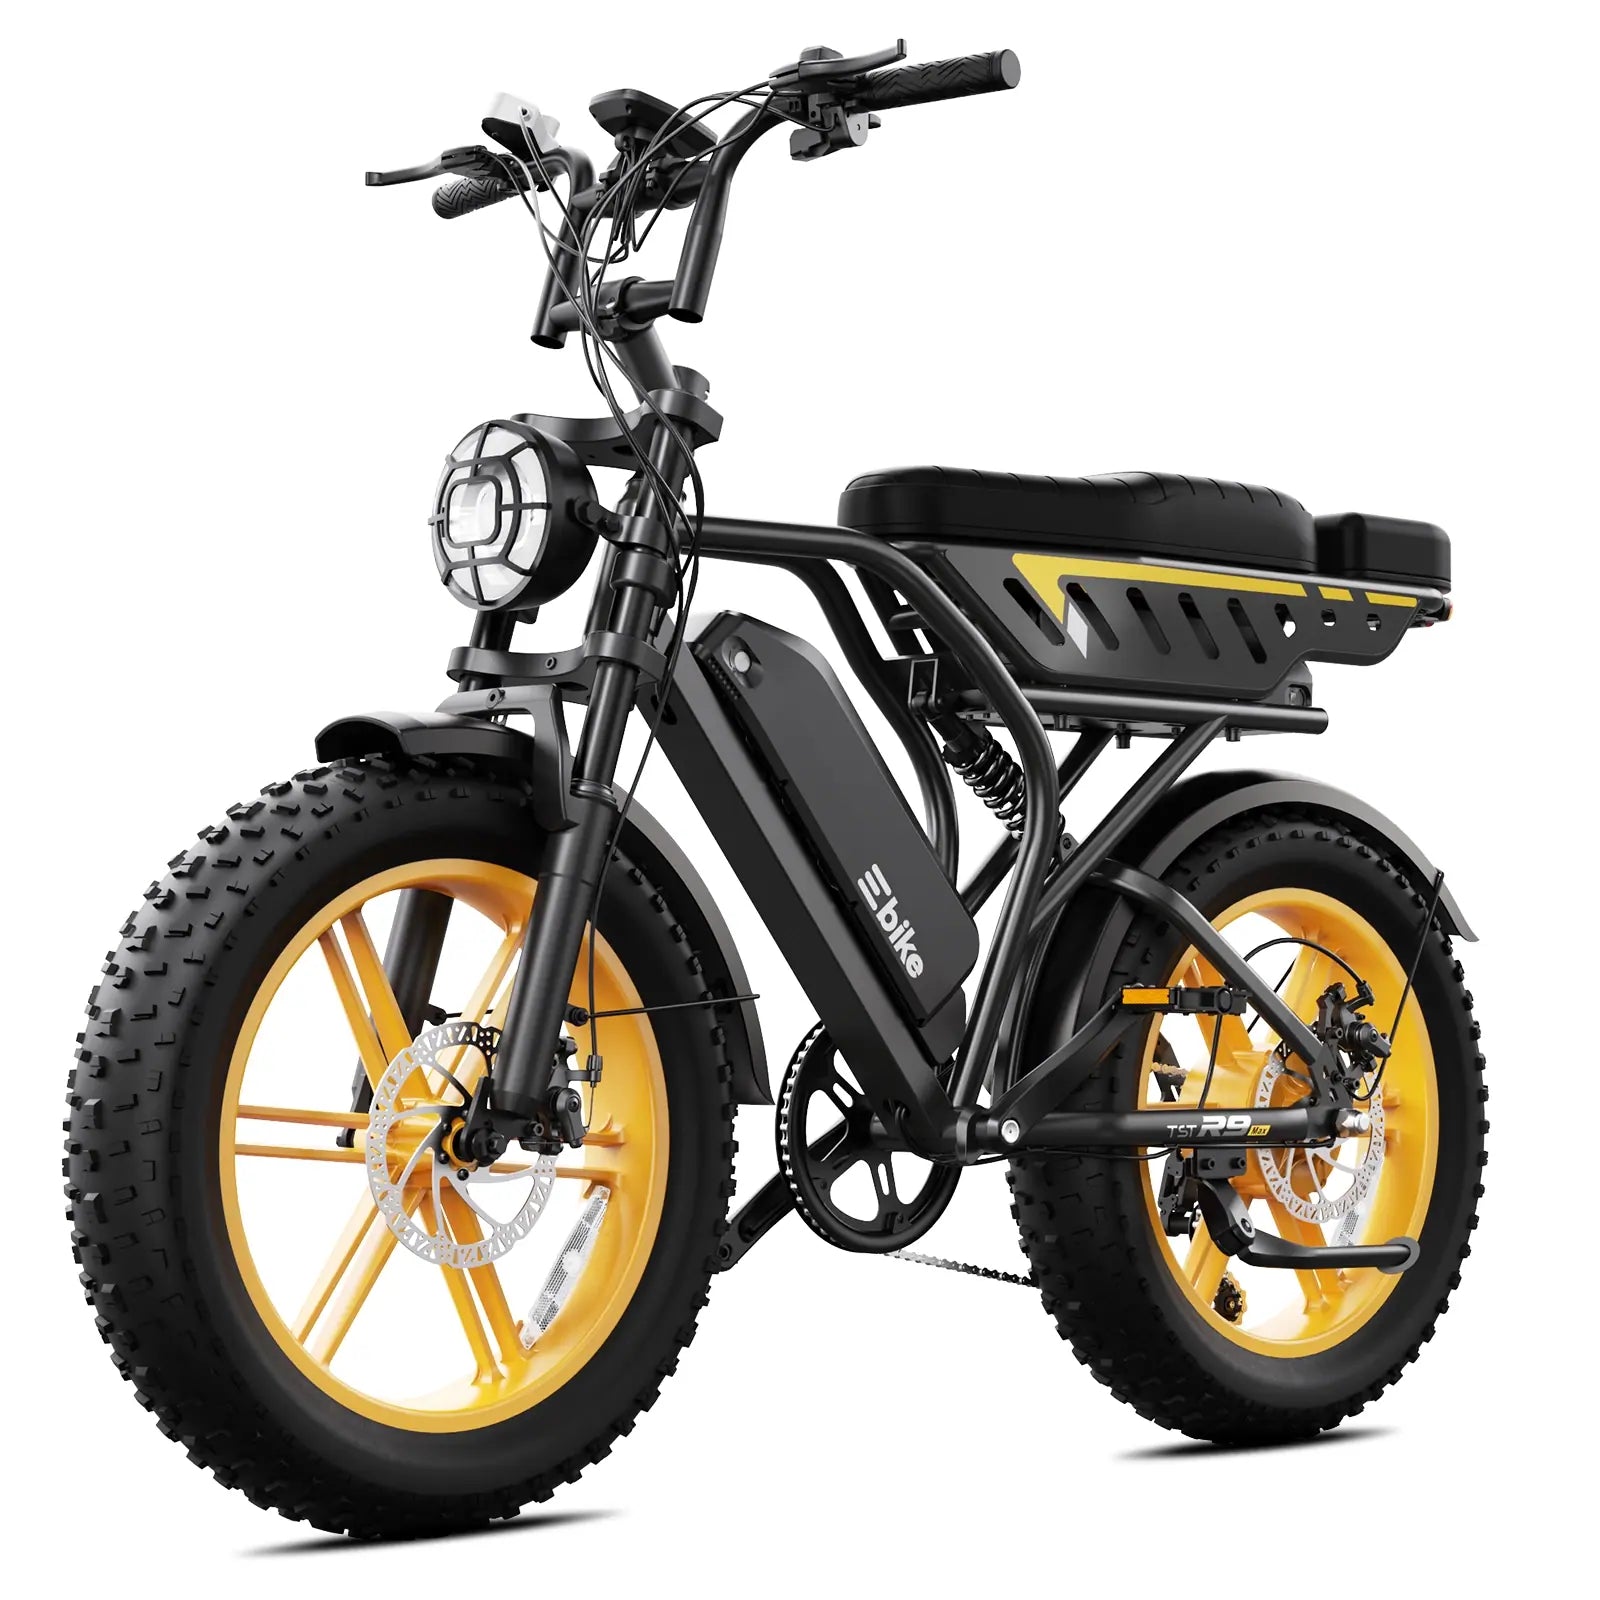
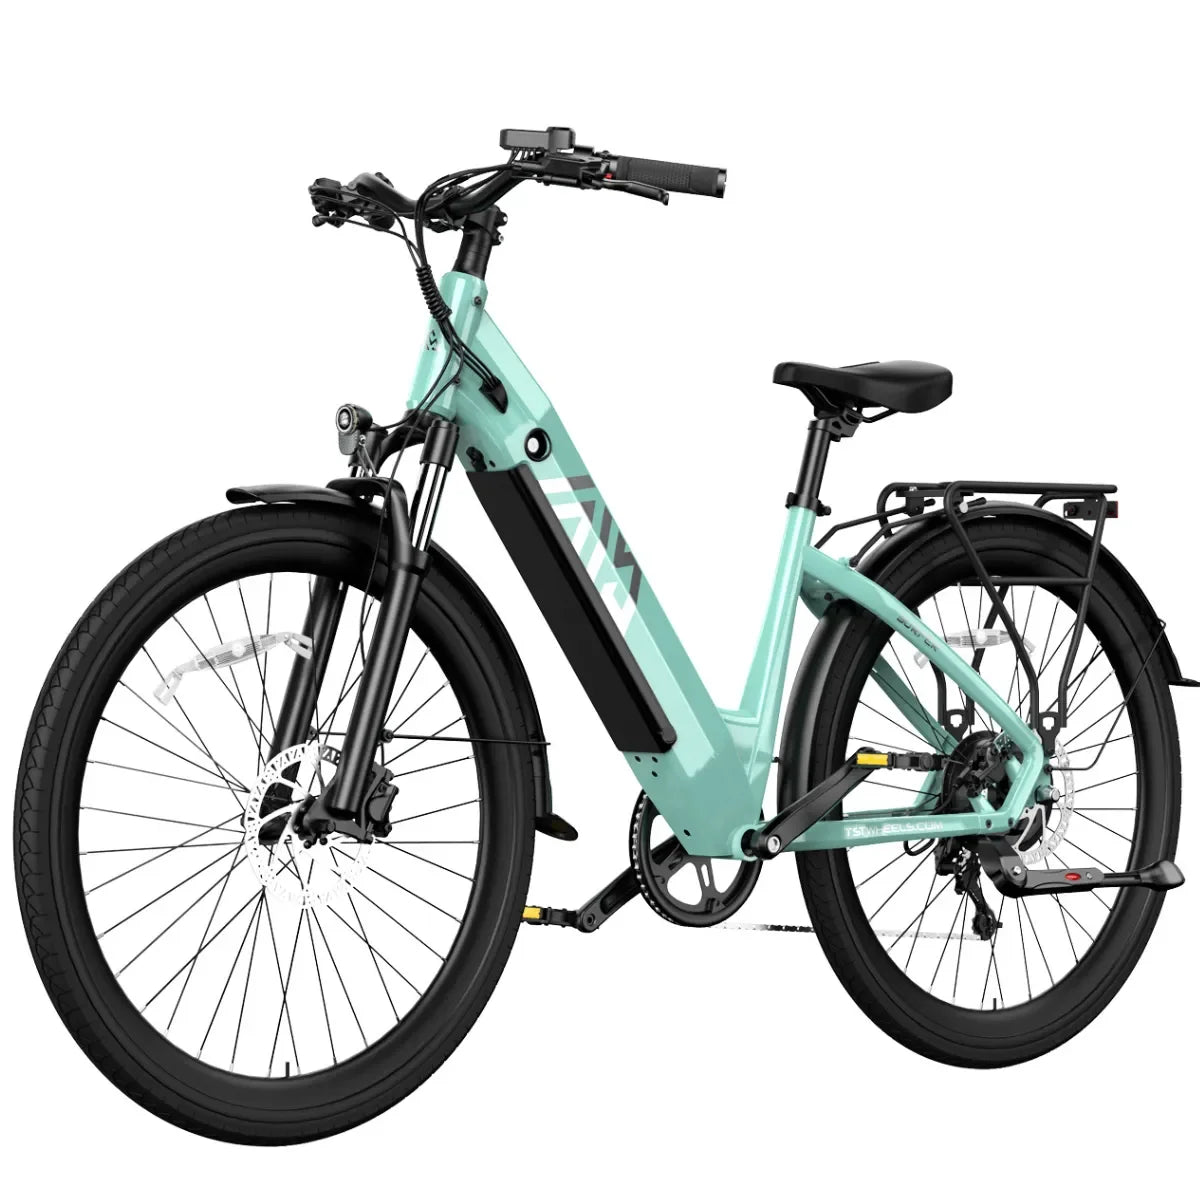
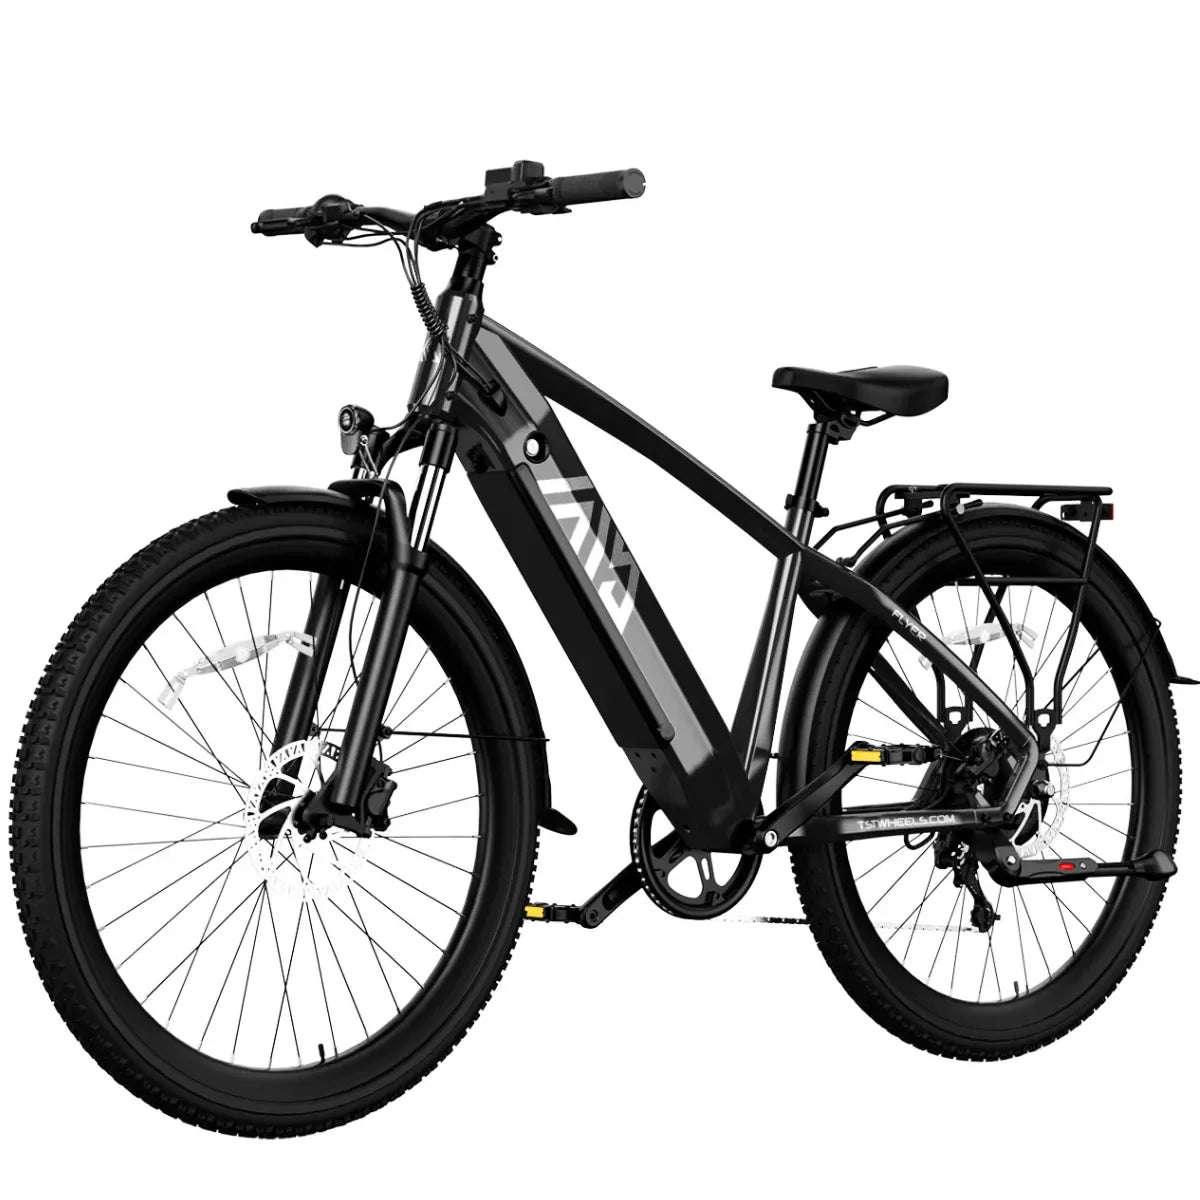
Lighter front‑hub kits are easier to install and keep the bike’s look more “classic,” while mid‑drive systems provide better weight balance and gearbox‑like feel. For riders who want to convert a vintage bike to an electric bike, many budget‑friendly kits run on 36–48 V, with 250–750 W motors that are easy to source, install, and support. Brands like TST EBike show how a matched 48 V system balances performance and price, offering a blueprint for DIY conversion thinking.
What tools and basic skills are needed for a DIY conversion?
A successful DIY conversion from a vintage bike to an electric bike requires basic bike tools and a modest electrical comfort level. You’ll need Allen keys, spanners, tire levers, cable cutters, and a torque wrench to mount the motor wheel, battery, and display cleanly. For wiring, simple crimping tools, heat‑shrink tubing, and electrical tape help create neat, safe connections that won’t fray or short. A multimeter is useful but not essential for advanced hobbyists.
Mechanical tasks include swapping wheels, fitting a cassette or sprocket to the motor hub, and adjusting brakes and gears. Electrical work is usually plug‑and‑play with modern kits, but identifying and routing wires neatly matters for safety and aesthetics. For riders who want to convert a vintage bike to an electric bike efficiently, starting with a pre‑matched kit—similar to those found in TST EBike’s high‑power, cost‑effective designs—greatly reduces guesswork and keeps the project manageable.
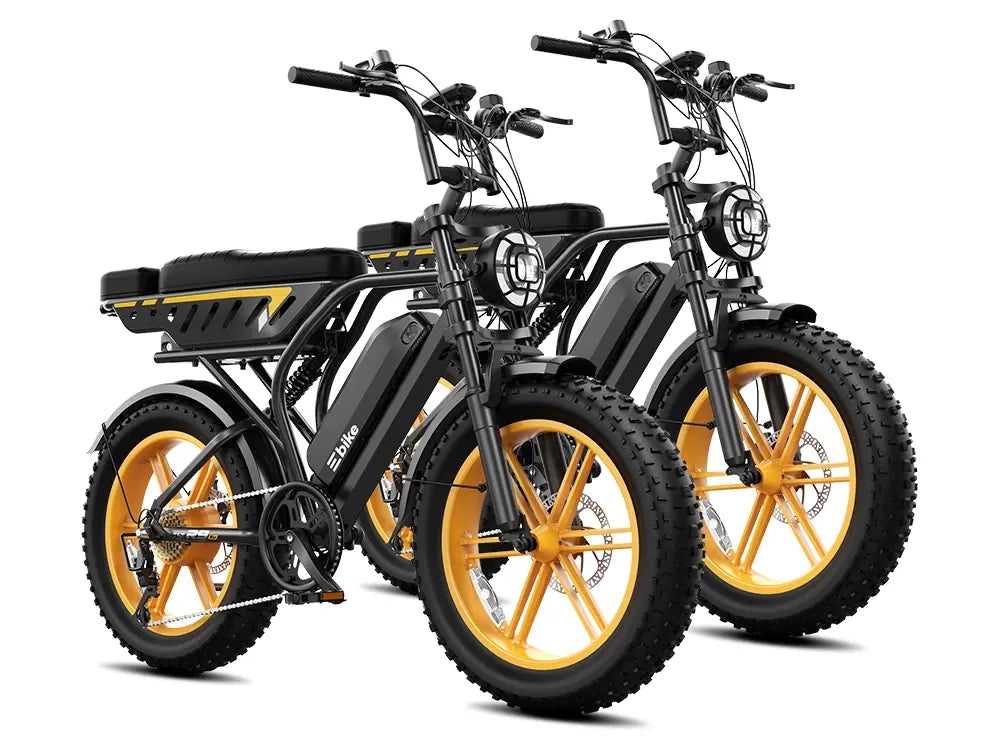
Conversion kit types and fit
Which motor position is best for an old bicycle frame?
The best motor position for converting a vintage bike to an electric bike depends on frame design, braking, and desired feel. Front‑hub motors are often the cleanest choice for vintage road or hybrid bikes because they avoid dealing with the rear wheel’s drivetrain and allow you to keep the original chain, cassette, and derailleur. The slight front‑weight bias helps in slippery conditions but can make the steering feel a bit lighter at higher speeds.
Rear‑hub motors deliver a more “direct” feel since they drive the wheel that already handles the bike’s weight and braking. They’re ideal if the vintage frame has a sturdy rear dropout and disc‑brake compatibility. Mid‑drive motors sit near the crank and keep the bike’s balance neutral, but they require more compatibility checks on older frames. For a vintage build that mirrors TST EBike‑style thinking, rear‑hub or mid‑drive often feel more “integrated,” while front‑hub keeps the process simple and reversible.
How do you safely integrate battery, wiring, and controls?
Safely integrating the battery, wiring, and controls when converting a vintage bike to an electric bike means routing cables away from moving parts, heat, and water, and using proper fusing. Mount the battery securely on the frame or rack, using brackets or clamps so it doesn’t shift under load. Route the main power cable inside frame tubes or along the top tube where possible, and protect it with conduit or zip‑ties. Use appropriately rated connectors and crimp them tightly to avoid overheating.
Connect the controller, motor, throttle, pedal‑assist sensor, and display so each plug is correct and strain‑relieved. A brake‑throttle cutoff module is highly recommended so the motor disengages when you pull the levers. For riders who want to convert a vintage bike to an electric bike, treating the electrical side like a low‑voltage car wiring project—clean, fused, and labeled—makes the bike feel professional and safe, much like the way TST EBike integrates bundles in its high‑power, cost‑effective platforms.
What battery size and voltage should you choose?
Choosing the right battery size and voltage when converting a vintage bike to an electric bike hinges on legal class, weight, and range needs. A 36 V battery is enough for a gentle, low‑speed assist, while a 48 V battery gives more speed and hill‑climbing ability without necessarily needing a higher‑watt motor. Within those voltages, pick a capacity of 10–14 Ah for a good balance of range and weight; anything over 17 Ah may make a vintage frame feel nose‑heavy or sluggish.
Ensure the battery’s BMS and controller can handle the motor’s peak current draw, so the system doesn’t cut out under load. A removable battery is ideal for charging indoors and deterring theft. For riders who want to convert a vintage bike to an electric bike, matching the battery to the vintage frame’s strength and ride style—commuting, light trails, or relaxed cruising—keeps the project efficient and fun, echoing the balanced approach TST EBike uses across its 26‑inch and 27‑inch e‑bike lines.
How can you keep the bike’s vintage look while adding power?
You can keep a vintage bike’s classic look while adding electric power by hiding the battery, using slim, low‑profile motors, and preserving original parts whenever possible. Mount the battery under the downtube, in a custom tank‑style shell, or on a low‑profile rack so it doesn’t dominate the silhouette. Choose a front‑hub or slim rear‑hub motor that doesn’t change the wheel’s overall look, and keep the original chain, crankset, and fenders where they match the vintage aesthetic.
Cosmetic touches—like matching paint on the battery cover, period‑style grips, and simple dials instead of bulky modern displays—also help blend the electric elements with the old frame. A minimalist, internally routed harness keeps the bike looking tidy, not cobbled‑together. When converting a vintage bike to an electric bike, consider the motor and electronics as “invisibles” that work behind the scenes, much like the subtle tech integration TST EBike uses to keep its high‑power, cost‑effective bikes looking clean and purposeful.
What safety and legal upgrades are essential for a converted bike?
When converting a vintage bike to an electric bike, essential safety and legal upgrades include modern brakes, proper lights, and a system that respects local e‑bike class limits. Many vintage bikes come with weak side‑pull or low‑pull brakes that cannot handle 20–28 mph speeds safely; replacing them with linear‑pull or hydraulic disc brakes is often the single most important upgrade. Add front and rear lights, reflectors, and a horn or bell to meet road‑use requirements and keep the rider visible.
Make sure the motor and controller respect local speed and power limits (e.g., 20–28 mph, 750 W) so the bike stays within Class 1–3 rules instead of becoming a moped or motorcycle‑class vehicle. Use a fused setup, correct wiring protection, and a brake‑throttle cutoff to reduce fire risk and ensure predictable control. For riders who want to convert a vintage bike to an electric bike, safety and legality are as important as performance, just as TST EBike emphasizes in its high‑power, cost‑effective designs.
How can you tune assist levels and ride feel after conversion?
After converting a vintage bike to an electric bike, you tune assist levels and ride feel by adjusting the controller’s settings, pedal‑assist sensitivity, and display modes. Many modern kits include programmable controllers that let you choose Eco, Sport, Turbo, and sometimes custom profiles, so you can dial in how aggressively the motor engages. A smoother, torque‑sensing assist feels more like a factory e‑bike, while cadence‑only sensors can feel more “on‑off.”
Using a display with configurable settings helps you lock in a comfortable top speed, see battery level, and read fault codes. Some riders also tweak the throttle response curve so the vintage bike feels more like a moped‑style cruise rather than a jerky power surge. For riders who want to convert a vintage bike to an electric bike, this kind of fine‑tuning is what turns a “bolt‑on” project into a rideable, confidence‑inspiring e‑bike, much like the well‑tuned feel of TST EBike’s production models.
TST EBike Expert Views
“Converting a vintage bike to an electric bike is a fantastic way to blend nostalgia with modern performance, but the electric side must be treated as seriously as the frame,” says a TST EBike engineer. “The best conversions keep the bike safe, legal, and easy to maintain, with a motor, battery, and controller that actually match the bike’s intended use. TST EBike focuses on high‑power, cost‑effective electric bikes, and that same mindset applies to DIY projects: choose a well‑matched system, integrate wiring neatly, and prioritize brakes and battery safety. If you want to convert a vintage bike to an electric bike efficiently and cost effectively, build a platform, not just an add‑on, and you’ll get years of fun from a classic frame.”
How should you test, tune, and maintain a converted vintage e‑bike?
Once you convert a vintage bike to an electric bike, test it in a low‑traffic area at gradually increasing speeds to check motor response, braking, and handling. Look for unusual noises, chain slippage, or loose bolts, especially around the new motor and battery mounts. Make sure the pedal‑assist and throttle behave smoothly and that the brakes can stop the heavier, faster bike without squealing or fading. Fix any issues immediately rather than riding through them.
Routine maintenance includes checking tire pressure, brake pad wear, chain tension, and wheel trueness, plus inspecting wiring and battery connections for corrosion or loose fittings. Keep the battery within recommended charge ranges and store it in a cool, dry place. For riders who want to convert a vintage bike to an electric bike, a disciplined tune‑up schedule keeps the bike safe and reliable, much like the support structure TST EBike offers for its 26‑inch and 27‑inch e‑bike users around the world.
FAQ: Frequently Asked Questions
Can any vintage bike be converted to an electric bike?
Most vintage bikes with standard 700c or 26‑inch wheels and solid frames can be converted to an electric bike, though some older frames may need structural checks before supporting heavier motors and batteries.
Is a front‑hub or rear‑hub kit better for a vintage frame?
A front‑hub kit is usually easier and less intrusive on a vintage frame, while a rear‑hub kit offers stronger assistance and a more “factory‑style” feel if the rear dropout and brakes support it.
Do I need professional help to convert a vintage bike?
For basic hub‑motor kits, many riders can DIY with common tools. Mid‑drive systems and more complex electrical work often benefit from a qualified bike mechanic or e‑bike specialist.
How much does it typically cost to convert a vintage bike to an e‑bike?
A good DIY kit plus a quality battery usually lands in the mid‑range bracket, often cheaper than a new e‑bike, with many projects coming in around the lower‑end pricing once tools and paintwork are accounted for.
How does TST EBike thinking help a vintage conversion?
TST EBike’s focus on high‑power, cost‑effective electric bikes teaches DIYers to match motor, battery, and controller specs carefully, keep wiring clean, and prioritize safety and reliability over showy mods, which is exactly what a solid vintage conversion needs.
Leave a comment
This site is protected by hCaptcha and the hCaptcha Privacy Policy and Terms of Service apply.